Is there a quick and easy way that I can share photos from my Win10 computer to Twitter? How about Facebook?
It may surprise some people but yes, there’s a built-in way to share your files, folders, photos and other content with your social media friends and family directly from the Desktop, and you don’t need to install any third party programs or utilities to get it to work. Well, kind of. You’ll still need to install the appropriate program for the social network you want to use (like Twitter or Facebook), but the whole process is remarkably easy to set up.
Before you proceed, however, particularly with photographs, I encourage you to ensure that the files aren’t overly big before you share them on social media. Most modern smartphones take huge photos, for example, and if you just want to show your friends that you were at the beach, a smaller photo will be faster to upload and subsequently faster to download and view for them later. Not sure how to shrink a file down in Windows? Check out this tutorial: How to Shrink Photos in Windows.
Now, let’s go through the steps of getting Twitter sharing enabled…
To start, right click on the photograph (file) you want to share. You’ll get a menu like this:
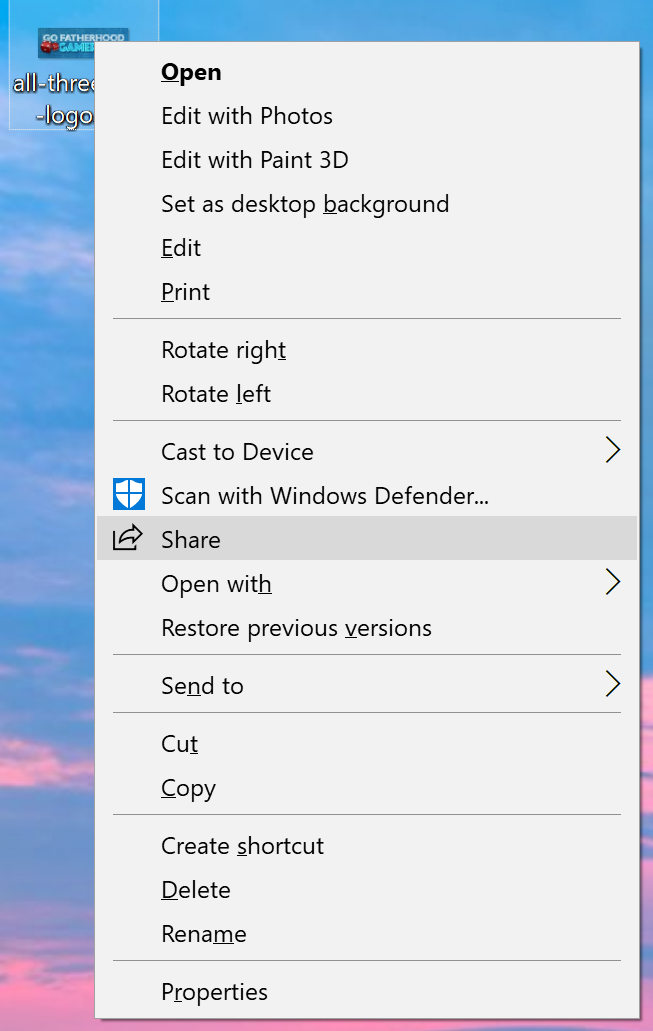
Lots of choices. Rather bewildering, actually. But what you want is smack-dab in the middle of the menu and is highlighted above: “Share“.You might even recognize the icon as the arrow coming out of the square has become a common symbol for sharing content.
Choose “Share” and you’ll see a window full of options:
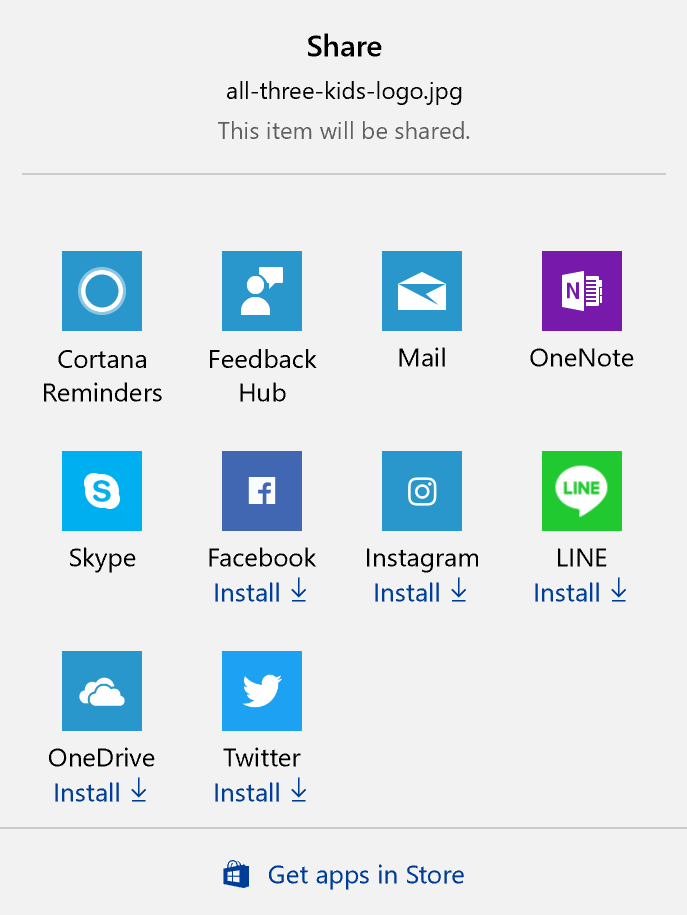
Some of these even I don’t know, like LINE. If you know what that is, great. If not, well, you can probably safely ignore it and proceed. Notice in the above that there are links for sharing via Mail, Facebook, Instagram, Twitter and backing up the file in OneDrive.
Let’s proceed with Twitter, so choose Twitter and it’ll ask if you grant permission to install the Twitter app from within the Microsoft Store:
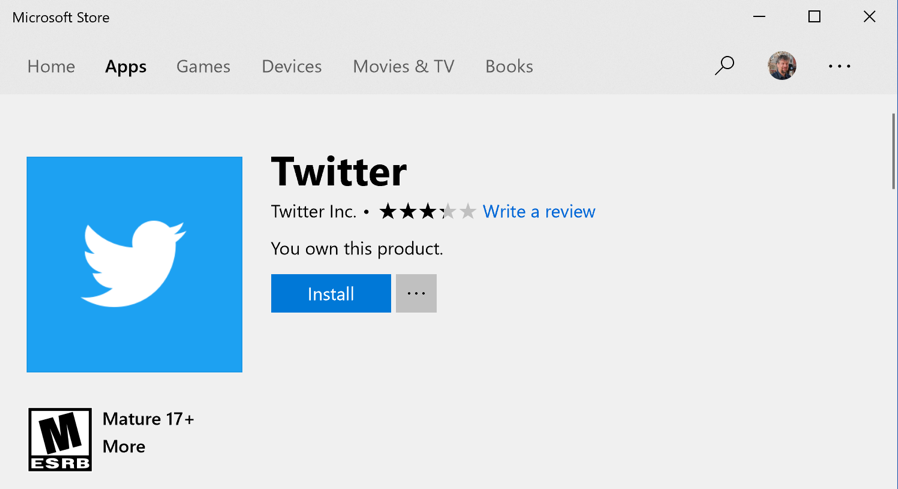
Since I’ve downloaded it in the past, it shows me “You own this product” but it’s free anyway, so no worries. Oh, speaking of worries, the “M for Mature” and “Mature 17+” simply reflect that there’s content on Twitter – and all social networks – that’s really only appropriate for adults. There’s also tons of content that’s fine, however, so you aren’t jumping into a shark tank, no worries!
Click on the blue “Install” button to actually install the Twitter app on your computer. It’ll verify, download, install, and launch the program. Then it’ll look like this:
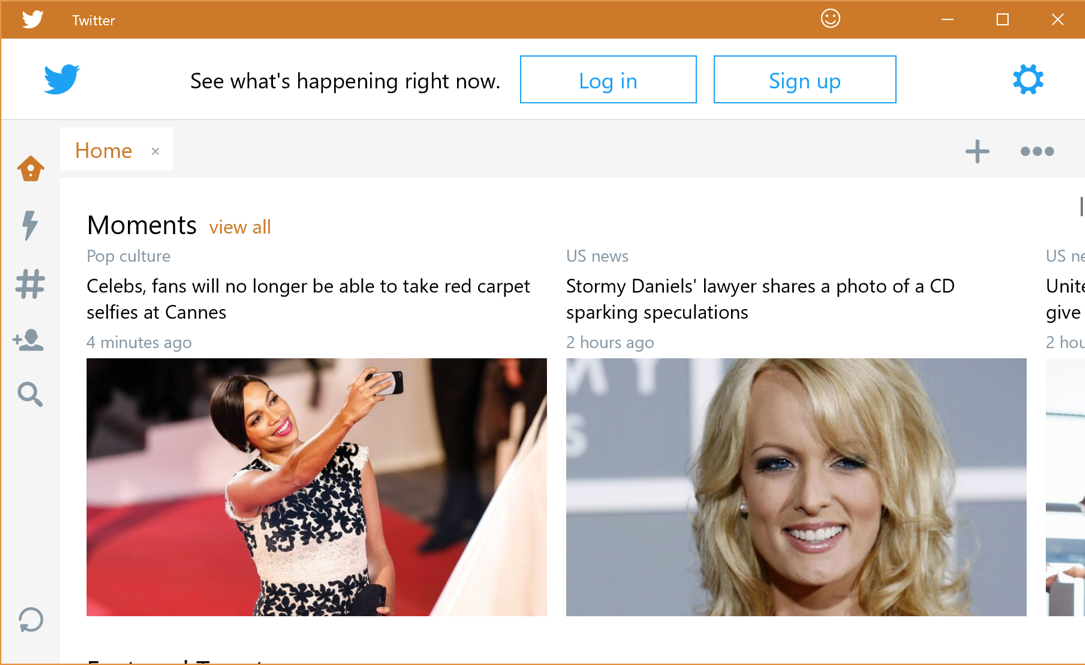
Just look along the top for the key item: log in or sign up for Twitter. If you already have an account, and I’m guessing you do, then “Log in” is your best choice. Click on it, enter your credentials, and you’ll soon see the tweets from your own timeline:
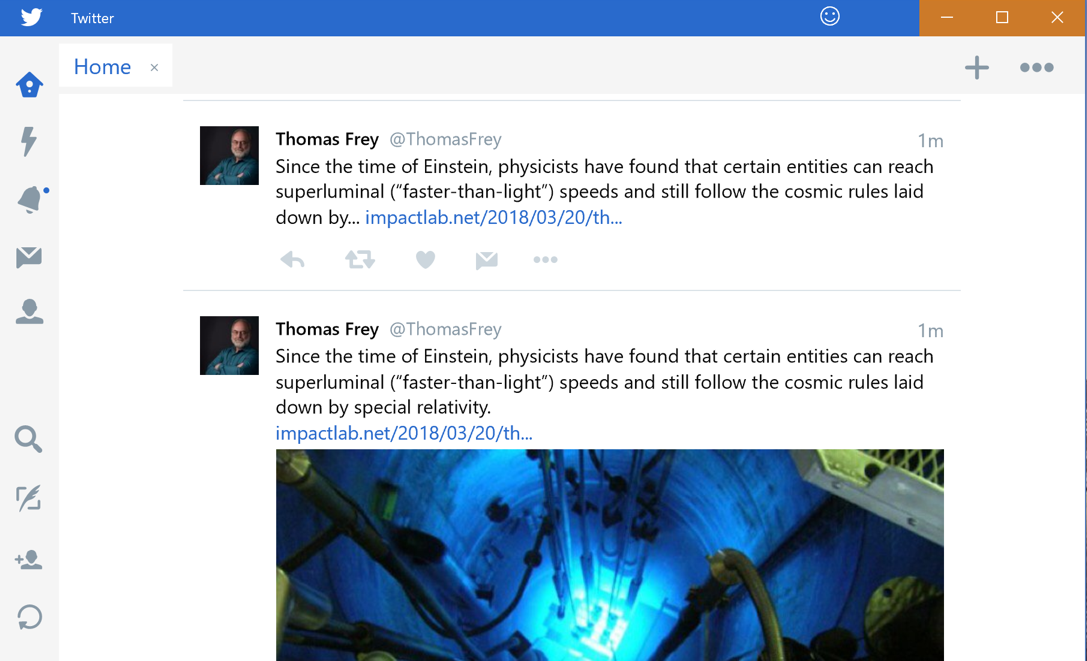
That’s it. Done. Now you can quit or close the Twitter app, or just leave it running in the background.
But, uh, we haven’t shared anything!
Right. Now, finally, you can go back to the photo file and right click again, then choose Twitter from the sharing window. This time, however, instead of suggesting you install the app, it’ll actually open up the image in Twitter and prompt you to add a comment or message:

And that’s how it’s done. You can go through the very same process to set up Facebook, LINE (whatever that is), Skype, and so on.
Pro Tip: Follow us on Twitter – @DaveTaylor – and check out all our Twitter and Windows help too!

twitter is not support.