
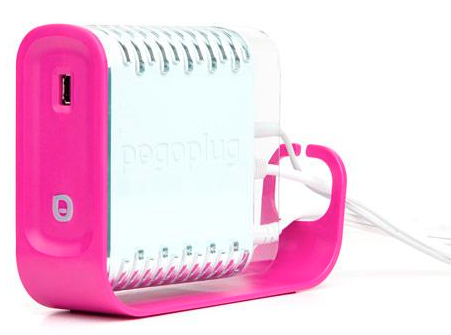
The idea of being able to access all my files and data from anywhere on the Internet is darn tempting. Imagine having a multi-terrabyte file server that only you – and people you invite – can share, and imagine it’s fast, easy to set up, and surprisingly inexpensive. Enter the oddly-named Pogoplug. For under $100 (at Buy.com) it does a great job of creating your own personal Internet file server.
CloudEngines has a pleasantly modern sensibility and the documentation that they included with the review unit had a “popcorn test”: betting that you could configure it and get going faster than you could microwave a bag of popcorn. Confident, but they would have lost the bet with me…
The idea is that you plug in a hard disk or two into the device, plug that into your router, and you’ll then be able to access the data from that drive anywhere you can access the Internet. Since they have mobile apps too, it turns out you can also access your data and files from anywhere your cellphone can get online too.
Think about that. You’re at a conference or on holiday — or on a weekend getaway — and suddenly realize that you need to check on a spreadsheet, want to share a great new song or finally have time to catch up on that archived TV episode. As long as your cell has reception, you’re good to go!
The wrinkle is that it wasn’t entirely straightforward to set up, though the company has clearly put a lot of effort into making it a simple plug-and-play device. Once I got it all set up properly, though, it worked great, as you’ll see…
Configuring a Pogoplug
My network is built around an Apple Time Capsule, a device that combines a router, remove backup system, and wifi base station. I also have a recently acquired 2TB Western Digital drive too, an external unit that I use as a secondary backup device.
I rewired things so that it was hard drive –> Pogoplug –> Time Capsule, powered it all up, and went to my.pogoplug.com to activate the device:
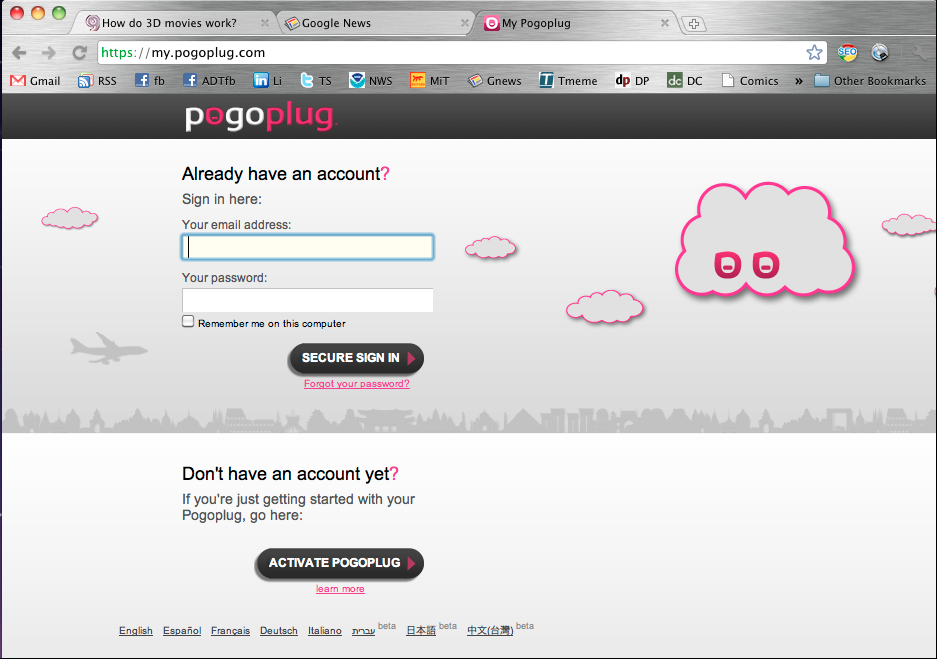
To start, click on “Activate Pogoplug” on the lower portion of the window. It then starts through its step-by-step configuration tips:
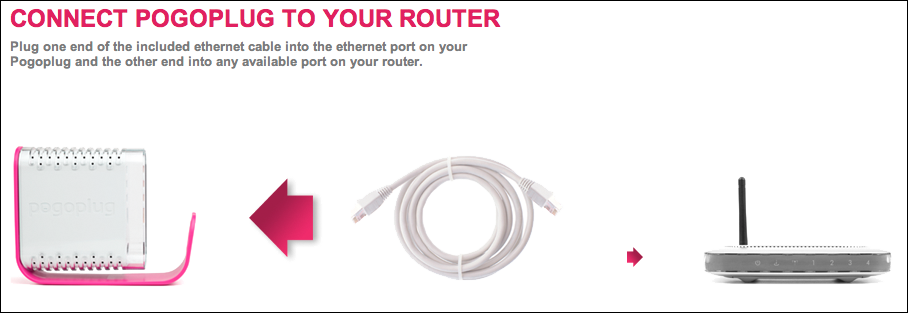
After a few well-illustrated steps, click on “find pogoplug” and…
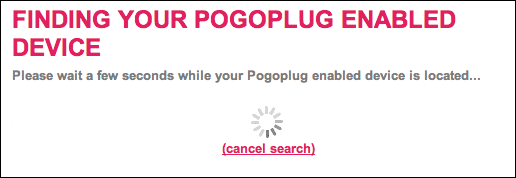
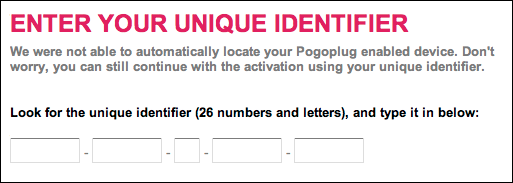
For me, it didn’t work. Instead, it suggested that I find the “code” that’s on a printed label on the bottom of the unit and enter it:
That didn’t work either, as the configuration site software informed me:
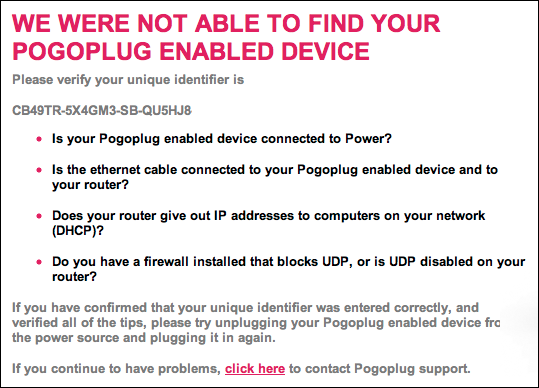
The solution was on the page, however, though I didn’t realize it immediately: to get it working I had to unplug the Pogoplug from the wall, then plug it in again.

Hurray!
Setting Up The Pogoplug
Once the unit was available on the network, the most important step was for me to add a password. I certainly don’t want random folk accessing my data!
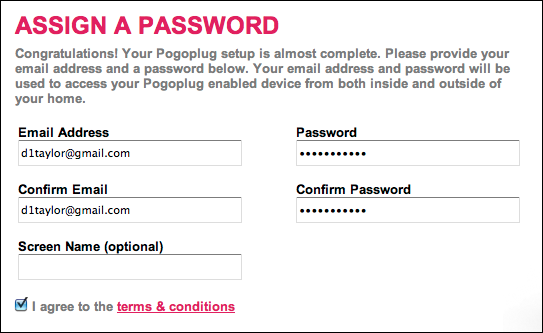
Note that you’ll want to enter an email address that’s valid: the system will email a verification message to that address, and it, plus the password you specify, will be how you access your file server.
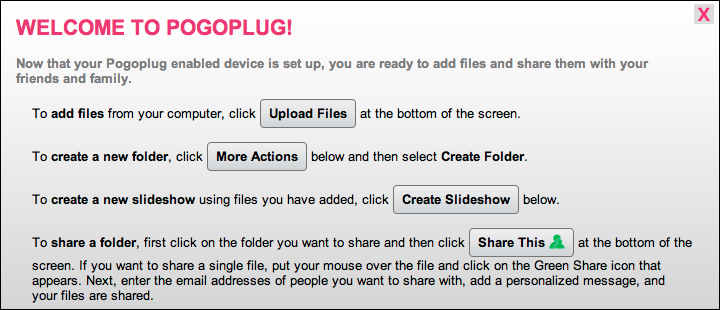
Lots of options about what to set up from this point:
I was more interested in simple file access issues, however, so I clicked on a “download” link (not show above), which shows how much effort the Pogoplug team has put into making the device maximally useful:
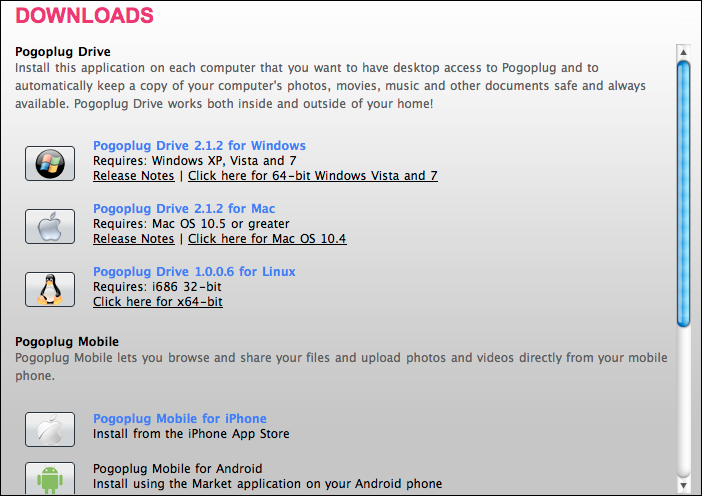
I downloaded both the Pogoplug Drive for Mac and the iPhone app: you’ll see the latter in a few minutes.
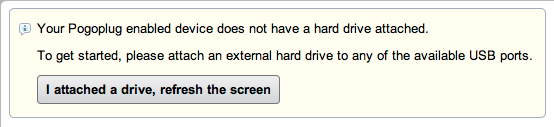
Meanwhile, the drive still had to be scanned and shared, even if it was plugged into the Pogoplug unit itself. In fact, it didn’t see the drive for quite a few minutes, rather long enough that I was afraid something was broken:
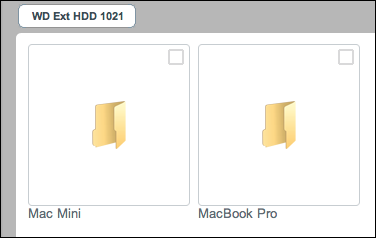
Finally, though, the 2TB Western Digital drive did show up, displaying the two folders that I have at the topmost level:
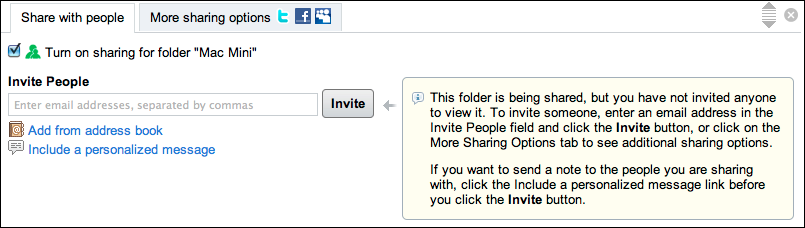
Sharing a folder is done by moving the cursor over the folder icon. A few options pop up, with the little green silhouette icon turns on sharing:
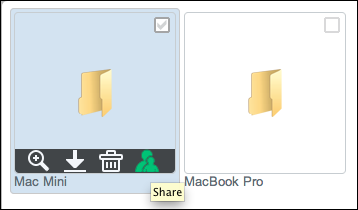
On a per folder basis, you can also invite people to access that data:
That’s all there is to the configuration. Once the unit had a valid DHCP address from the router, all went remarkably smoothly.
Working with the Pogoplug
The fun really starts once it’s all working. I installed the Pogoplug Drive on my Mac system and all of a sudden the hard drive and all its shared folders appear as yet another network device:

How cool is that?
But wait, it gets cooler. On my iPhone I logged in to the server and it promptly showed me all the files it’s scanned by category, and the topmost drive entry:

Tap on “WD Ext HDD 1021” and I see those same two folders:

Instead, I backed up a level and looked at a list of the movies it had found on the external drive:
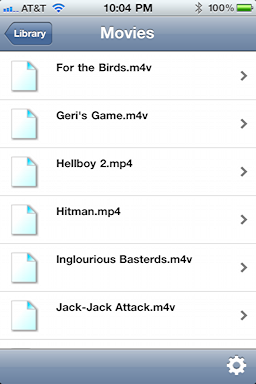
A bit of scrolling and I found a favorite: Pirates of the Caribbean: Curse of the Black Pearl, so I tapped on it, which promptly moved me to the YouTube player on the iPhone, loading… loading… loading…

After a few minutes, I was suddenly watching the movie:

Considering that the movie file itself was on a hard drive about 35 miles away, it was darn impressive. Never again will I be without content or access to my presentations and data files.
There’s an iPad app coming too – the company says it should be available by mid-August – which will be even more helpful with its big screen and portability. Also coming later in 2010: access-anywhere printing. That’s right, whether from your iPhone, smart phone or your regular computer while on the road, you’ll be able to send printouts to your home or office printer and have them waiting for you upon your return.
In Summary
There were some glitches getting the Pogoplug configured, but I’ve become an instant fan of this simple, utilitarian device. If you ever find yourself wanting to access photos, music, movies, or data files from your system when you’re away from your office or house, the $100 Pogoplug might well be your perfect solution.
Disclaimer: CloudEngines sent us a Pogoplug for review and has agreed to letting us keep it. Expect updates from Ask Dave Taylor as the product matures too.
So when you put the drive first then the pogopkug then the time capsule did you have to change any of the time capusle settings????
Does the device also share out the TimeCapsule internal drive?