This is going to sound improbable, but I’ve injured my finger and need to change which I use to log in to my MacBook! How can I replace a fingerprint or add another one in MacOS?
Biometrics are one of the most secure ways to prove identity so I’m a big fan of Touch ID. But things happen. I am sorry to hear about your injury to your ‘scanning finger’ but having to update fingerprints can also happen if you have a job where you wear gloves or if you want to share a Mac with more than one user and want everyone to be able to enjoy Touch ID.
Fortunately, both MacOS and iOS support more than one stored fingerprint so you can decide if you want to add a second finger or replace the existing finger with another one. Which finger? That’s up to you, but I generally use my right index finger (partially because the scanner is on the top right corner of my MacBook Pro). Lots of people use their thumb too, if you find that gesture easier. Let’s check out how to update this Touch ID data…
MACOS AND THE TOUCH ID SETTINGS
Start by firing up System Settings (off the menu) and search for “fingerprint”:
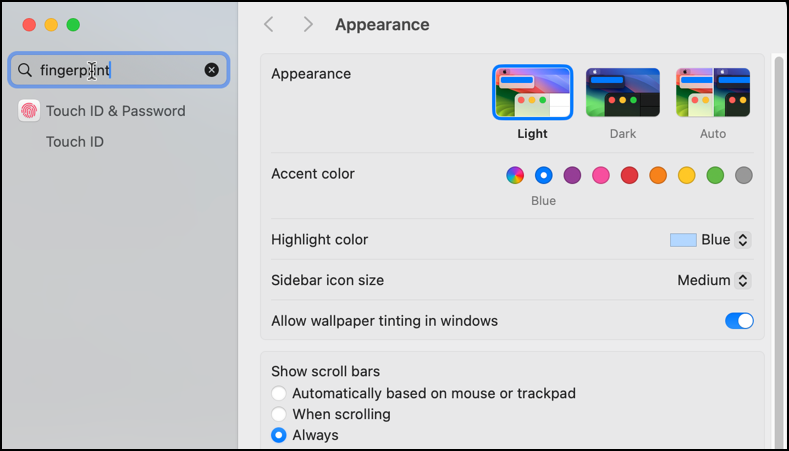
Either option will get you to the correct place. I clicked on “Touch ID & Password” and here’s where I ended up in the System Settings area:
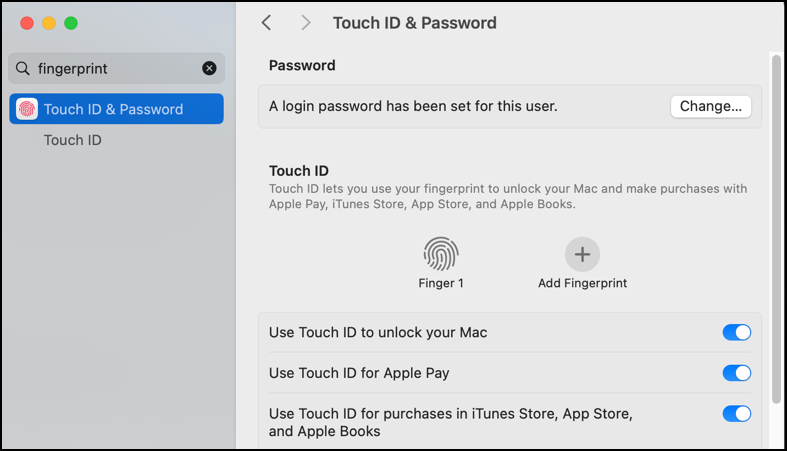
If you don’t have a login password, I believe it will force you to set one, but why wouldn’t you have that already set up on your Mac? Here you can see that I have a single fingerprint stored, “Finger 1”, and that I’ve enabled its use for unlocking my Mac, Apple Pay, and purchases in the iTunes Store, App Store, and Apple Books.
DELETE A FINGERPRINT FROM TOUCH ID
If you want to delete the existing fingerprint, hover your cursor over the stored entry. A tiny ‘x’ will appear:

Click on the “x” and it’ll prompt for your password…
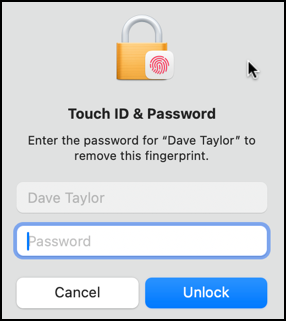
Why? Because you really don’t want someone else sneaking into this System Setting and deleting any passwords “on your behalf”. 🤓
One more confirmation that you really do want to delete the fingerprint.
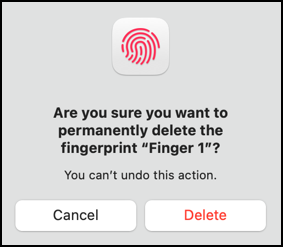
Hit “Cancel” and you can still add your new finger, or “Delete” to remove it from MacOS entirely.
ADD A FINGER TO MACOS TOUCH ID
Now click on the “+” to add your new fingerprint and it immediately prompts you to start placing your finger on the sensor in various angles and orientations:
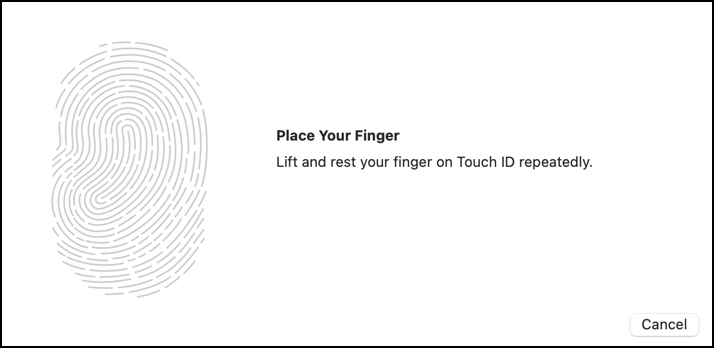
This is a tedious process, and you’ll want to have the sensor read the edges of your finger too…
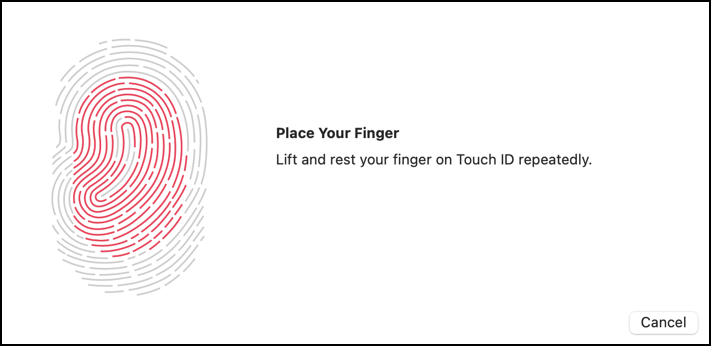
Finally, once you’ve gotten to the point where you’re convinced it’s not working right and keeps scanning the very same portion of your finger, it says it’s done!
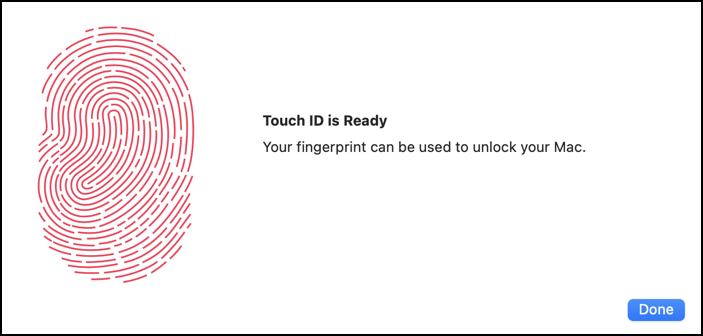
Excellent. Click on “Done” to save the new scan.
Last step is to decide which of the many security options you want to access with the fingerprint scanner:
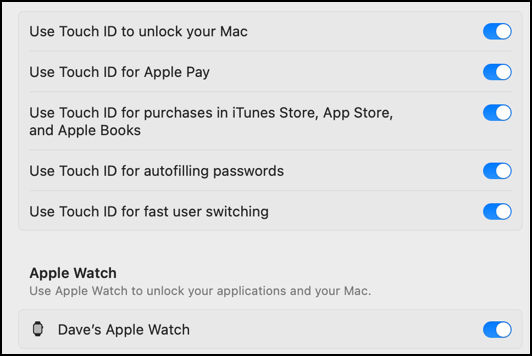
As you can see, I have them all enabled, including the non-Touch ID-related “Use Apple Watch to unlock your applications and your Mac” feature. All looks good? Close the System Setting window and you’re done!
Pro Tip: I’ve been writing about MacOS since the first release and have hundreds of helpful tutorials here on the site. Please check out my Mac help library for lots more useful content while you’re here!
