
Did you know that Microsoft has a tool that helps you ensure you have your Windows and online account locked down and as secure as possible? It’s the “Safety Review” and it’s just a few clicks away…
Between two-factor authentication, backup and recovery email addresses, and the million settings and preferences that are part of a modern Windows computer, it’s no surprise people often have things set up incorrectly. Or, perhaps, less securely than they could otherwise. Most of the time the consequence is pretty minor, but if your goal is to keep your personal information and data private, the worst-case scenario is that you lose access to your account. Not being able to log in to your account, and not being able to recover access is a pretty awful experience!
The solution is to be preemptive with your security measures, and that’s exactly where Microsoft Safety Review comes in. But it’s only part of the puzzle because smart Windows users also utilize the Settings > Security & Privacy settings to double-check that everything’s set up correctly. Let’s go through both so you can follow along and ensure your own data privacy and account security…
MICROSOFT PRIVACY AND SAFETY REVIEW
To start out, go to this URL: https://account.microsoft.com/privacy. You’ll have to log in first, but then you’ll get to something that’s quite important, Your Privacy Dashboard:
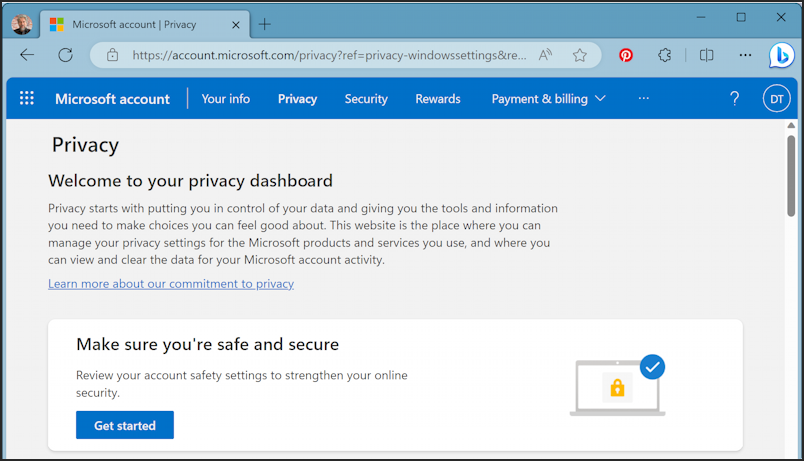
There’s a lot to check out on this page, but front and center is what we see: Account Safety Review. Click on “Get started” to fire it up and have it start analyzing your own security and privacy settings. This is done in a series of small windows that show your current setting and offer the opportunity to update things as required.
The first screen of five is about Account Recovery Info. This is critical if you ever forget your password or otherwise need to find a new way to get into your account because you don’t have your password or have a 2-factor authentication system that you cannot access:
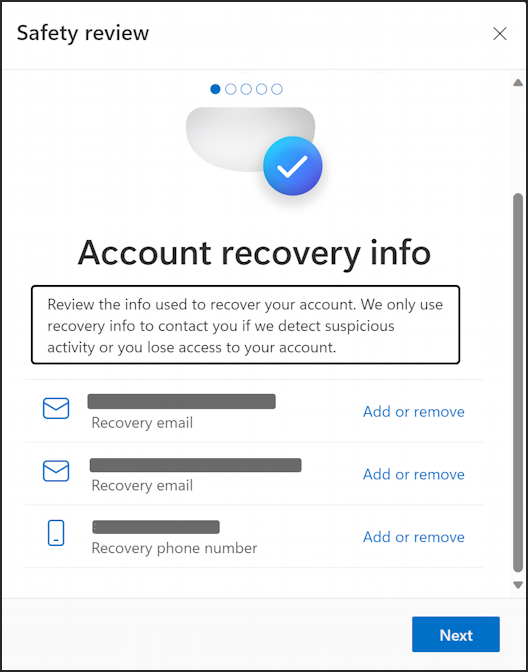
I have two email addresses (neither with Microsoft) and my cellphone number registered. You can add more options here, but most importantly if your email address has changed update it here before you need to use it and realize you can’t get to that mailbox.
To proceed, click or tap on “Next“.
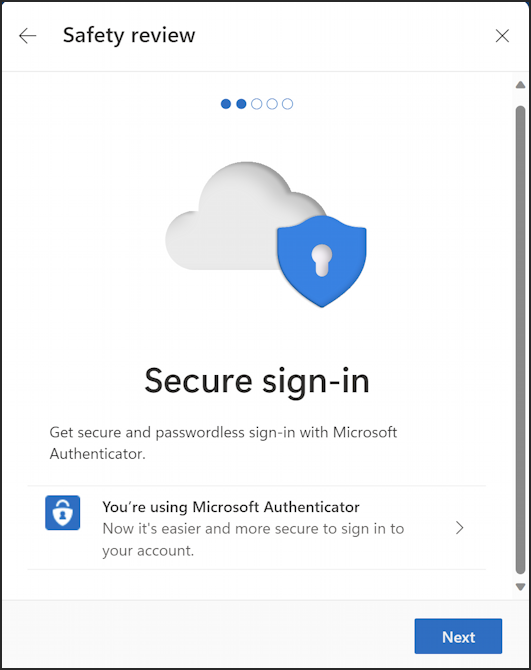
Like many companies, Microsoft is really trying to move beyond passwords, which are inherently clumsy and hackable, and this second step is where you find out if you’re hooked up for the more modern approach. Two-factor authentication, sure, but the Microsoft Authenticator app [for iPhone or Android] is even better. I’m all set up with this important security tool, and if you aren’t, this is where you can sign up and get it working.
Proceed with “Next“.
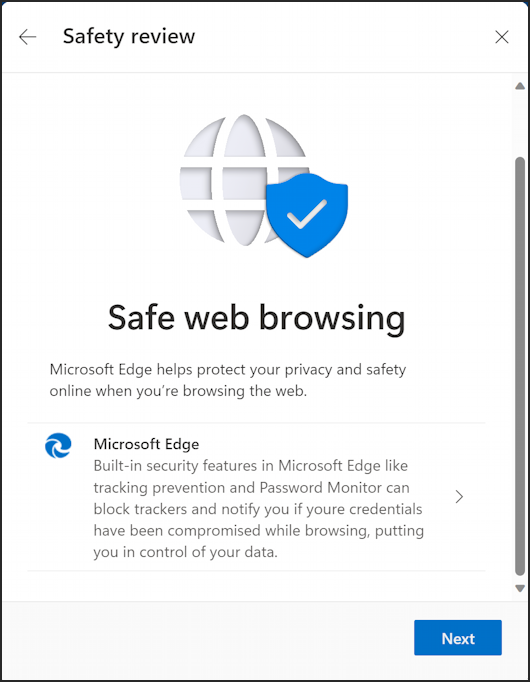
Microsoft is perhaps a wee bit biased towards its own modern Web browser, Microsoft Edge, but this is a good point to consider what browser you’re using and whether you have it set up to help you stay safe online and to ensure the privacy of your personal data. I run Edge on both my Mac and Windows systems, by the way, and it’s great.
“Next“…

While this is a point where people can get pretty stressed – and confused – about the million different settings, Microsoft is really trying to help ensure you’re safe both online and on your PC. Check out the “Microsoft security help & learning” to gain more insight.
Let’s take a small detour while we’re here too, by clicking on “Change privacy settings in Windows“. It opens up the Settings app on your PC.
WINDOWS PRIVACY & SECURITY
The link will move you to the right place, but if not, just open Settings and choose “Privacy & security”:
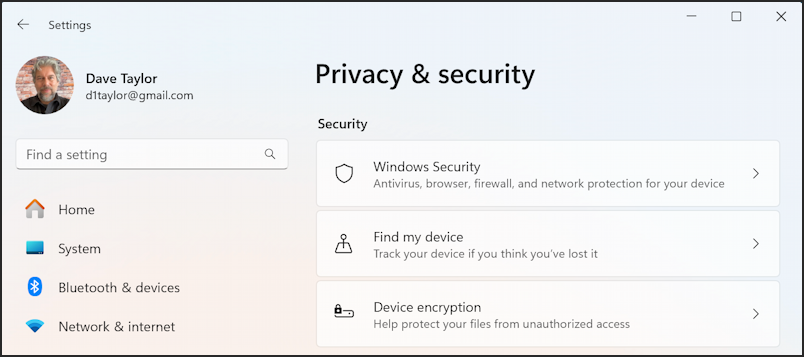
You might need to verify your account password to get here, but there’s a lot to consider. Utilize “Windows Security” (the first option) to ensure your antivirus software is running and up-to-date. I use Windows Defender from Microsoft and so far, so good. [insert “knocking on wood” emoji!]
Rather than a full tutorial on these settings, I suggest instead that you scroll down a bit and examine what apps have access to the various components of your computer. This is the section called “App permissions”:
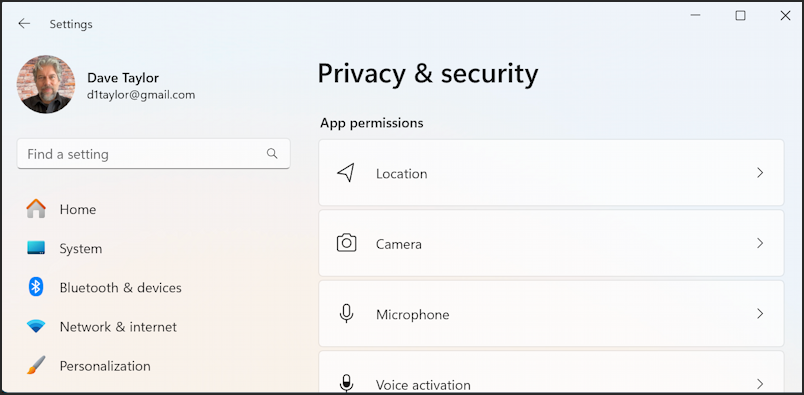
Did you realize that you can check what apps are allowed to ask the operating system about your current location, access your camera, microphone, and so on? All of it’s neatly detailed in this area. For example, let’s check “Microphone” to see which programs on my Win11 system can listen in:

Don’t be afraid to disable any apps or programs you think shouldn’t have access to your microphone, camera, and so on. Worst case, the next time you run the program it will prompt you to allow access again, at which point you can decide if it’s critical or not. You can see that I have disabled the mic access for Desktop App Web Viewer and Take a Test. Unsure why Settings needs access, but my guess is that it’s a dictation feature that might make it easier to navigate through the wilderness of the Settings area.
Close the Settings app and you’ll go back to the Safety Review screen.
MEANWHILE, BACK IN SAFETY REVIEW
After the “More safety resources” window, the next one revealed relates to Microsoft 365:

Unsure what Microsoft 365 is? It’s the free, online version of Microsoft Office. That’s right, you can just go to Microsoft365.com and use all your favorite Office programs from within your Web browser. No license required! But you do want to ensure that your privacy settings are set to retain the privacy of your data, and that’s what this particular step helps you confirm.
Finally, one more “Next” click and you’ll get a summary of how the review went…

Mission accomplished, and it’s reassuring to know that my account and Windows system are both set properly to maximize my privacy and online safety. Try this yourself before it becomes an issue and you’ll perhaps thank me one day in the future when a crisis has been averted.
Pro Tip: I’ve been writing about Windows for many years and have an extensive Windows 11 help area. Please check it out to find lots of additional tutorials and guides while you’re here. Thanks!