
I want to move from Chrome to Microsoft Edge, but I don’t really like the idea of Edge digging into my Chrome browsing history, etc. Can I export my Chrome bookmarks, then import them into Edge on my PC?
All modern browsers can automatically extract and import bookmarks, saved passwords, browsing history, even open tabs from any other browser you’re using. That’s all done by them utilizing a standardized data format for this saved information, which is really handy. Most people when they pop into a new browser like Microsoft Edge, Firefox or Brave just let the browser do the heavy lifting of grabbing everything it can from their current Web browser.
This does have some privacy implications, however, and you might not want to have all your data migrating from one browser to another unattended. If just one of these browsers decides it’s logical to report everything back to home base – as many do with their multi-platform sync features! – you’ve put your browser history, passwords, etc, all at risk. Not so good.
Note: I know that the passwords are saved in an encrypted format. Still, do you want that data online for someone else to download and try to crack at their leisure?
Suffice to say, exporting your bookmarks not only means you have more control over this Web browser migration process, but it also means you have a handy external file you can save forever or share with friends (who wouldn’t also get your browser history or other data!). To show how this is done, I’ll export my bookmarks from Google Chrome on my PC and then import them into Microsoft Edge!
EXPORT BOOKMARKS FROM GOOGLE CHROME
Because browsers can grab data from each other, importing and exporting is a bit more convoluted than it used to be. The biggest challenge; finding that export feature. Launch Google Chrome and you’ll see something like this:

As with most everything about Chrome, this task requires you to bring up the main menu, accessible from the vertically oriented “•••” on the top right. Then slide into the “Bookmarks” secondary menu, as shown:
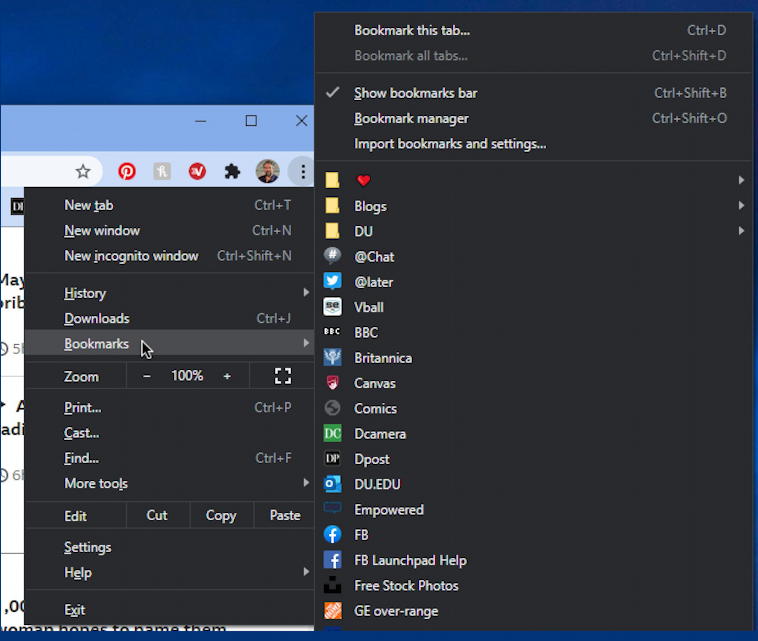
You can see that there’s an “Import bookmarks and settings…” option on the menu but no export? It just ain’t as important as it used to be, I guess. No worries, it’s still accessible, you just have to dig a bit further.
Choose “Bookmark manager” from the secondary menu. You’ll have a new tab open up with a display approximately like this:
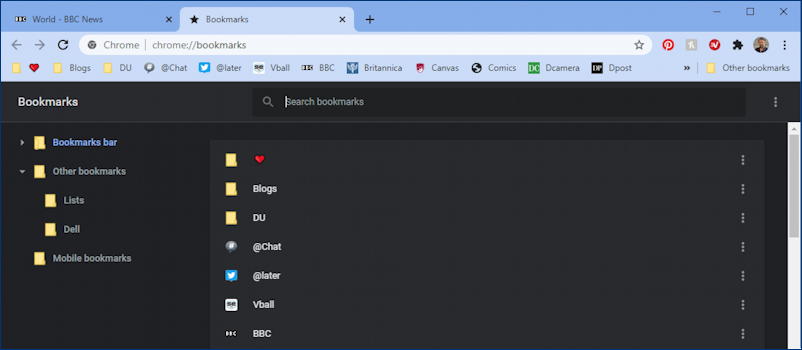
Now a barely noticeable second vertically oriented “•••” button has appeared on the top right of the main window (just above the white scroll bar on the right). See it?
A click and that bookmarks manager menu offers an export option:
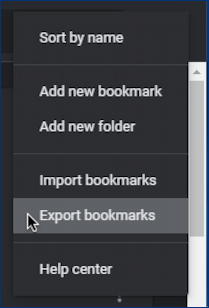
That’s the feature! Choose “Export bookmarks” then give it a reasonable name and save it somewhere you can find it again later.
Done. That’s everything you need to do in Google Chrome.
IMPORTING BOOKMARKS INTO MICROSOFT EDGE
Now launch Microsoft Edge on your PC. The main screen might look pretty similar or it might just be a graphic on a blank page, depending on your configuration:
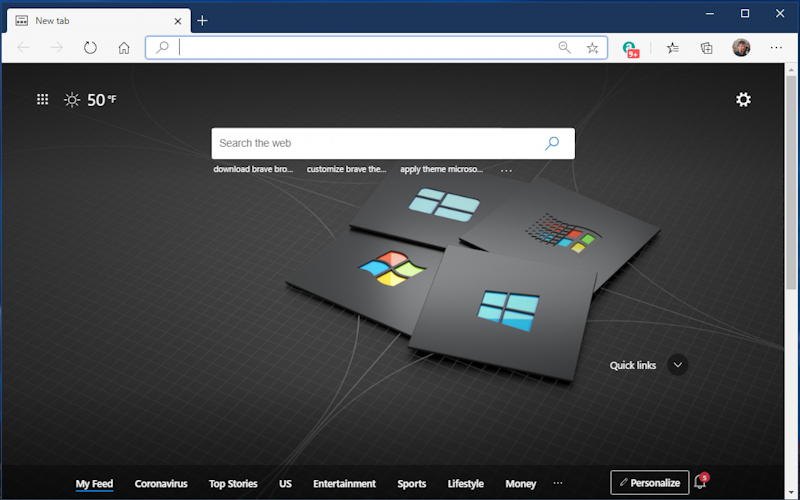
Since there’s no standardization in interface elements, Edge has that same “•••” menu on the top right, but this time the dots are horizontally oriented instead of vertically. It’s always something, right? 🙂
Click on the “•••” button to bring up the Edge main menu:
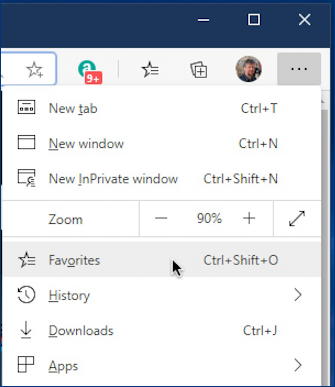
Note: This menu is way longer than shown. This is just abbreviated for space considerations.
Choose “Favorites” from this menu and a sub menu pops up:
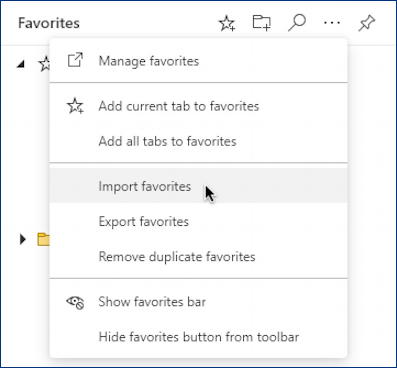
As shown, choose “Import favorites” from this menu and choose the file you just saved from Google Chrome. Done!
Now you can click on the Favorites “star” on the main Edge toolbar and all your bookmarks from your other browser will be accessible:
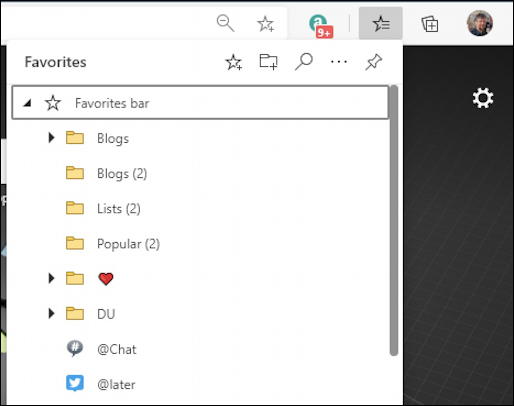
Nicely done, and no worries about Microsoft Edge digging through all that Google Chrome browser history, saved profile information, passwords, cache, open tabs, etc. This path isn’t for everyone, but it’s not a bad practice to get into the habit of minimizing data sharing across browsers either.
Pro Tip: I’ve been writing about Windows since they used letters to identify versions, not numbers! Please do check out my extensive Windows help area for lots more tutorials. Thanks!