
I really am liking Mac OS X 10.7 “Lion”. Lots of cool new features, more of the elegant Apple touch on the operating system, but there’s one screen that just bugs me: the boring background grey image when I go to log in to the system. What’s up with that? How can I fix it??
I have to agree with you. I was lucky enough to run the beta releases of Lion so I’ve had a few months head start on you in terms of learning its features and capabilities, but I’ve long been a fan of the minimalist Mac OS X graphical user interface, so most of Lion felt very comfortable to me.
But I can also relate to your desire to spiff up some of the more mundane elements of Lion too, including that scary boring login screen.
Here’s the good news/bad news, however: you can change the image, but it’s not particularly easy. You’ll need to hack your system just a little bit, delving into a directory that you’ve probably never touched before. I’ll give you all the steps but it’s still not for the faint of heart.
Ready?
First you need to figure out your current screen resolution. Easiest is to go to System Preferences -> Display and just look at the default setting:
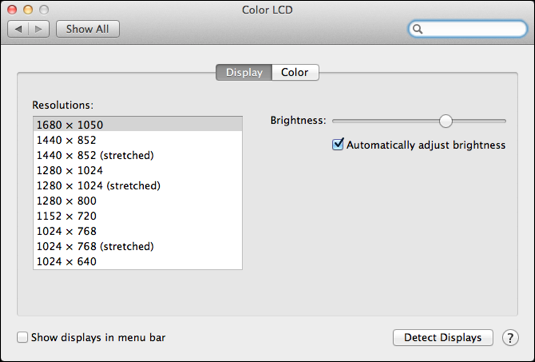
You can see my screen is set to 1680 x 1050. For this hack to work best, I’ll need to find an image that matches.
To do that, I am a big fan of Google Image Search and will use that to find something new. I’ll use the advanced search capability because it’ll let me specify some useful parameters:
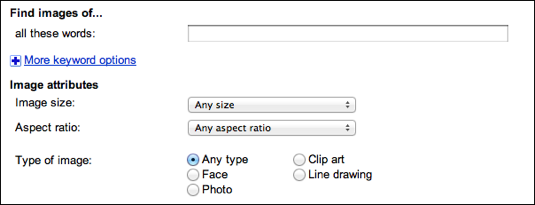
To start out, I’ll search for “boulder flatirons” as a photograph with a size at least 1024×768. The result:
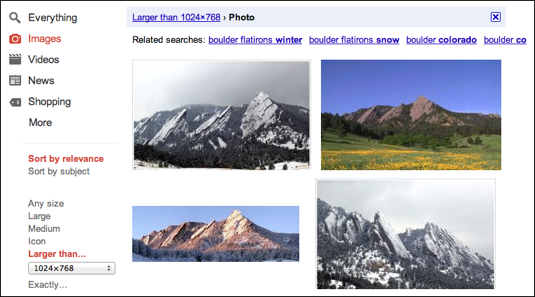
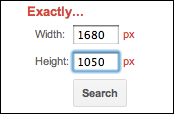
Note on the left where it says “Exactly…” as one of the image size options. I’ll use that to specify the exact dimensions I seek (1680×1050).
The result are certainly interesting, not quite sure how they all relate to the keywords I specified, but still, there are way more interesting images to have on my login screen than the grey linen graphic that’s part of Mac OS X 10.7 Lion:

I actually like the photo of the hot air balloon and the clouds (the one that’s presented with more data because my cursor’s over the image), but when I click on it, I decide it’s a bit cheesy. Instead, a new, more advanced search. I use the same size constraints, but this time search for “tropics OR surf OR waves OR palm tree” and one of the results is splendid:
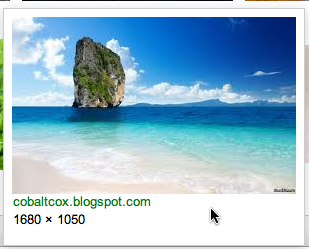
To get the full-size image, I click on the thumbnail then click on the ‘full size’ image link that Google Images puts on the right side of the screen. A quick right-click on the large image, choosing “Save Image As…” and I’ll give it the Lion-required name of NSTexturedFullScreenBackgroundColor.png (tip: it needs to be in PNG format too, not just have that filename suffix! If your image isn’t in PNG format, change it using a handy utility like Graphic Converter. While you’re at it, make sure that it’s at 72ppi, not 200ppi or 300ppi. I don’t do this the first time and you’ll see in a sec what happens!).
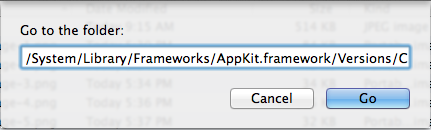
Image ready? Great. Now let’s get to the right place on your Mac OS X Lion file system. This is a bit tricky because it’s a protected directory. To get there, go to the Finder and choose “Go To Folder…” from the “Go” menu, then enter the following:
/System/Library/Frameworks/AppKit.framework/Versions/C/Resources
It’ll look like this:
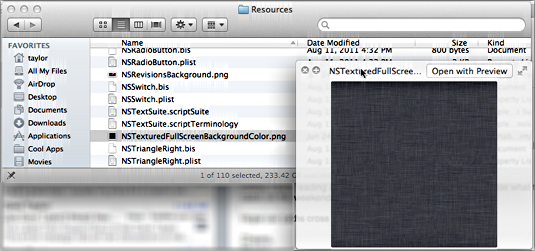
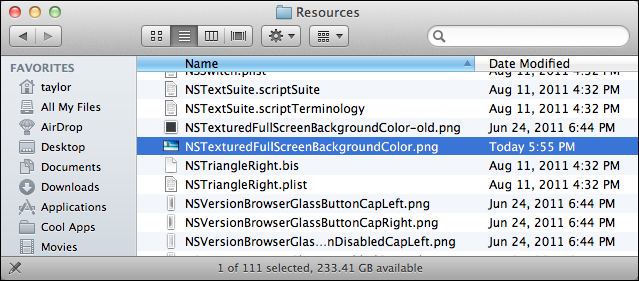
Click on “Go” and scroll down to find the “NSTexturedFullScreenBackgroundColor.png” image. Here it is, along with a preview glimpse:
Let’s rename the existing file to something different before we drag the new image onto this directory. I like adding “.old” to the filename, but you can do something else if you want. We just want to save it juuusssttt in case you want to switch back some day.
Files are renamed by clicking twice — slowly! — on the filename itself. Do that, add the new fragment to the filename, enter your administrative password (it’s for your protection, to ensure you don’t mess up system files inadvertently) and you’re ready to drag the new image into this directory. Of course, drag the image on and you get the following:
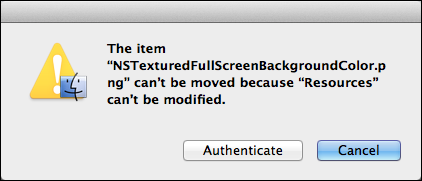
No worries. Click on “Authenticate” and enter your admin password. Now, finally, here’s what you see:
That’s it. Now, does it work? Let’s take a deep breath then log out and log in again:
Yikes. That’s not right. What the heck went wrong?
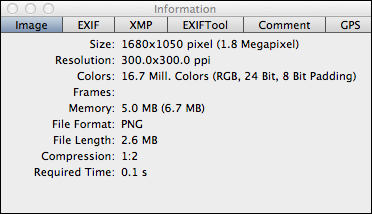
I open up the image in GraphicConverter again and find out that the image resolution isn’t 72ppi, but rather 300ppi. Not good:
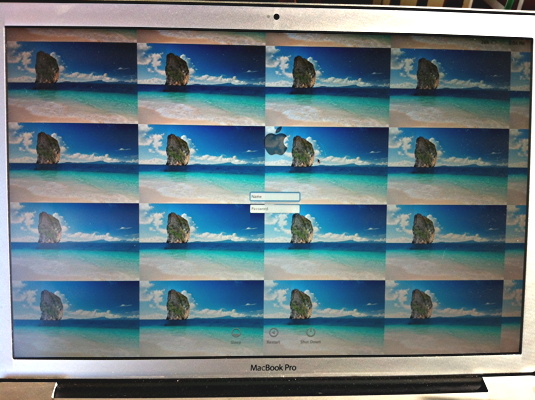
A quick change of the resolution to 72ppi, save the update, log out and…

Sweet! Now that is a far more attractive login screen than the boring old Lion grey linen!
It worked well until I upgrade to 10.7.5 ….
And now it is boring grey again.
I need some help … what is the secret .png in 10.7.5?
hi — followed all the step ( to a t) and still am stuck with the ugly gray linen. extremely bored, any thoughts would be awesome!
Thanks, works well!
Thanks very much, followed this with no probs and very pleased with the results!
I changed the background, however it has like a white overlay that washes out the colors. Any ideas on how to get the full color? Or remove the white mask thing? Thanks!
Thanks for the info.. I will be buying air soon …
Thank you!! love Lion but some of the interface designs (graphics) are just…well…horrific and childish.
Now if you could figure on how to get rid of the obnoxious oversized drop shadows in open finder and browser windows ?