
I get quite a lot of email in my Office Outlook account online and it’s overwhelming. Is there some way to filter, sort or organize it into subfolders so I don’t miss the really important messages?
Turns out that Office 365 (soon to be renamed Microsoft 365) is super powerful and Outlook online also has lots of smarts. In fact, it’s rather oversmart, as if Microsoft added every feature anyone had ever asked for in the history of Office! But if you don’t mind wading through long menus and complex windows, there’s really quite a lot you can set up to manage your online experience, including your email. I teach at University of Denver and have an account on their Office online system, so I can step you through the process of setting up what Outlook calls “mail rules” and tame that crazy inbox of yours.
To start, it’s easiest to be reading a message that you want to filter into a folder. For example, I received the following email message from the Office of Teaching & Learning at DU:
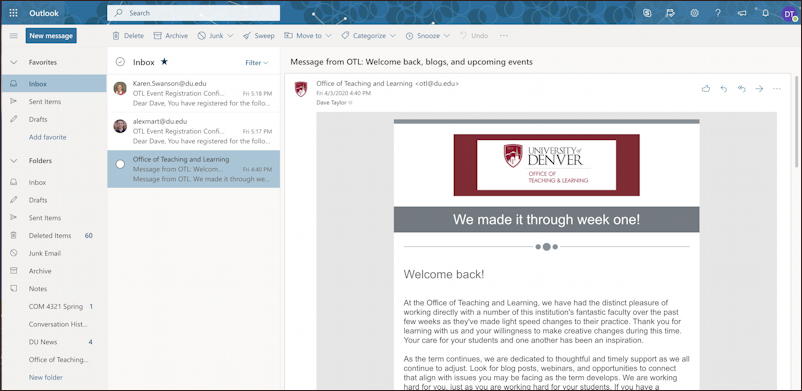
This is but one of many different ways you can lay out your screen, but I prefer it: folders on the left, an index of messages in the middle column, and the message itself on the right.
Let’s have a closer look at the top of this message:
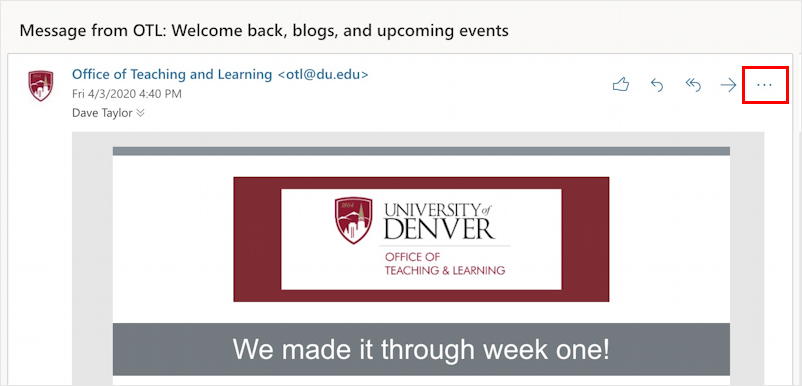
Notice that I’m highlighting the “•••” button on the top right. That’s the key to customizing and with a single click you can now reveal the world’s longest Web interface menu:
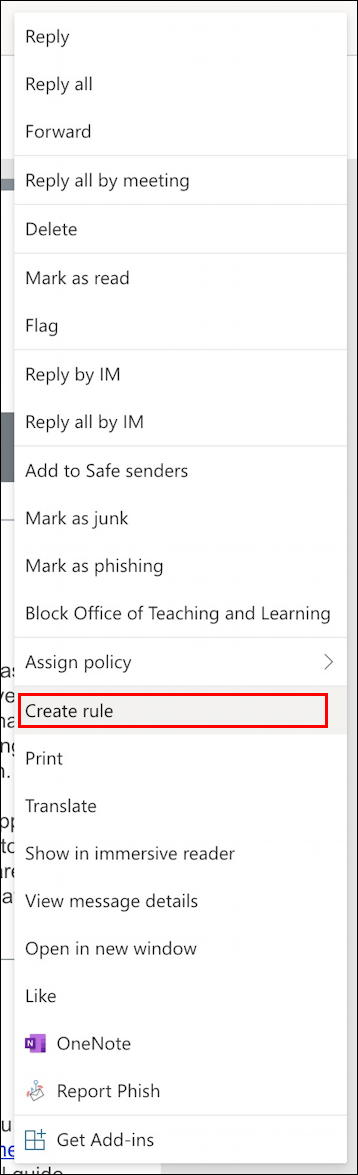
That’s a lot of options, isn’t it? I said it felt like they couldn’t say “no” to any features, and notice that there’s even redundancy: Mark as phishing and, nearm the bottom, Report Phish. And what is an immersive reader anyway? 🙂
All that aside, the option you want is “Create rule“, as highlighted above. That’ll pop up a window:

Before you click on “Select a folder”, notice the “More options” link. We’ll go down both paths momentarily, but let’s start by creating a new folder just for email from the Office of Teaching and Learning. That’s done by clicking on the “Select a folder” menu:

You can see that I already have two custom folders – COM 4321 Spring and DU News – along with the usual contingent of Outlook folders. If you don’t already have a folder ready to go, choose “New folder” and you’ll be able to type in the name of the new folder that will receive all messages that match your new rule.
Now click on that “More options” link and you’ll go to another one of these rather overwhelming windows:

In this instance, notice that our new rule has a name (“Move all messages from …”), a condition (“From = Office of Teaching and Learning”) and two actions. Yes, it had the original action of moving matching messages to a folder called “Office of Teaching & Learning”, but I used the “add another action” button to also specify that Outlook should mark all messages with importance high too. Nice!
That looks good, so I’ll click on “Save” and forevermore – or until I delete it! – this rule will help categorize and file messages that match. And that new folder? It’s on the left side pane as you would expect:

By the way, if you now think your name was too long, you can rename it by right-clicking on the label and choosing “Rename” from the subsequent pop-up window. Easy!
Pro Tip: I’ve been writing about Windows and Microsoft Office for many years. Please check out my extensive Windows help area for other ways to improve your workflow.