
I’ve been learning more about Apple iPhoto, partially thanks to your great tutorials on the subject, but am stumped. Instead of wanting to grab images directly off my camera, I find that I need to pull in a folder full of photographs from a friend so I can have them as an event. How do I import photos into iPhoto, Dave? If it makes a difference, I’m running Snow Leopard and have Mac OS X version 10.6.1.
Glad that my many articles on iPhoto help are proving useful to you, and you definitely get extra points for including what OS you’re running and what version of the operating system. Next time one tiny additional item of information is what version of iPhoto you have, but the basic photo import feature hasn’t changed much as far as I can tell, so I’ll demonstrate with iPhoto version 8.1 and hope you’ll be able to play along at home.
Turns out you’re not the first person to find that while it’s incredibly easy to import photos from a camera into iPhoto – since the app pops up and asks “Import?” – it’s a bit more confusing to know how to pull in a folder full of photos.
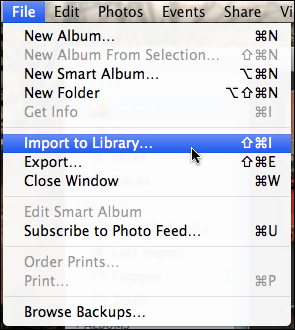
I think the issue is that the app tries to consistently use a specific nomenclature, calling the iPhoto archive “The Library”. Once you know that, however, you might well be able to guess that your first step is to go to File –> Import to Library…:
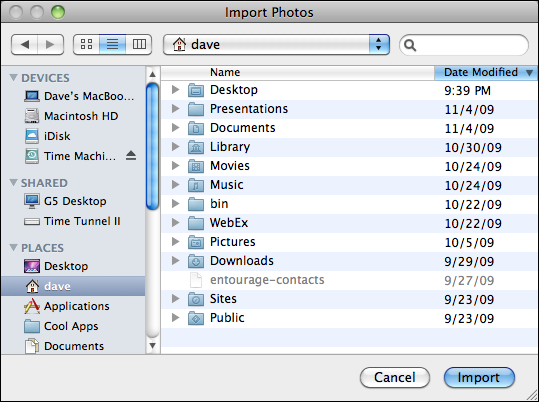
When you choose that, you’ll now have a chance to select the individual photos or, hopefully, a folder full of photos that you want to import:
If you want to grab everything in a particular folder, no need to select the individual photos therein, just make sure you can see them listed because you’re in the folder you desire:
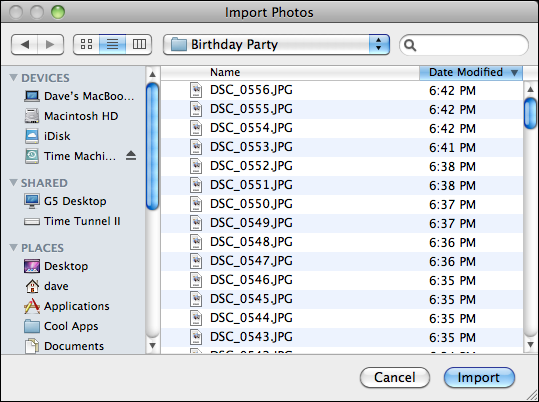
Click “Import” and:

After a few seconds you’ll see the images flash by and a small progress bar on the lower left of the window:

When that’s done you’ll see a new entry on the left navigational column called “Last Import”:

Click on it and you’ll see your new import show up under Events:

At this point I suggest that you not only give the Event a name by double-clicking on “Untitled event” and typing it in, but also click on the little “i” button so you can identify where the pictures were taken:
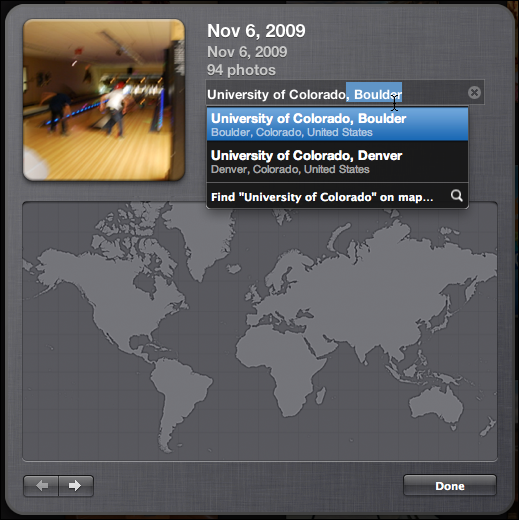
Enter the name of the place they were shot and save it. Now you not only have imported your photos into iPhoto and given them a good event name, but you can also start to explore the very cool photo mapping features in the app too!
Wow, how easy is that? This has been of great benefit. Thanks for giving us a complete answer.
Hi there,
i do it a different way. Make sure the folder to be imported has a name, such as ‘Pete’s photos’. I open iPhoto and then just drag the folder from the desktop into the list of albums on the left side of the iPhoto window. iPhoto automatically creates a new album with the name of the folder. That’s the easiest way for me.