Ask Dave Taylor
  • Facebook
  • Instagram
  • Linkedin
  • Pinterest
  • Twitter
  • YouTube
  • Home
  • YouTube Videos
  • Top Categories
  • Subscribe via Email
  • Ask A Question
  • Meet Dave
  • Home
  • Windows PC Help
  • Rename and Add Border to Windows 10 Image?

Rename and Add Border to Windows 10 Image?

April 11, 2018 / Dave Taylor / Windows PC Help / No Comments

I’m trying to prep some images on my Win10 laptop computer for posting on social media and am wondering how to rename them and add black borders to the images. Can you walk me through the process, please?

You may be surprised to know that Windows 10 actually has a lot of programs that can edit and manipulate images, but that it’s the lease visible of them that’s going to make the job easiest: Paint. Not the fancy new Paint 3D tool, not Photos (even if you’re working with a photograph), but Paint. It’s confusing that a new tool like Paint 3D seems to have lost many of the basic edit tools that make Paint so useful, but that certainly seems to be the case nowadays. Heck, some people recommend downloading a third-party graphics editor for this task!

In terms of renaming a file, there are a bunch of ways to do that but since that’s such a basic part of Microsoft Windows functionality, I’m kind of hoping you already know how to do it and just forgot. No worries, I’ll give you a quick refresher on the various ways you can update the name of a file to more accurately convey its contents and replace spaces with dashes or similar to prep it for online usage.

Let’s start with the renaming, actually. Hover your cursor over a file icon and you get some info about it:

win10 hover over image file - filename and size

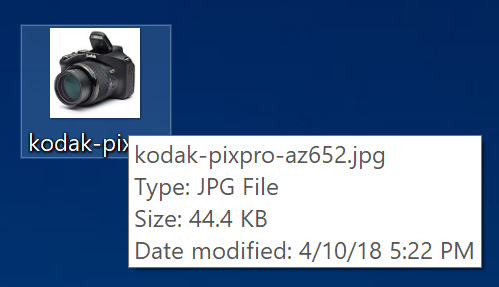
As you can see, the image is called “kodak-pixpro-az652.jpg”. That’s a good, Web friendly name that accurately describes the image itself, but let’s say it wasn’t accurate and needed to be updated. One easy way to do it is to “slow click” on the image name itself on the Desktop. Don’t double click because you’ll just open the file in an editor. A single click should get you to the edit mode:

update filename win10

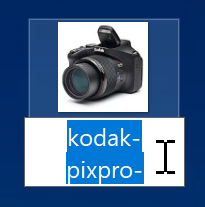
Not my favorite way to change the filename because it’s hard to see the entire name if it’s long. Instead, right click on the image to bring up the context menu. Lots and lots of choices:

win10 image file context right-click menu

I’ve highlighted “Edit” above, but first, choose “Properties“, the very last choice on the menu. That brings up a window with tons of info about the image, as shown:

win10 windows file image properties

The box with the filename is actually an editable field. Click, type and fix it. Notice also you can see lots about the image including size on disk, created, accessed and modified dates, and even mark the image as hidden or read-only. Note: If you mark it as hidden you can’t then click on it again to unhide it. So be careful! 🙂

The third way you can rename a file is by choosing “Rename” from the context menu, above, which drops you into the tiny edit field immediately below the file icon. Use the Properties window if you really want to see what’s going on, or switch to a list view instead of an icon view.

Now, earlier, we saw “Edit” as the highlighted choice. Choose it. The image will open up in “Paint”:

windows image open paint program

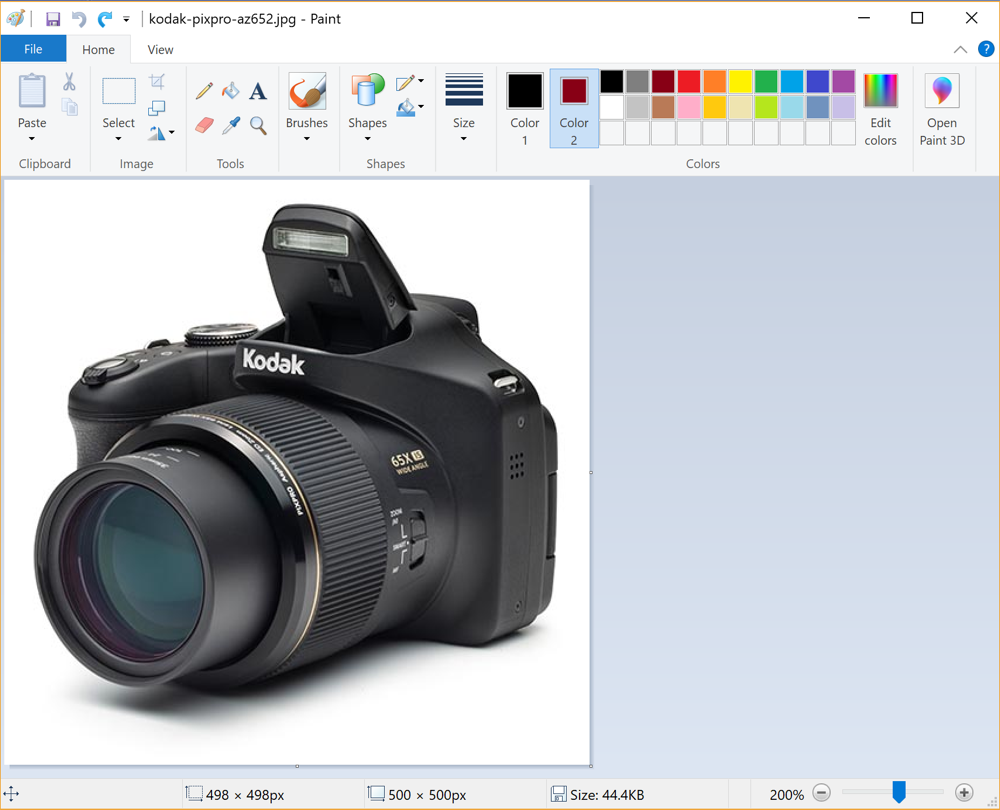
Lots of different things you can do here, but let’s stay completely focused [pun intended with the camera as our test image!] and add the border. The basic idea is that you choose your color, choose the line width, choose the geometric shape – rectangle – then overlay that on the very outer edges of the image. Not too hard.

Start with the color. Above it’s shown as Color 1 and it’s already black, so that’s good.

Next step, line thickness:

microsoft paint choose line thickness width

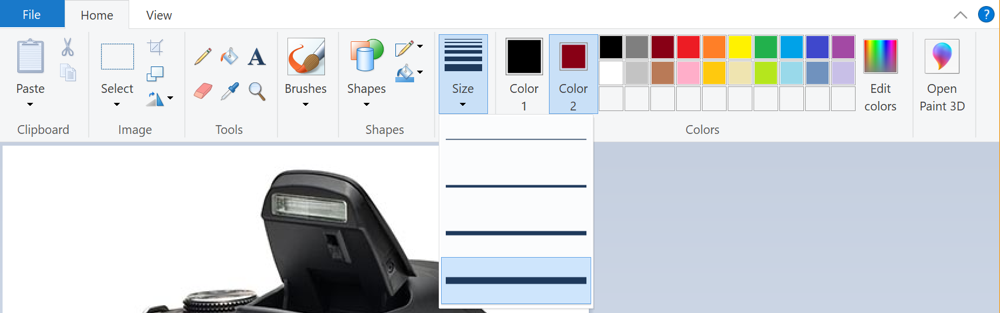
I choose the thickest line because I want the border to be quite visible. You can undo and try different thicknesses as desired.

Finally, step #3 is to click on “Shapes” and choose the rectangle:

windows paint shapes rectangle

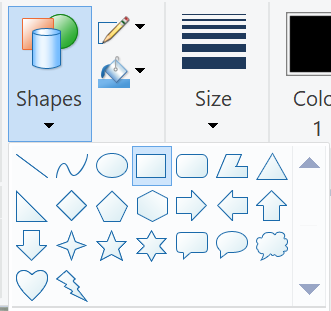
Yes, you could add a cloud shape or a lightning bolt, but that’s an entirely different edit! Let’s stick with the rectangle, as shown. Now it’s a simple matter of clicking on the top left corner and dragging the rectangle to the lower right corner. Once you’re done, it’ll look like this:

microsoft paint border added black thick

That’s it. Done. Now just save it as a new filename, or overwrite the non-border image and you’re ready to go. Not too bad at all, really!

Pro Tip: While you’re here, please do check out our extensive Windows 10 help area for lots more tutorials!

Let’s Stay In Touch!

Never miss a single article, review or tutorial here on AskDaveTaylor, sign up for my fun weekly newsletter!
Name: 
Your email address:*
Please enter all required fields
Correct invalid entries
No spam, ever. Promise. Powered by FeedBlitz
Please choose a color:
Starbucks coffee cup I do have a lot to say, and questions of my own for that matter, but first I'd like to say thank you, Dave, for all your helpful information by buying you a cup of coffee!
add border paint, add image border, add image frame, frame image, microsoft paint, rename file, rename file windows, rename image file

Leave a Reply Cancel reply

Your email address will not be published. Required fields are marked *

Search

Recent Posts

  • How Do I Update My Autofill Information in Brave?
  • Is It Possible to Save Voicemail Messages on an iPhone?
  • Automatically Sync Time and Show World Clock on my PC?
  • Rename and Add Artwork to Voice Memos Saved in Apple Music?
  • How Can I Use Google Lens within Google Chrome on a Chromebook?

On Our YouTube Channel

Casio PRO TREK Eco-Friendly PRW61-1A Chronograph Watch -- REVIEW

BENKS "MagClap" MagSafe External iPhone Battery -- TEST & REVIEW

Categories

  • AdSense, AdWords, and PPC Help (106)
  • Amazon, eBay, and Online Shopping Help, (161)
  • Android Help (195)
  • Apple iPad Help (144)
  • Apple Watch Help (52)
  • Articles, Tutorials, and Reviews (344)
  • Business Advice (199)
  • Chrome OS Help (23)
  • Computer & Internet Basics (758)
  • d) None of the Above (164)
  • Facebook Help (382)
  • Google, Chrome & Gmail Help (177)
  • HTML & Web Page Design (244)
  • Instagram Help (47)
  • iPhone & iOS Help (603)
  • iPod & MP3 Player Help (173)
  • Kindle & Nook Help (92)
  • LinkedIn Help (85)
  • Linux Help (162)
  • Linux Shell Script Programming (86)
  • Mac & MacOS Help (888)
  • Most Popular (16)
  • Outlook & Office 365 Help (24)
  • PayPal Help (69)
  • Pinterest Help (53)
  • Reddit Help (17)
  • SEO & Marketing (81)
  • Spam, Scams & Security (92)
  • Trade Show News & Updates (23)
  • Twitter Help (217)
  • Video Game Tips (66)
  • Web Site Traffic Tips (62)
  • Windows PC Help (912)
  • Wordpress Help (204)
  • Writing and Publishing (72)
  • YouTube Help (45)
  • YouTube Video Reviews (159)
  • Zoom, Skype & Video Chat Help (56)

Archives

Social Connections:

Ask Dave Taylor


Follow Me on Pinterest
Follow me on Twitter
Follow me on LinkedIn
Follow me on Instagram


AskDaveTaylor on Facebook


microsoft insider mvp


This web site is for the purpose of disseminating information for educational purposes, free of charge, for the benefit of all visitors. We take great care to provide quality information. However, we do not guarantee, and accept no legal liability whatsoever arising from or connected to, the accuracy, reliability, currency or completeness of any material contained on this site or on any linked site. Further, please note that by submitting a question or comment you're agreeing to our terms of service, which are: you relinquish any subsequent rights of ownership to your material by submitting it on this site. Our lawyer says "Thanks for your cooperation."
© 2022 by Dave Taylor. "Ask Dave Taylor®" is a registered trademark of Intuitive Systems, LLC.
Privacy Policy - Terms and Conditions - Accessibility Policy