
Still holding meetings, family gatherings and happy hour via the now-ubiquitous Zoom program? Here are some key settings to check so you look and sound your best on every meeting, from class lectures to virtual dating…
Few programs have gone from unknown to central in the cultural zeitgeist like Zoom has in the last year or so. Sure, it was around and companies were using it for virtual meetings with developers and far-flung team members around the world, but its growth has jumped quite dramatically and it’s become a verb: people say “let’s Zoom!” instead of “let’s have a virtual meeting”. Problem is, while many of the default settings are perfectly acceptable in the Zoom app, there are some you want to tweak and adjust to get the best possible results.
More than that, however, you also want to think about a few environmental factors too. I call it HBNL: height, background, noise and lighting. Height: You want your laptop to be at 90-degrees for best visual results, so stack a few books or a big box underneath to raise it up. Easy. Background: Get rid of clutter. Buy a nice patterned sheet – or photo backdrop – and hang it behind you. Much better than the chaos of that junky corner in your kitchen. Noise: Find the quietest acoustic environment possible. Close doors. Remind kids you need some uninterrupted time. Lighting: move around so that your face is evenly lit and focus on lighting yourself, not your workspace. That’s a bit counterintuitive because normally you want your keyboard or workspace well lit, but Zoom’s all about you, baby, so light it up.
IMPROVE YOUR ZOOM APPEARANCE WITH THESE SETTINGS
With HBNL taken care of, let’s jump into the Zoom application itself and check what settings can be adjusted too. These are all within the Zoom app for MacOS, but the Windows version of Zoom looks almost identical and the mobile version has all these same settings too. Better, it’s open to experimentation so you can make changes as desired and decide not to keep it if the result isn’t what you see.
To start, open Preferences and go to Video. Here are the key settings and, of course, a preview of your current video appearance:
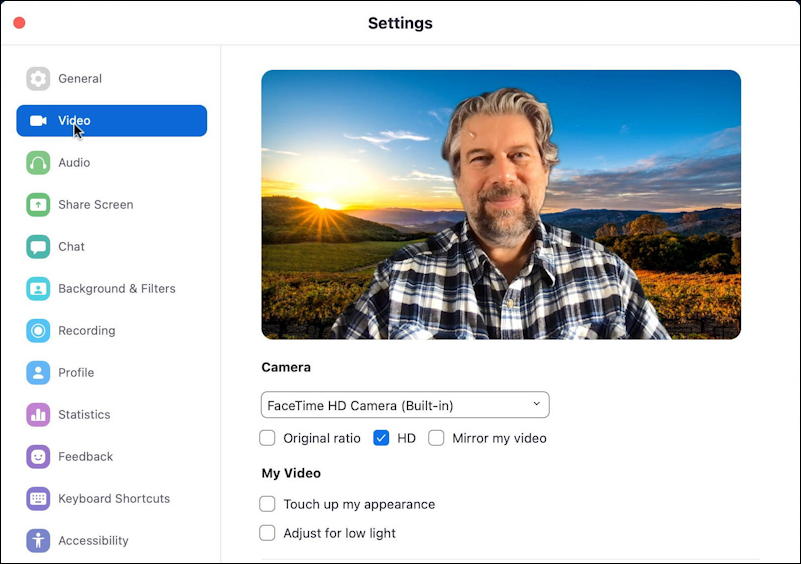
The one that I find has the most difference is to simply indicate to Zoom that you want to use high definition “HD” video when you’re on camera: Check “HD”, as shown. If you have an external camera – and you’d be startled at how much better even a $30 external HD webcam can look than your built-in webcam – you can see where it’s able to be selected as the input choice.
More interesting are the checkboxes for “Adjust for low lighting” which can be really helpful if you can’t adjust the light to have an even illumination across your face, and “Touch up my appearance” which might let you look like you woke up fresh as the proverbial daisy, not hungover from a night of partying. Your mileage may vary with that feature!
Next up are the audio preferences. Click on “Audio” to get to ’em:
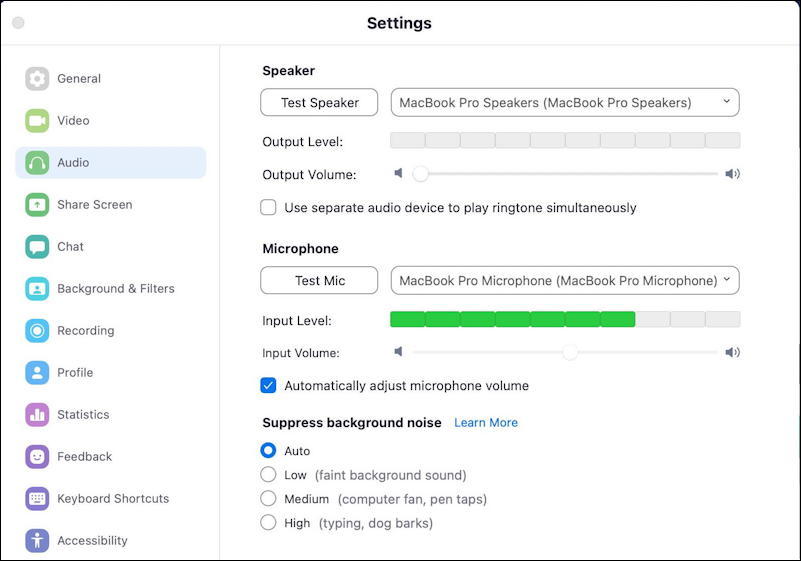
Here’s where you can switch audio input and output devices – very useful if you use an external microphone but want to stick with the built-in speakers, as I do with my own Zoom calls – along with being able to fine-tune the levels of both the input and output so you sound good when you talk too.
More interestingly, however, is the “Suppress Background Noise” section. By default it’s set to automatically do some of that, but if you have to work in a noisy environment, go into this and set it to high to improve the differentiation between your voice and the chaos around you. Can be very helpful.
The third place to explore and play a bit is with Backgrounds & Filters. Click on that and you can choose a virtual background instead of the clutter or boring white wall behind you. In my case, I have a chromakey wall in my studio that I utilize for Zoom calls, as you can see when I disable that feature:
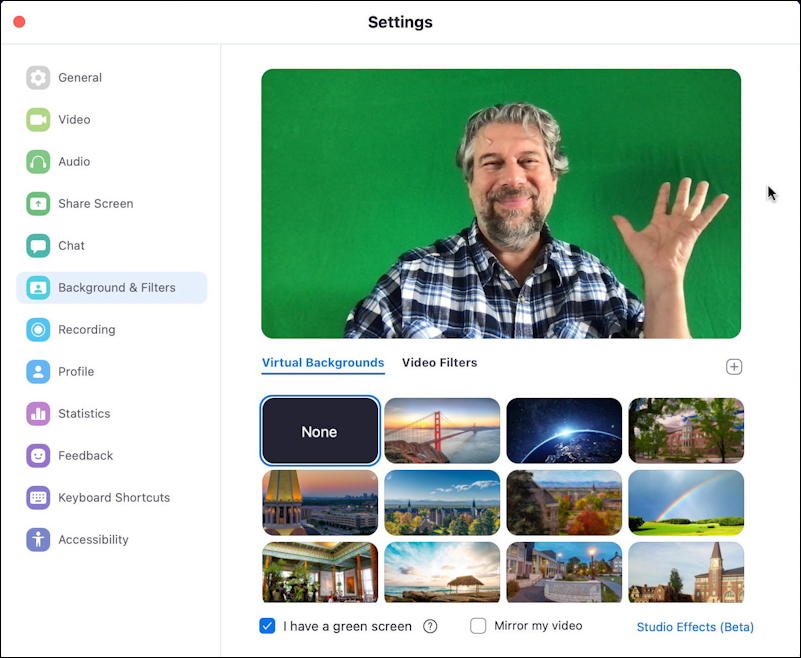
I’ve written extensively about how to use the green screen and virtual background feature in Zoom so let me just point you to: How to get started with virtual backgrounds in Zoom and we can move on to the next settings.
What I will say before we leave this topic, however, is that if you don’t have a stark difference in lighting between yourself and your existing background and don’t have a fast computer, don’t use virtual backgrounds. They tend to look pretty awful and can be really annoying for other participants…
USEFUL ZOOM KEYBOARD SHORTCUTS AND MORE
While we’re in the preferences and settings area, let’s have a quick peek at two more areas. First, keyboard shortcuts:

Not necessarily that useful since you probably don’t change things up while you’re in a meeting, but it is useful to know that while you’re in a waiting room or otherwise waiting for a meeting to start that you can make some changes so you start right out looking and sounding your best.
You can also make sure that people see you’re busy if you like to leave Zoom running by utilizing the main menu’s Do Not Disturb feature. Note that you access it right off the tiny icon on the top right and can set it to whatever you’d like, or permanently specify that you’re busy!
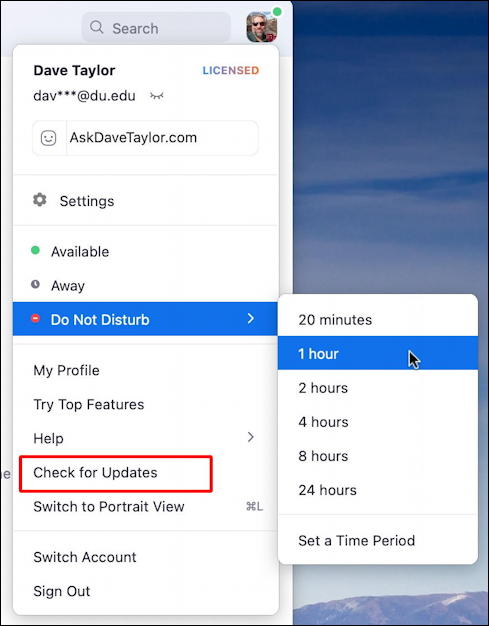
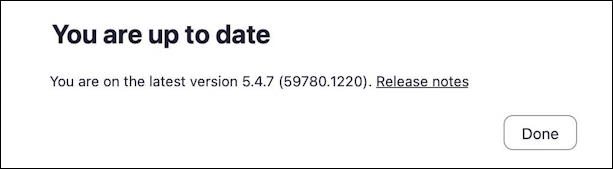
And, finally Zoom pushes out app updates quite frequently so it’s always a good idea to check. You can do that from the same menu – I highlighted it above: Check for Updates. Your version will be different but if all is well, you’ll see this as a consequence:
Between all of those settings and paying attention to HBNL – height, background, noise and lighting – you should quickly switch to being the best looking and sounding person in the room…

And who doesn’t want that?
Pro Tip: I have quite a few tutorials about how to get the most out of Zoom. Please do check out my Zoom help area for more useful tips, tricks and settings too. Thanks!
I am using my Windows desktop PC.
You easily said “To start, open Preferences and go to Video.”
I can’t find “Preferences” anywhere; the search function doesn’t even recognize the word. The chat help also did not understand the word preferences.
Can you give a step by step from the beginning?