
I need to deliver a class and want to hook up my MacBook Pro to the classroom projector. Then I want to have what’s on my screen duplicated [ed: mirrored] on the wall. How do I set that up?
Hooking up a projector to your MacBook Pro or MacBook Air is actually remarkably similar to plugging in a second monitor or display, both in the physical cables and in the software configuration tweaks you want to make for it to work properly. There are a number of different connection choices, of course, with PC-based “VGA” the most common, but as long as you have the right adapter, your Mac can handle just about anything, from DisplayPort to HDMI to, yes, VGA. Smart move: check that the school has the necessary adapter in advance so there are no surprises. I’m really getting to appreciate a straight HDMI adapter because of its wide compatibility and cheap cables.
Then your macOS X system will automatically recognize the external display [as detailed here] and automatically show an image on the new screen, whether it’s a gorgeous new 4K monitor or a big, old school VGA projector. Then, and only then, can you configure it to either “mirror” (which duplicates the same content on both screens) or “extend” your screen.
Before you plug it in, you’ll want to launch the Displays system preference. Go to Apple menu -> System Preferences… to see this:
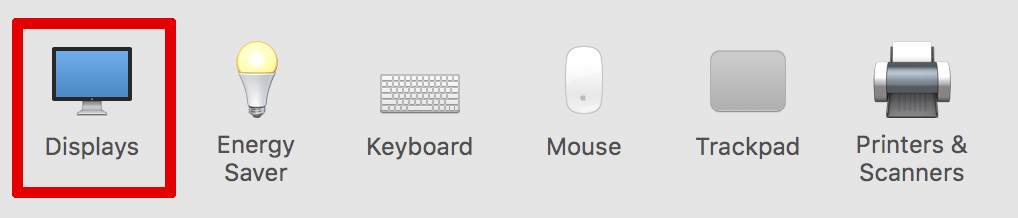
As highlighted, click on Displays. Without an external display, monitor or projector plugged in, you’ll see this:
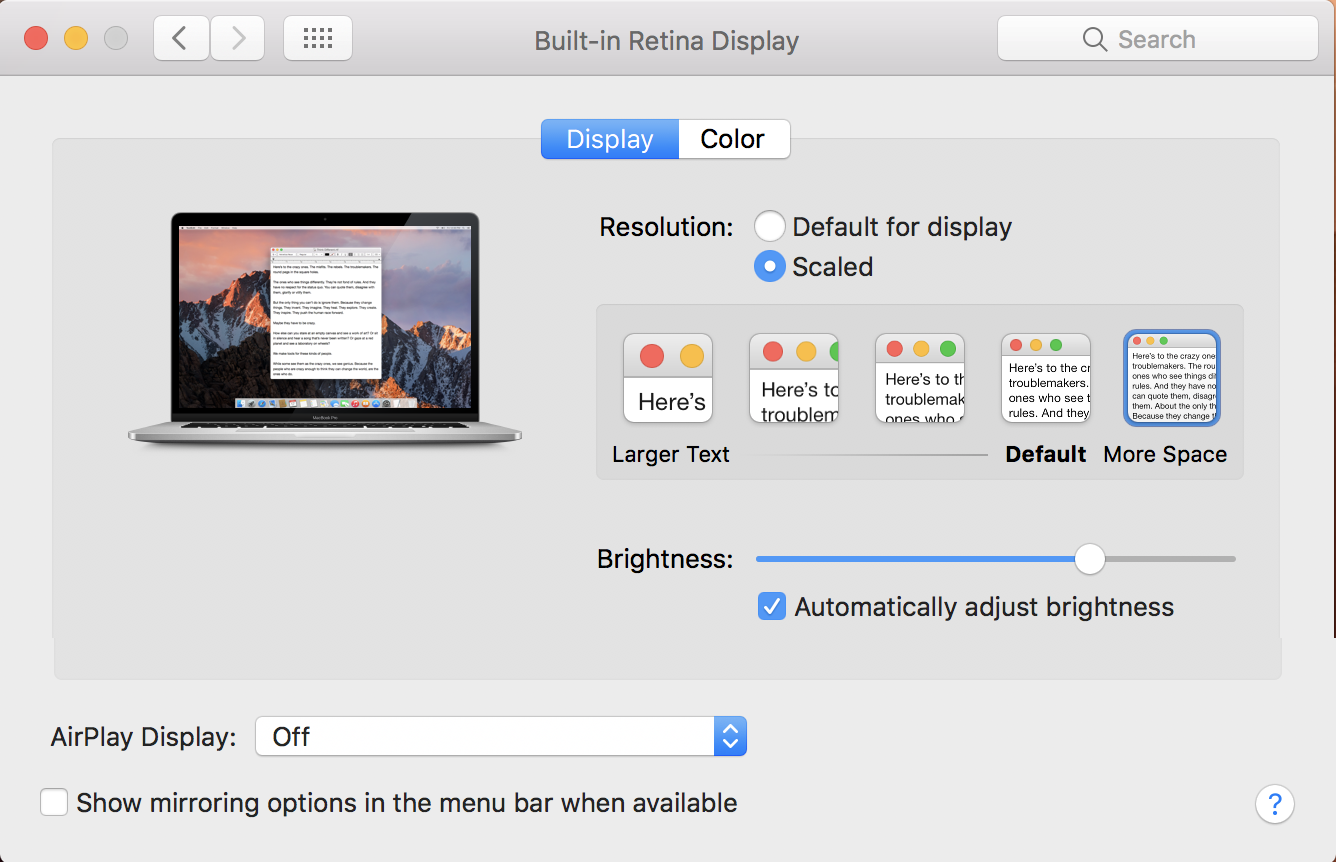
There’s nothing to do here yet. But now, with that displayed, plug in the external project / monitor.
Your whole system should go black for a second or two as the operating system detects the other monitor, then it’ll show back up and the Displays window will have a new tab added: “Arrangement“:
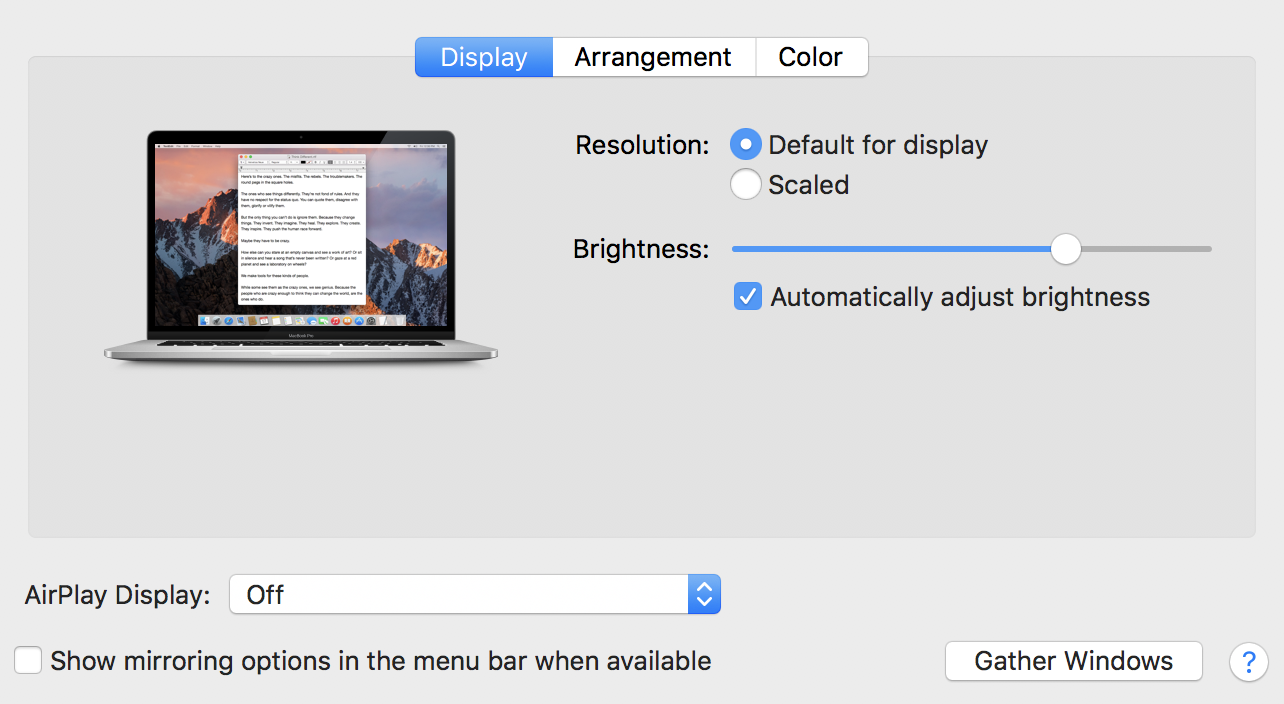
Notice the options for setting the display have changed too. Nothing to worry about, just leave it for now. Instead, click on the “Arrangement” tab on the top:
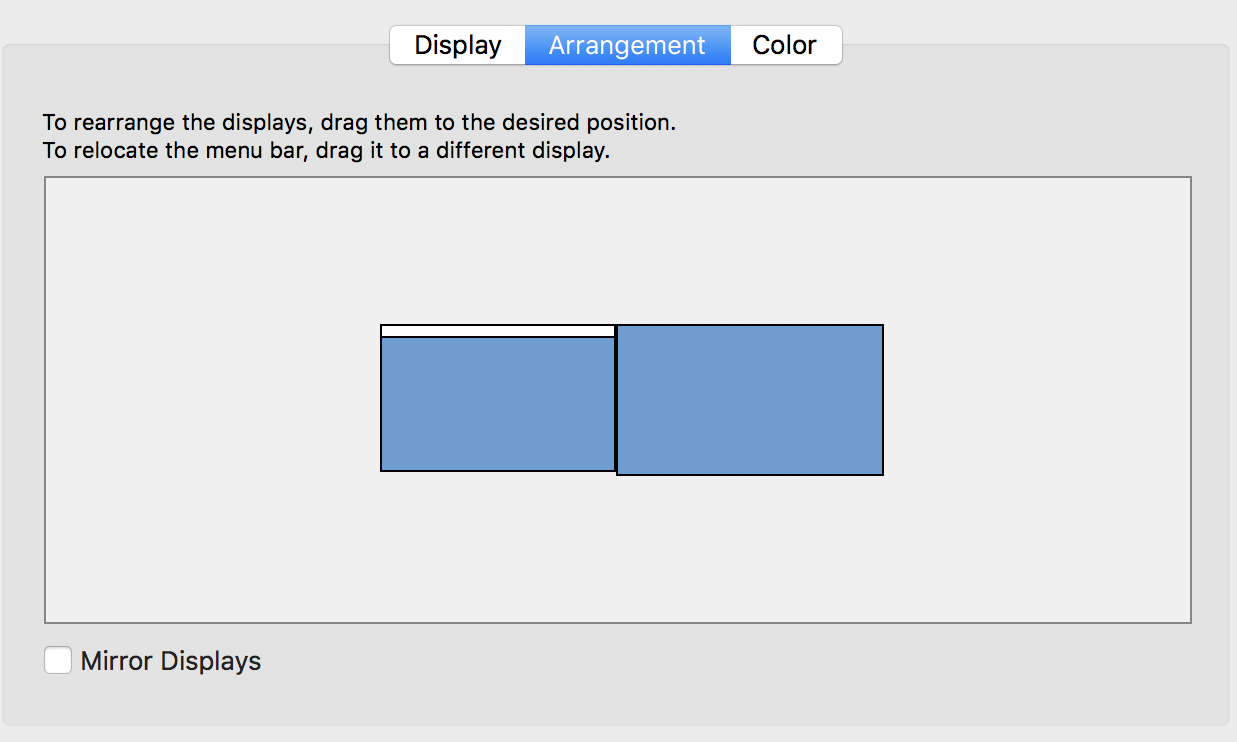
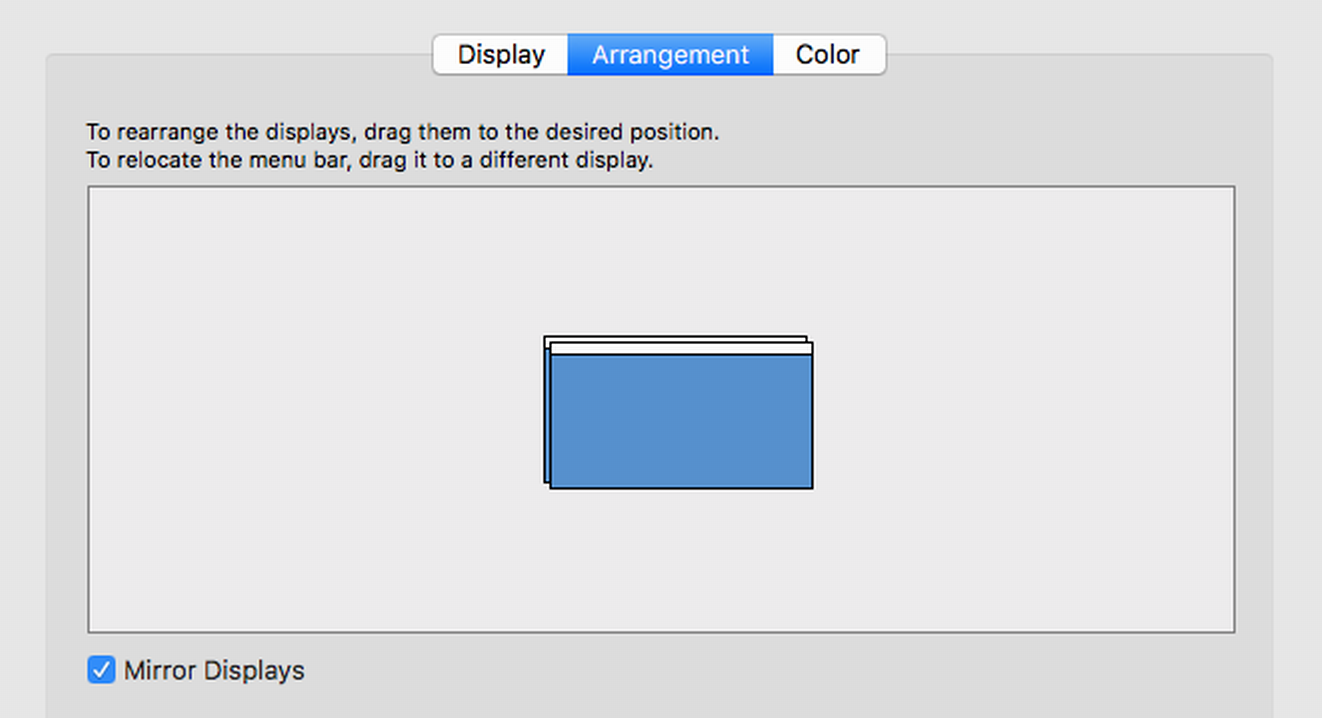
As you can see, it shows the “relative layout” of the two screens. In this case, the blue rectangle with the tiny white bar is the main screen (your computer) and the second display (project0r) is additional screen real estate “on the right”.
What does this mean? That if you move your cursor or a window off the right edge of your computer’s screen it will show up on the left edge of the second display or the projector. This is known as “extended” mode and as it sounds, it’s a way to gain lots of real estate. 99% of the time when you plug in a second monitor, this is the configuration you want.
With a projector, however, usually you’ll want to “mirror” or exactly duplicate what’s on your screen and what’s on the projector screen. That’s done by clicking on the checkbox adjacent to the prompt “Mirror Displays” on the lower edge. Click on it and things change rather suddenly on both screens to match up, and the Displays preferences window changes too:
That’s all there is to it. Easy enough. Now, one handy tip. In the main Displays window look at the bottom and check “Show mirroring options in the menu bar when available“. This adds a new icon to the menu bar only when you have more than one screen or display hooked up that offers an easy shortcut to all of these settings:
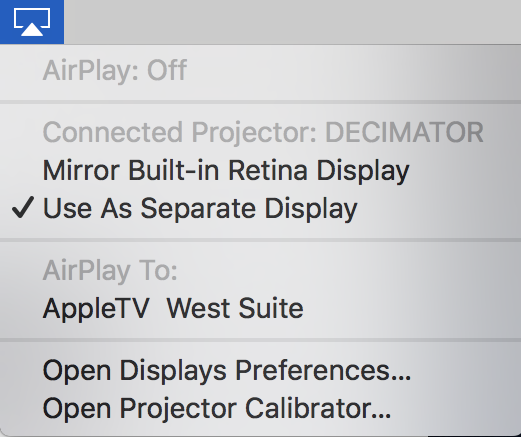
Wayyyy easier and since it only shows up when a second display is present, it won’t bug you when you aren’t using a projector or additional display. Nicely done, Apple.
And good luck on your presentation!