
Hi Dave. I have decided that I need to delete iTunes and all content! Can you tell me how to do that please? I really need to claw back some disc space, I have a 2Tb drive and it’s crammed.
However big our disks become, it’s still the case that we do need to manage the files, videos, archives, and other content that we store and that is copied or saved by our favorite games and applications. Data doesn’t tend to “age out” either, so if you fired up a game two years ago that downloaded a few gigabytes of data, that huge data file is still sitting on your computer and will do until you finally remove the game!
Turns out that iTunes has split into a couple of different programs as of the last major MacOS X update, actually, and iTunes itself has been renamed “Music”. The TV and video content is now in the “TV” app, and the portion of iTunes that let you manage content on your mobile devices – e.g., iPhones and iPads – has been (confusingly) integrated into the Finder and no longer has its own standalone app. Why they didn’t create an “iOS Manager” to make it more logical I cannot explain, but what you think of as a monolithic media app is now a tiny little suite of programs.
Which is important because it’s probably not music files that are eating up all your disk space! Music files are pretty small and if you have a 2TB drive, that’s space for tens of thousands of songs. TV shows? Movies? Maybe. But let’s start at the beginning, ascertaining where your disk space has gone. That’s most easily done by choosing “About This Mac” from the Apple menu on the top left corner of your screen:
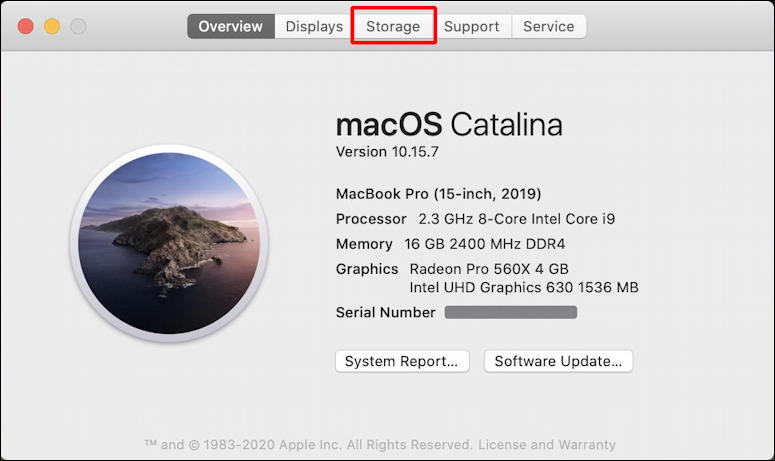
As highlighted, you want to click on the “Storage” tab along the top. Then it’ll analyze your disk drive:
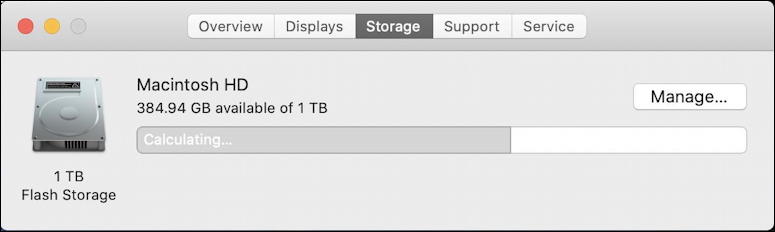
After a few moments, the grey ‘calculating’ will be replaced by a colorful display of what category of data is consuming your used space:
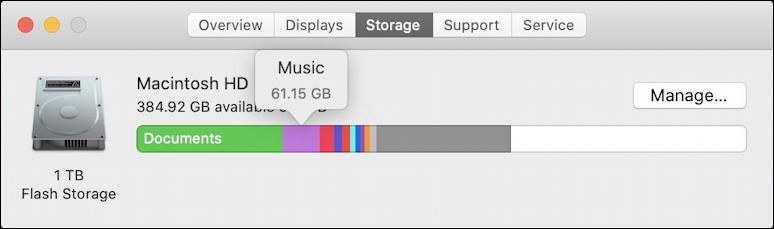
The smaller segments aren’t labeled, but if you move your cursor over them, the pop-up will show category and size. In the above you can see that I have a 1TB drive of which 384GB are available, that Documents is the biggest category in terms of disk space utilized, and that my (purple) Music library is eating up 61.15GB of disk space.
One strategy you can use is to utilize some of Apple’s disk management tools. Click on “Manage…”
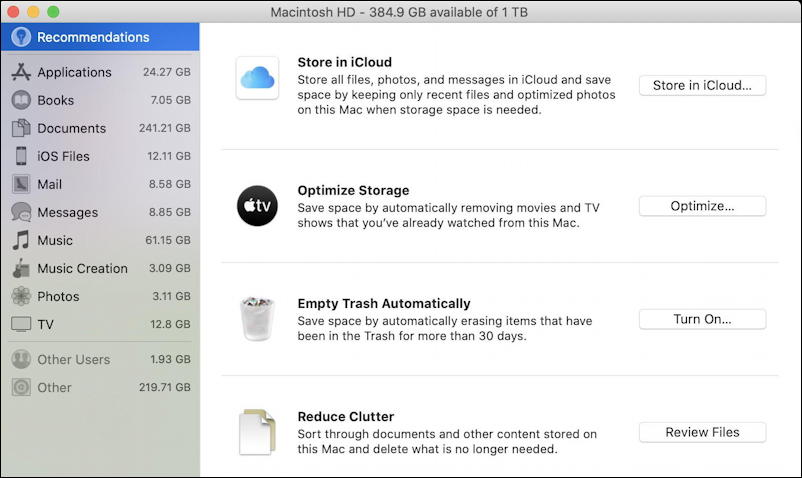
One easy setting is to enable “Optimize Storage“, which will automatically remove TV show episodes and movies once you’ve watched them. As with the data from the game I mentioned earlier, it’s easy to download a movie, watch it, and forget that it’s just sitting, taking up space forever. Also make sure you are regularly emptying your trash, either by setting that up as an automatic task (as shown above) or by doing it manually. Files dragged into your Trash are still taking up space until they are properly deleted.
But maybe it is about music…
REMOVING SONGS AND CDS FROM MUSIC APP
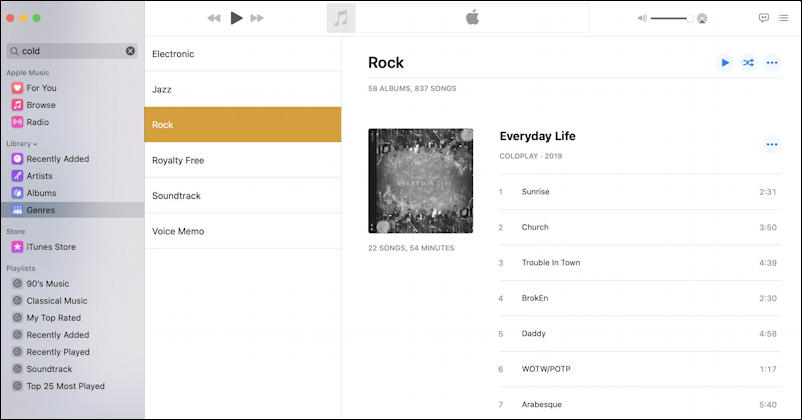
Perhaps you are a huge fan of music and do have an enormous library. Okay, here’s how you delete an album or CD. To start, launch the Music program, then find the album you want to delete.
For me, it’s the latest from Coldplay, Everyday Life. I’ve found it in my Rock genre:
Now it’s easy: Control-click on the album or the album title to pop up the context menu:
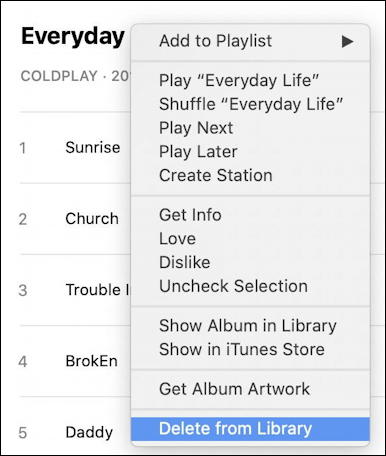
The very last option is what you seek: Delete from Library. Choose that to delete this particular album or CD. The program prompts you to ensure that’s what you really wanted to do:

You’re not quite done yet, though, because now you can decide if you want to keep the music files or actually delete everything:
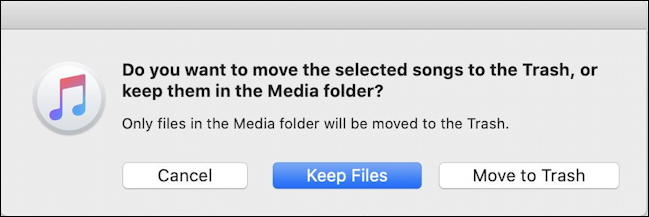
For your task, you’ll want to choose “Move to Trash” and, when you’re done, remember to empty the Trash before you check for available disk space again.
REMOVING TV AND MOVIES FROM MAC TV
More likely than music is the possibility that you’ve just never deleted movies and TV show episodes from your Mac system. To manage that, you want to launch the “TV” app, then click on the “Library” tab. For me, it looks like this:
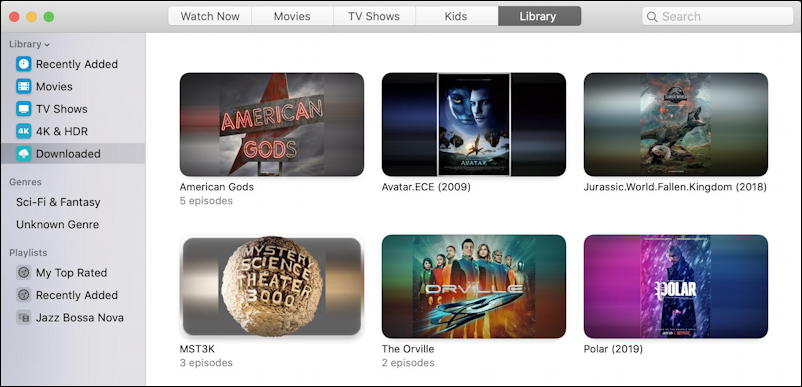
You can see that I have 5 episodes of American Gods, 3 episodes of Mystery Science Theater 3000 and 2 episodes of The Orville, along with the movies Avatar, Jurassic World: Fallen Kingdom and Polar. As a rough figure, you can calculate that each TV episode is 500MB and each movie is 1-1.5GB of space, so American Gods by itself is probably 2.5GB. Thing is, I’ve long since watched the show (it’s great!) and really don’t need it sitting on my computer forevermore.
To delete it, the process is very similar: Control-click on the movie or show you want to delete to bring up the context menu:
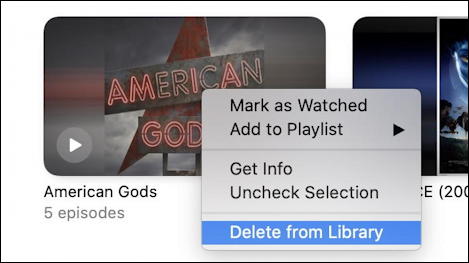
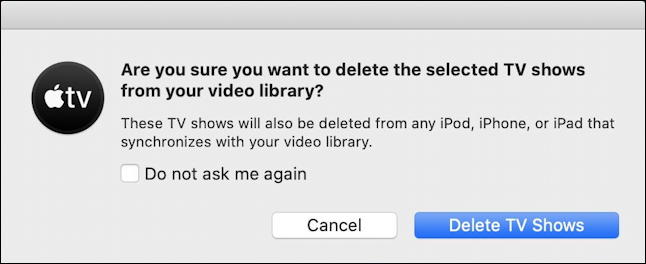
The process with confirmation dialogs once you request to “Delete from Library” is quite similar to Music…
And that’s it. Between those you should be able to wrestle back some of the space you’ve lost on your computer. If this doesn’t help then it’s something else consuming your disk space and that should be something you can identify within the Finder. Start at the top of your drive hierarchy, choose List view and choose “calculate all folder sizes” so you can then click on size and sort by total disk space utilized by each and every category on your computer. I wrote a tutorial about how to do that, fortunately, so do check out What’s Eating All My Mac Disk Space?
On a PC, not a Mac? I also wrote another piece on Finding Huge Programs On Your PC.
Good luck!
Pro Tip: I’ve been writing about the Mac system since it was all in black & white. I have a lot of tutorial content here on the site worth checking out while you’re visiting, so please do check out my Mac help library!
Hello,
I am trying to free up space on an old IMAC 2011 with Capitan 10.11.6 and can’t find out how to do this anywhere. Called apple and they can’t help either because it’s too old. I would really appreciate help! I have 10,000 songs on it that I want to permanently delete. They have been deleted from iTunes but they did not delete from the hard drive and I don’t know where they are. Any help would be appreciated! thanks so much!
On MacOS 11, at least, all of your Music library is in ~/Music/iTunes/iTunes Media/Music and you can enter that into the Finder if you use the “Go” menu on the menubar and choose “Go To Folder…”. Good luck!