
I’ve been hearing a lot about Split View and how it’s a nice way to work with two apps simultaneously. Okay, I’ve upgraded to Mac OS X 10.11 “El Capitan”. But I still can’t seem to get it to work! What’s the secret?
Apple’s done a nice job with the implementation of Split View, and if you have a decent size screen — like the 15″ screen on a MacBook Pro — it’s a surprisingly intuitive way to organize information on your display so that you have two active windows and nothing else distracting you while you’re working. When I’m writing a movie review for my Dave On Film site, for example, I’ll have a cast list from IMDb on one side while my blog’s edit window is open on the other side. Easy, useful.
The problem is, there’s a confusingly labelled preference in your Mac OS X settings that needs to be selected for Split View to work, and it doesn’t mention a thing about Split View so it’s almost impossible to know it’s required. Hopefully in an upgrade it’ll be remedied, but for now, you’ll need to start out by going to Apple > System Preferences… and selecting Mission Control.
Here’s what that’ll look like:
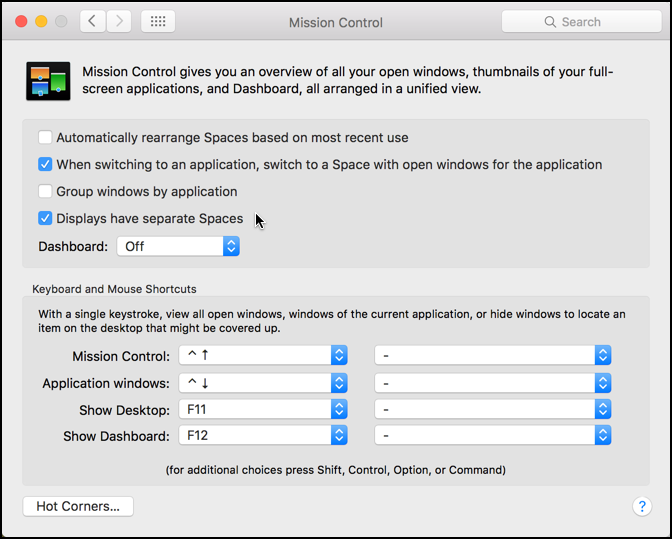
See the fourth check box, labelled Displays have separate Spaces? That’s the one. If it’s not checked, then Split View won’t actually work for you, and it won’t have an error message explaining what’s going on, it’ll just fail to work and you’ll get to be frustrated.
It would be nice to modify this to read “Enable Split View by letting Displays have separate Spaces” or similar, but that’s just me, trying to keep this the operating system “for everyone else”.
Anyway, check the box, close the window, and, probably, log out and log into OS X again.
Now you’re ready to go!
Let’s start with a typical screen display:
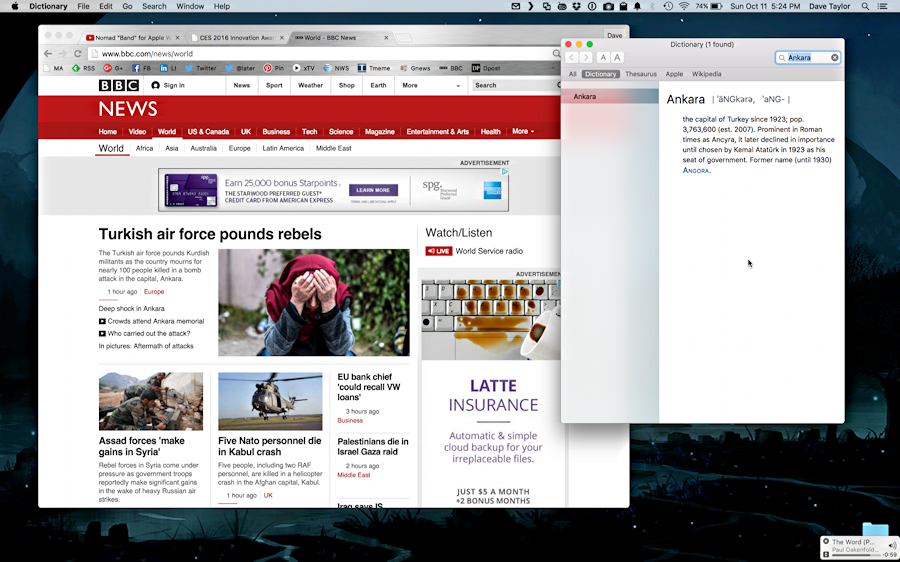
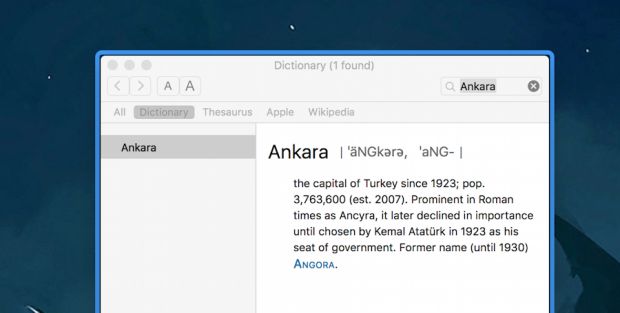
On the left you can see I’ve got Google Chrome open to the BBC News (which I check 3-4 times/day) and on the right, the overlapping window is Dictionary, where I’m looking up the name of a place mentioned in the lead article.
To convert this into a Split View, all I need to do is click and hold on the green button on one of the windows. For this demo, I’ll choose Chrome:

You’ll notice that the green circle now has these black triangles (and oh, it’s so tiny, I won’t be surprised if you can’t see it). Keep the mouse button down for a second or two and the background gets a light blue overlay on one half:
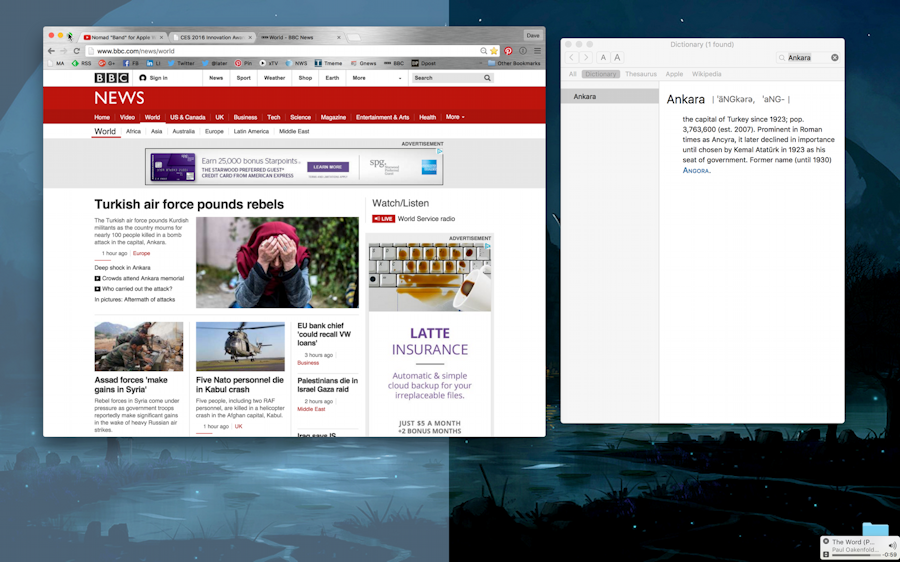
At this point you get to decide which side of SplitView you want this window to occupy. Drag it left (with the mouse button still down) to occupy the left side, right to occupy the right side. Easy.
I’ll have the browser on the left by simply letting go of the mouse (actually trackpad) button and choosing the default.
That zooms to full size within its half of the screen and the other half shows me all the open windows that remain, a la Mission Control:
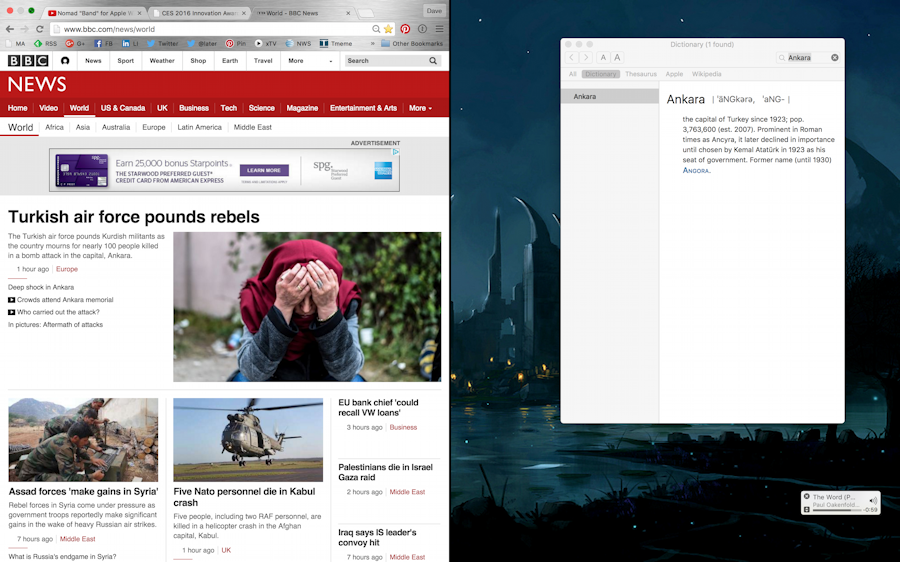
To select the window that’ll occupy the other side, simply mouse over it and a blue edge will appear:
That’s the window I want, so a single mouse click and it too zooms in, giving me Split View:

Now what I like to do is click and drag the divider line so the important window — in this case Chrome — gets the majority of the screen real estate. After I’ve done that, here’s my Split View:

Surprisingly useful, Split View is something I’m using every day now that I’m running 10.11 El Capitan. And now you know how to work with it too!
And when you’re done, just move the cursor to the very top of the screen and the red/yellow/green buttons show up again. Click the green one and the window resumes its old position on the non-Split View. Easy.