
Ever have to apply a transformation to a set of images or photographs and wish there was a way to automate the process? I review the slick program “BatchPhoto” for Mac and find it’s just what ya need…
I’ve been working on a media campaign with LEGO and Marvel and as part of the project they require a very specific copyright notice on every single image produced. Adding a watermark, as it’s called, to one image isn’t too tedious, but when you have ten and are trying to fine-tune the result, it’s a lot of manual labor. My favorite graphics program, GraphicConverter, has a rudimentary batch processing feature, but the task was a great opportunity to test out BatchPhoto on my Mac instead. After all, a tool designed specifically for the task is almost always better and easier than a general purpose program that has it as one of hundreds of features (I’m looking at you, Microsoft Word 🙂
BatchPhoto is an easy download from the MacOS X App Store, where you’ll see it’s a bit pricey at $49.99, but let’s be honest, if you have hundreds of photos to modify, you’ll save more than that the first time you use the program.
Since I’m a big fan of show, don’t tell, let’s see how this watermark batch processing transpired with the program! Launch BatchPhoto and you’ll see that it’s pretty straightforward:
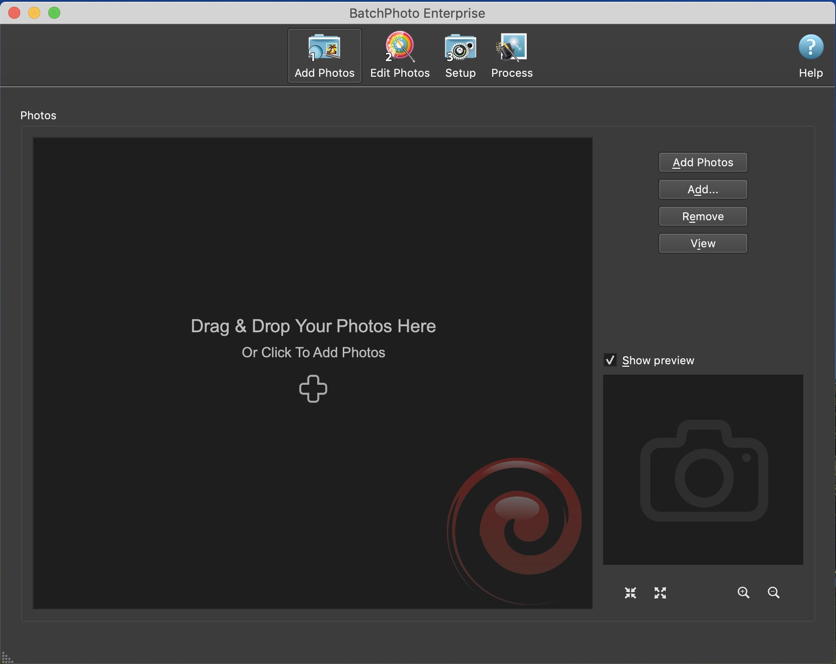
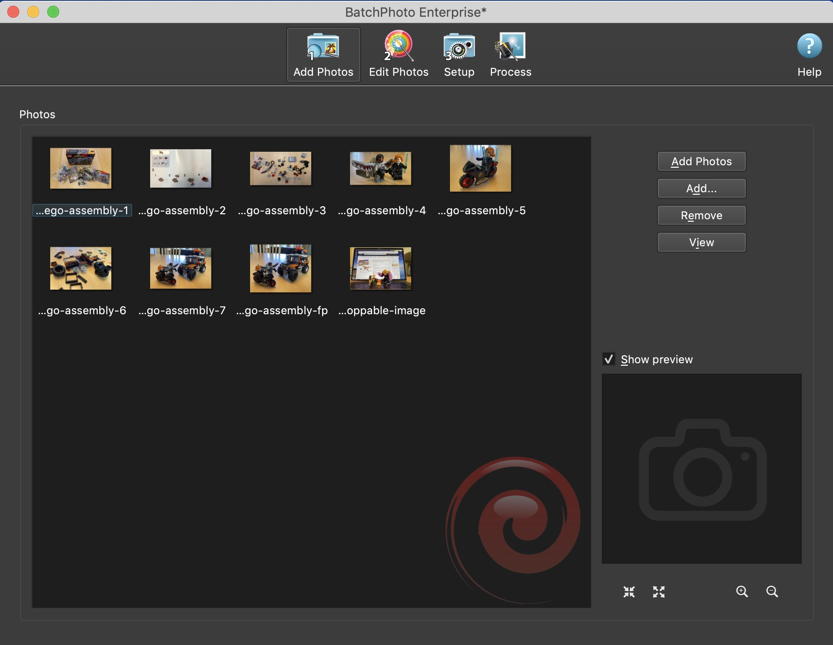
The numbers are subtle, but the four buttons along the top show the workflow: Add Photos, Edit Photos, Setup and Process. Step one can be accomplished as easily as by just dragging and dropping a folder full of images onto the big target pane. A second or two later and they all show up as selected:
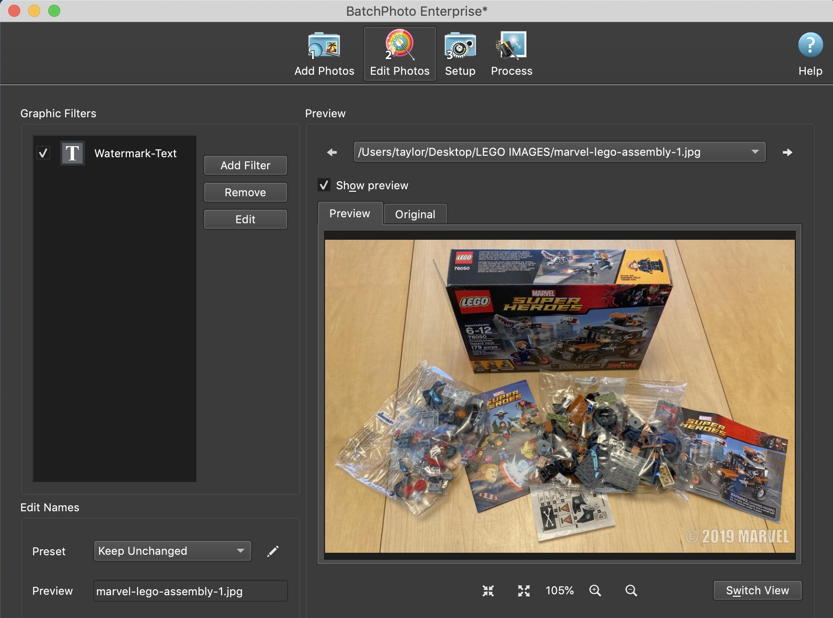
Now the fun starts: Let’s click on “Edit Photos” to see the many, many! options for transforming or editing the selected images en masse…
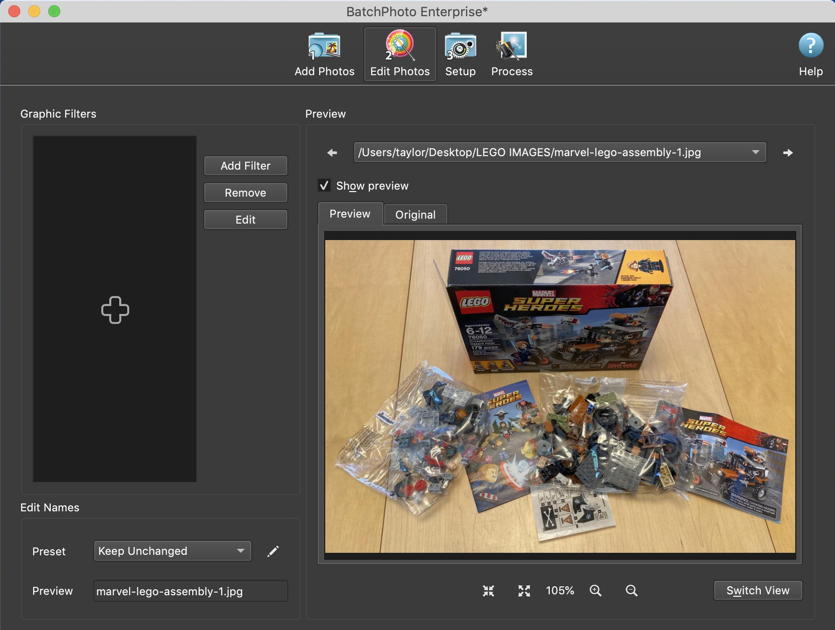
You can see in this image that I’m building the LEGO Marvel Super Heroes kit tied to Captain America: Civil War. Yes, building LEGO as part of a job. Some days, my job is very solid! 🙂 What’s missing here, however, is that watermark on the photo. To add it, I click on “Add Filter” on the left side.
When I say a lot of filters show up, that’s an understatement. There are a LOT of filters, as you can see:
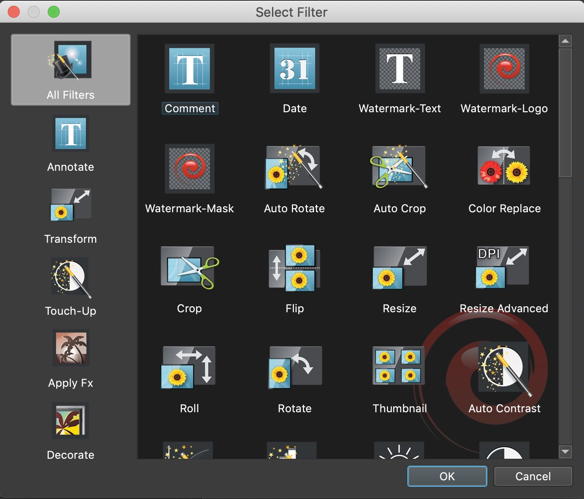
For this task, I need to use “Watermark-Text” so I’ll just click to select it.
There’s then a lot of setup and configuration to get it to match my desired results. The default seems unlikely to work for anyone, as shown, but it’s a starting point:
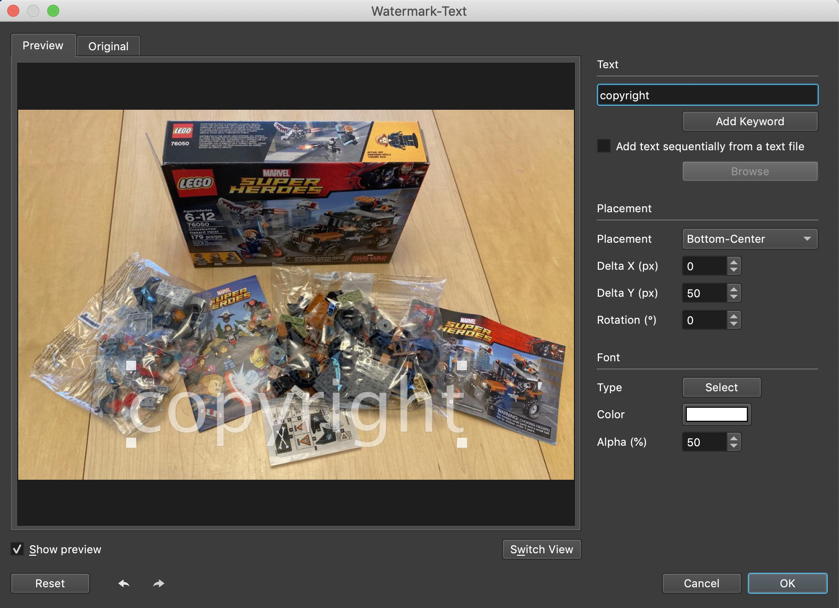
Notice on the top right you can enter whatever watermark text you want. I could use “© 2019 by Dave Taylor. All Rights Reserved.” if I wanted.
You can produce the copyright symbol on a Mac with the Option+G sequence. Try it!
The company’s told me that the copyright should be exactly © 2019 MARVEL so that’s what I enter. I also like watermarks to be on the lower right, so the Placement can be tweaked. But what font? What size? A click on the “Select” button adjacent to “Type” offers up a font selection window:
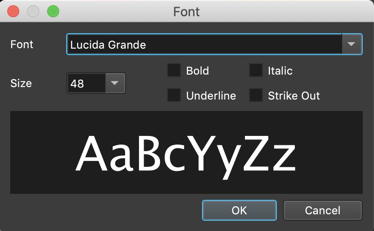
After much experimentation, I found that Impact is a great choice for copyright watermarks, I used bold and a very small font size: 10-points. Somehow it ends up pretty big on the image anyway, as you’ll see in a moment.
Here’s the interim step. Looking good, really!
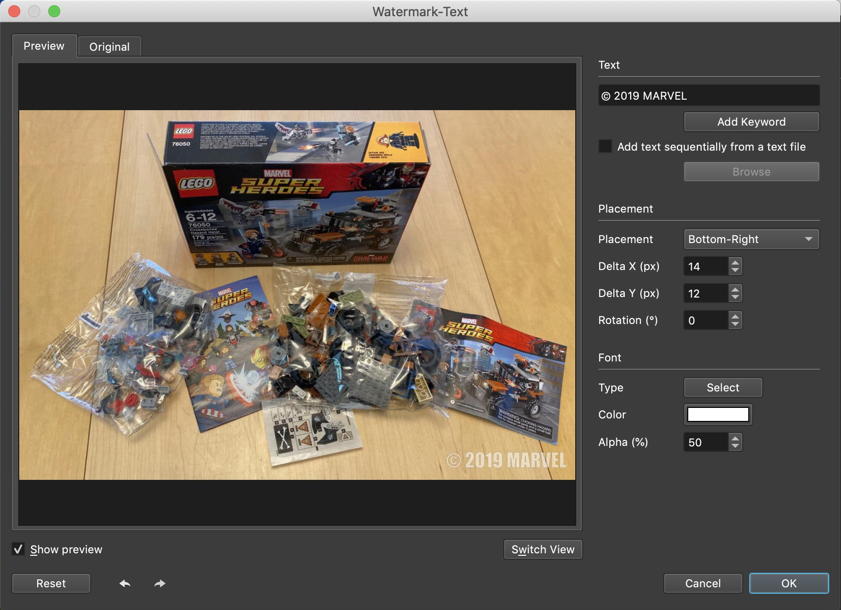
I opted to have the text be less transparent to enhance readability by lowering the Alpha channel percentage from 50% to 20%. Again, easily done. In fact, I’m ready to proceed, so a click on “OK” moves to the next step:
Notice that you can add a chain of filters as desired. Want to create thumbnails? Or black & white versions of all your images? Easily done. In this instance, fortunately, it’s a fairly basis tasks, so it’s time to proceed to step #3, Setup, by clicking on the “Setup” along the top.
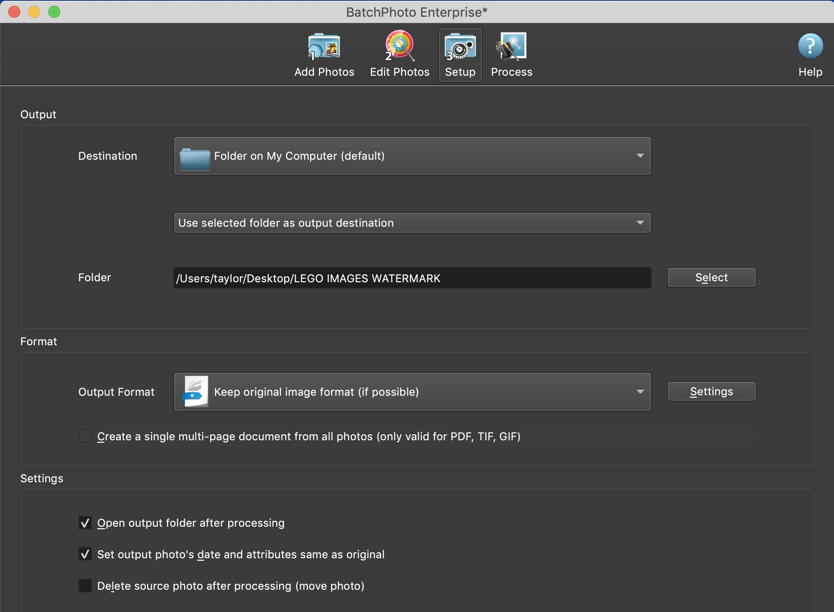
I strongly suggest that you create an output folder and ensure that you have the option “Delete source photo after processing” at the bottom unchecked to ensure you don’t lose the original images. I’ve done just that, and the output folder is ingeniously labeled “LEGO IMAGES WATERMARK”. Note also the default format is “keep original format” so my PNG images remain PNG images.
All looks good? Click on “Process” to make it so!
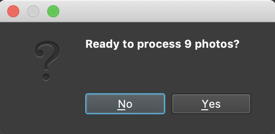
Yes, yes you are. Click on “Yes” and it’ll zip through your task. In fact, since BatchPhoto uses threading, if you have an 8-core system, it’ll use all eight cores simultaneously, so it can filter and process your images startlingly fast. Mine gained watermarks almost instantaneously on my MacBook Pro:

Yes, that’s 0.1 second for total processing. Now compare that to doing this sort of task manually!
And, finally, the resultant output, with another image from the project:
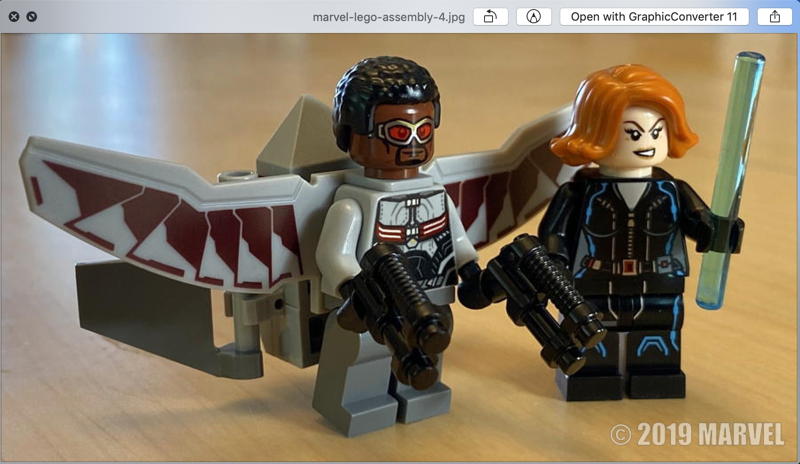
Perfect. And if I want to tweak the copyright and try again? I can do that in just a few seconds, making it possible to really fine-tune the results without worrying about time spent.
I’m a big fan of BatchPhoto for the Mac. It’s expensive, yes, but it’s a professional level tool. It also has a somewhat quirky interface if you’re not used to the dark grey color scheme of Photoshop and similar pro graphics tools, but you get the hang of it remarkably quickly in practice. Definitely one to check out if you do a lot of work with images, whether resizing, converting formats, or simply adding watermarks.
BatchPhoto for Mac, $49.99 from Bits&Coffee. You can learn more about the program either on their Web site or find it in the Mac App Store.
Disclosure: Bits&Coffee sent along a review license key for the purposes of this writeup. Thanks!
Copyright Notice: LEGO® and Marvel® are both registered trademarks of their respective companies and Captain America: Civil War™ is also a trademark of Marvel. Got it? Good.