
I take a lot of screenshots and screen captures for the Windows 11 documentation I develop. Easy to do, but every single time I have to open Snipping Tool and save the image. Is there a way that my screenshots can automatically just save as image files so I can edit them all afterwards?
There are a lot of ways to take screenshots on a Windows computer nowadays. And that’s without considering the many third-party programs available to up your game too, notably including Snagit and Screen Capture Pro, along with a variety of indie developer apps. Your Web browser probably has a built-in Web page capture utility that has the option of capturing the entire page regardless of how long it may be too! But you don’t need to install anything special to be able to capture what’s on the screen.
The standard way to capture your screen on Windows 11, however, remains Snipping Tool. It’s just so darn easy: Windows + Shift + S and you can choose between a specific region, a window, or the whole screen. That’s what you’ve been using and it works well, but, as you highlight, the default behavior is to copy the image into the clipboard, not save it to disk. Surprisingly, there’s no setting in Snipping Tool that lets you switch the default behavior. But there’s another way…
WIN11 SCREENSHOTS WITH SNIPPING TOOL
Let’s start with our ‘baseline’ of the Snipping Tool. Press Windows + Shift + S. Press that key sequence and the screen greys, showing something similar to:
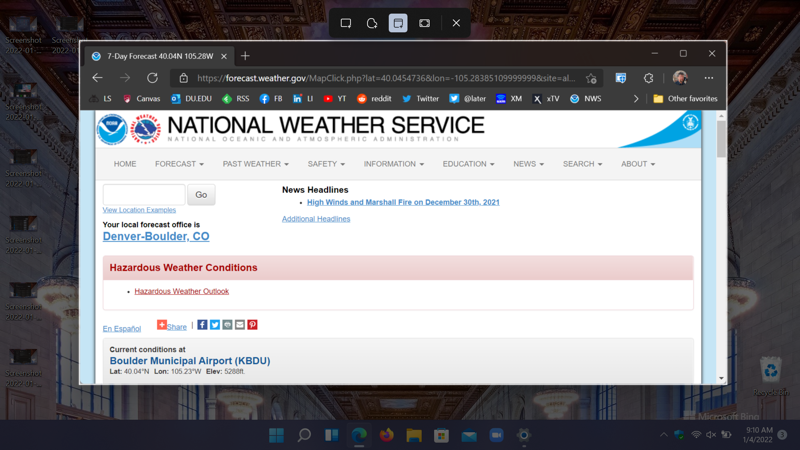
In this instance, the tool is about to capture just the active window, so it’s not dimmed, and it has a thin white outline. A closer look at the toolbar offers up a couple of other interesting options, however:

Left to right, that’s “capture a specified rectangular region”, “capture a freeform region”, “capture the active window”, and “capture entire screen”. Finally, the “X” lets you change your mind and cancel the screencap entirely.
Once you select your region – or click on the full screen icon – then a notification window appears on the lower right:
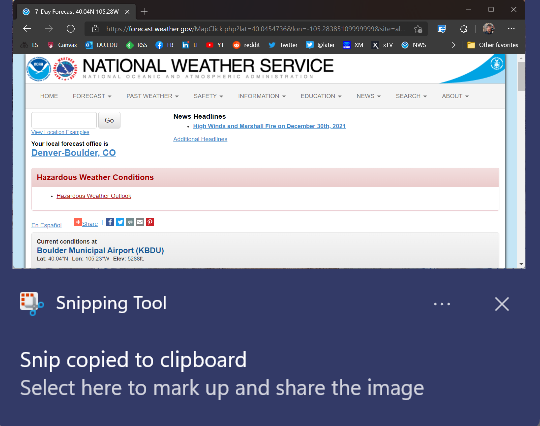
The wrinkle is that if you forget to click on it and save the image, it’ll be overwritten by the next screenshot you take, at the end of which you realize you haven’t saved anything.
Click on the notification instead, and you’ll be in Snipping Tool:
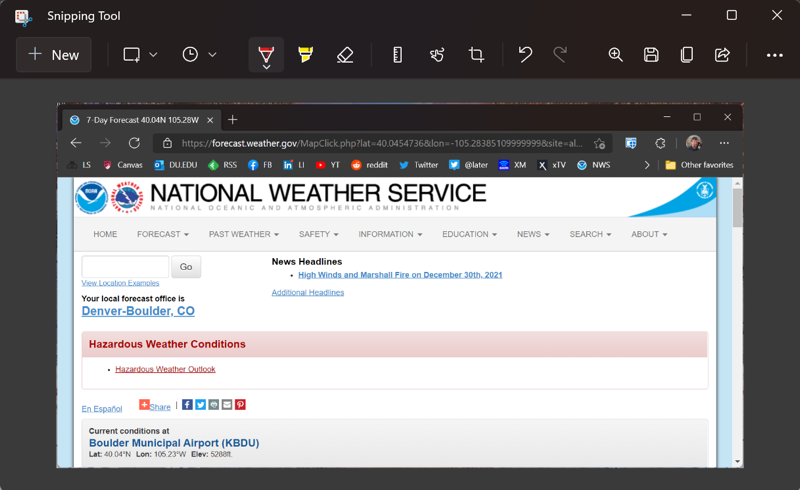
You can use the keyboard shortcut Control-S to save the image as a file, but still, tedious.
THE FAST WAY TO CAPTURE AND SAVE SCREENSHOTS IN WINDOWS 11
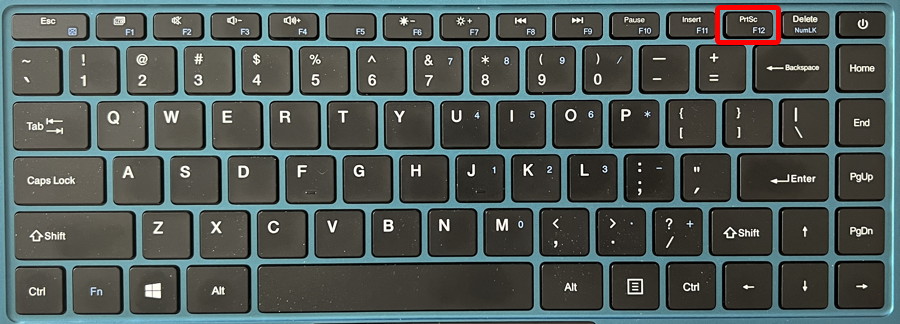
How to avoid all of this madness? It’s super easy: Instead of using Windows + Shift + S, use Windows + PrtScr. You’ll have to hunt to find the PrtScr (print screen) key on your keyboard most likely. On my Gateway test unit, it’s on the F12 button:
If you’re used to that notification window popping up, however, it’ll be a bit disconcerting when you first try Windows + PrtScr: the screen dims for a fraction of a second but there’s no other feedback that it worked.
The screenshots are all neatly saved in Pictures > Screenshots, as shown:
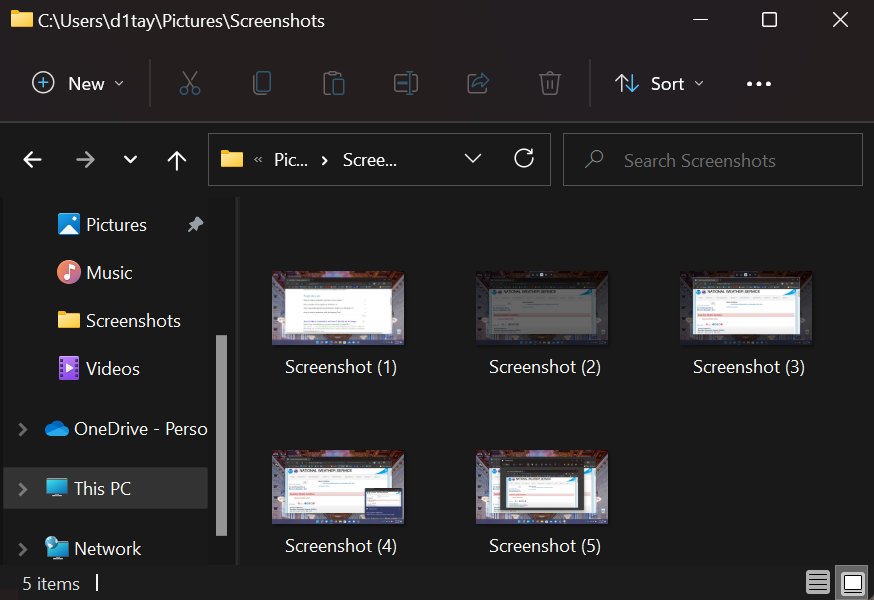
Unfortunately, the images aren’t caught with a date & time stamp, but still, it’s super easy if your goal is to take a lot of screenshots quickly, all saved to the hard drive as separate image files. Even better, the default save format should be PNG, so the answer to the original question of “how to save as PNG” is just “save it”.
Pro Tip: I’ve been writing about Windows for many years and now have an extensive Windows 10 & Windows 11 help area. Please check it out to find lots of additional tutorials and guides while you’re here. Thanks!
NOWHERE does this article discuss PNG files! I so do NOT appreciate being led here by tags instead of content, Dave; now I’ll start avoiding your posts.
Not sure what you’re talking about; did you miss the last paragraph? Anyway, I’ll update the article to make it more obvious too.
In the clipboard you can also Pin each screenshot after taking it by clicking the three dots in the clipboard(windows key+V) and click pin(this is if you want them a while). You can also just take the screenshots as fast as you want and all of the screenshots will be in the clipboard with the last on the top to the first on the bottom. Find the place you want each shot and click the corresponding shot in the clipboard to paste it there. When you’ve placed all of the shots the clipboard will be free of them(unless you pinned them of course). I find it useful to rename the shot while you remember what the shot shows.
I was wrong. Please disregard my post. Sorry.