
I’ve been trying to make screen recordings with Game Bar on my Win10 system, but it won’t let me record the Desktop itself. I’ve heard there’s a way to record your screen with Microsoft PowerPoint, however, and am wondering if you can show me how it’s done?
Game Bar is a really slick addition to Windows 10 that most people likely don’t even know exists on their PC. Among its many features – and a great live CPU monitor – is the ability to easily record any game or other program you’re running. Handy if you want to make a tutorial about how to format a paragraph in Word or edit a photograph in Photos, for sure, but if you want to capture the Desktop or File Manager, it fails. That’s just not included in the feature set.
Most people then decide that they have to purchase a product like the old mainstay of PC screen recordings, Camtastia, but it turns out that if you have the Microsoft Office package, you have an entirely functional screen recording system as part of PowerPoint. Who knew, right?
Here’s how you use it…
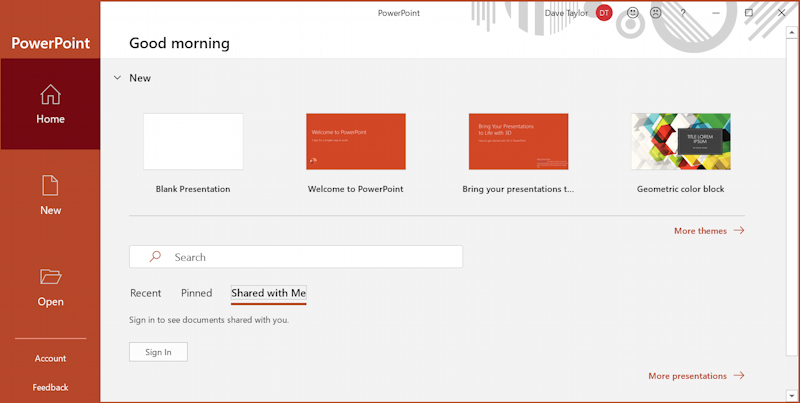
First step, of course, is to launch Microsoft PowerPoint on your PC. This is what the opening screen is going to look like:
Whether or not you’re going to actually embed your screen recording in a presentation or want to have it as a separate MP4 video file, the next step is to create a new presentation in PowerPoint. So choose “Blank Presentation” and you’ll be shown a bare-bones view:
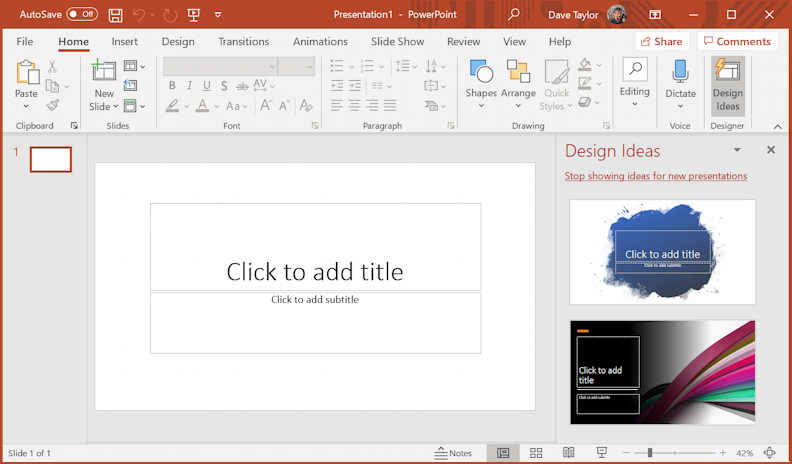
PowerPoint is actually a slick and sophisticated tool if you haven’t used it before, with tons of features to turn your next presentation into something visually engaging. But.. we don’t need any of those features to record the screen on a Windows computer!
See “Insert” along the top options? Choose that then look for “Media” as one of the options. Then click:
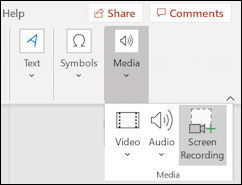
As you can see, the path is Insert > Media > Screen Recording. Choose “Screen Recording” from within PowerPoint. The PowerPoint program itself will hide and you’ll have a control box on the top of your window with these options:
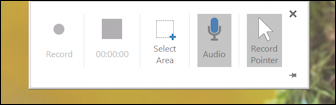
Left to right, it’s Start Recording, a running time counter to affirm it’s working, the ability for you to click and drag to select a recording area, the ability to enable or disable recording audio and the mouse pointer. Simple enough. Start with a full screen recording with audio and the pointer recorded, the default configuration.
Ready? Click Record!
The control box vanishes, but if you move your cursor to the very top of the screen the active recording control box will surface:
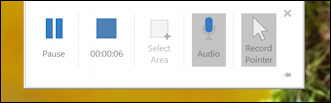
Now it’s a pause button, a stop button (with a running time counter at 00:00:06) and three buttons that you can’t change now that the recording’s active. Move the cursor off the box and it’ll vanish again.
With it working, open up the app, the File Manager, whatever you want. Talk if you want to narrate. Done? Bring back the control box and click on the blue square to stop the recording.
After a moment or two, the new screen recording will appear embedded in your first PowerPoint slide:
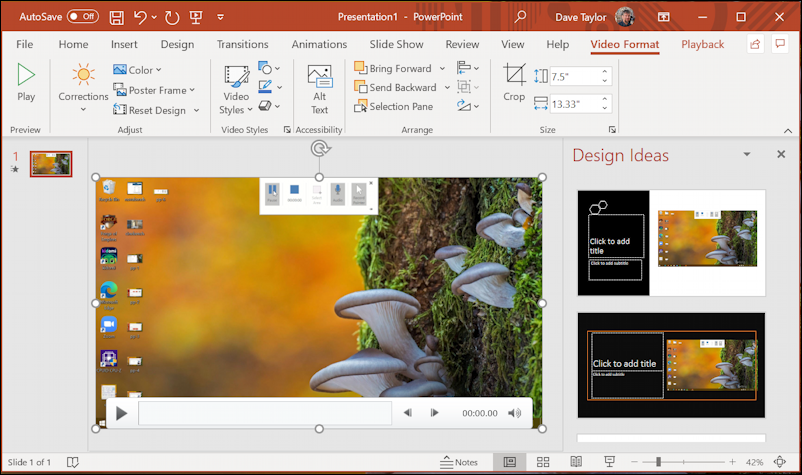
(In my case, the desktop wallpaper is this cool mushroom image courtesy of Bing)
Great, so now you have a screen recording. But it’s in PowerPoint, so how do you save it as a separate video file? That’s pretty easy: Right click on the recording to get the context menu:

Kind of a busy image, but the resultant menu has “Save Media as…” as one of the options. Choose that and you can save the recording as a video file on the Desktop or wherever else you would prefer.
Confirm it worked and you can then quit PowerPoint without saving since you’ve already extracted the screen recording. Now it’s just another file on your Windows system, which means you can do things like examine the file’s properties to see how PowerPoint recorded the screen:
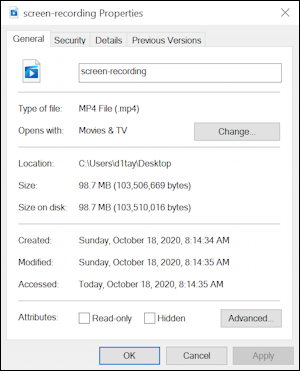
It’s a MP4 video file reado to open with the handy Movies & TV Windows app or to share with friends or colleagues on social media, upload to the cloud, send via email (well, it’s big, so that might be tricky) or to use in any other way you’d like.
Done. And not too hard once you get the hang of it.
And since I know you’re curious, here’s a little demo recording I did and then rendered down to 720p for space considerations:
shorter-screen-capture-demo-720
Pretty cool, eh? Now go forth and record your own screen without having to worry about those Game Bar limitations.
Pro Tip: I have hundreds of handy Windows 10 tutorials and how-to articles. Please do check out my extensive Windows 10 help library for lots more useful tips and tricks. Thanks!