Hi Dave! I just got an iPhone 8 and want to set up Apple Pay so I can just wave my phone at the cashier and pay for stuff. So cool! What’s the setup procedure?
Well, it’s not quite as easy as just waving your phone at the cashier, but it’s not much more difficult than that. Sometimes you can literally just place your phone near the Apple Pay scanning device and it works, other times you’ll need to double-tap on the home button while it’s locked for it to get into payment mode. Oh, and your Apple Watch can work with Apple Pay too once you have it set up, which is even more futuristic if you have one of those fancy watches too!
Unfortunately, not every credit card company participates in the Apple Pay system, so it’s possible that during setup you’ll find your card doesn’t work. Hopefully you then have a second card that will, but I’ll show how that all looks too; it’s nothing too alarming, fortunately.
But let’s just jump in and get this set up, shall we? On your iPhone, tap on “Settings” to start, then swipe down to find: “Wallet & Apple Pay“:
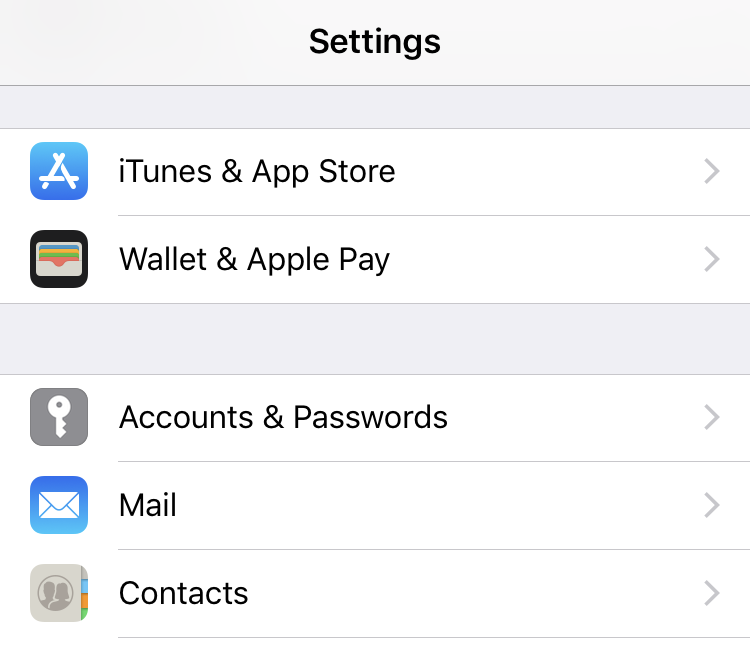
Tap on Wallet & Apple Pay to proceed (but that’s probably obvious!)
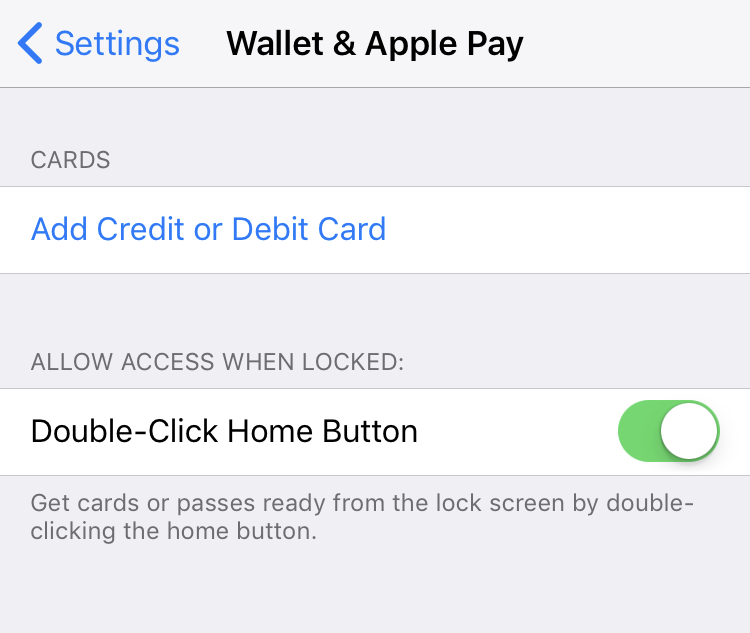
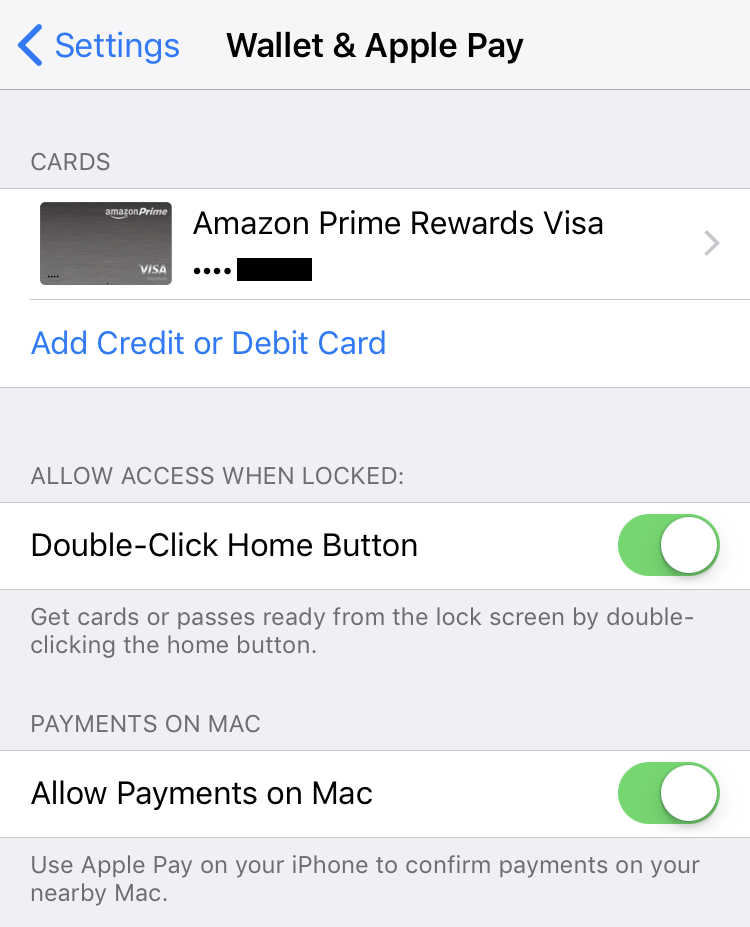
From this point you’ll want to tap on “Add Credit or Debit Card” to proceed, but while you’re here, make sure that you have “Double-Click Home Button” enabled too, for once it’s all set up…
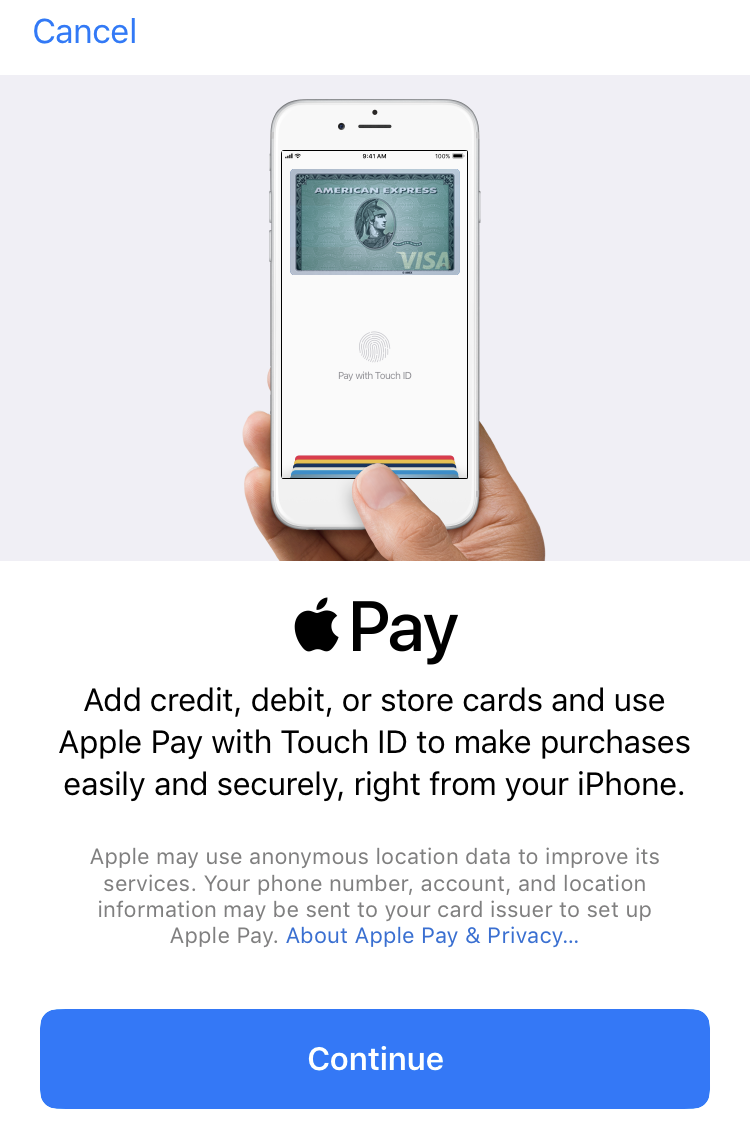
You probably already know all of this info if you want to set up Apple Pay anyway, but… tap on “Continue” to proceed.
Since I’ve used Apple Pay before, it’ll offer to set up that card automatically, you won’t have that option though:
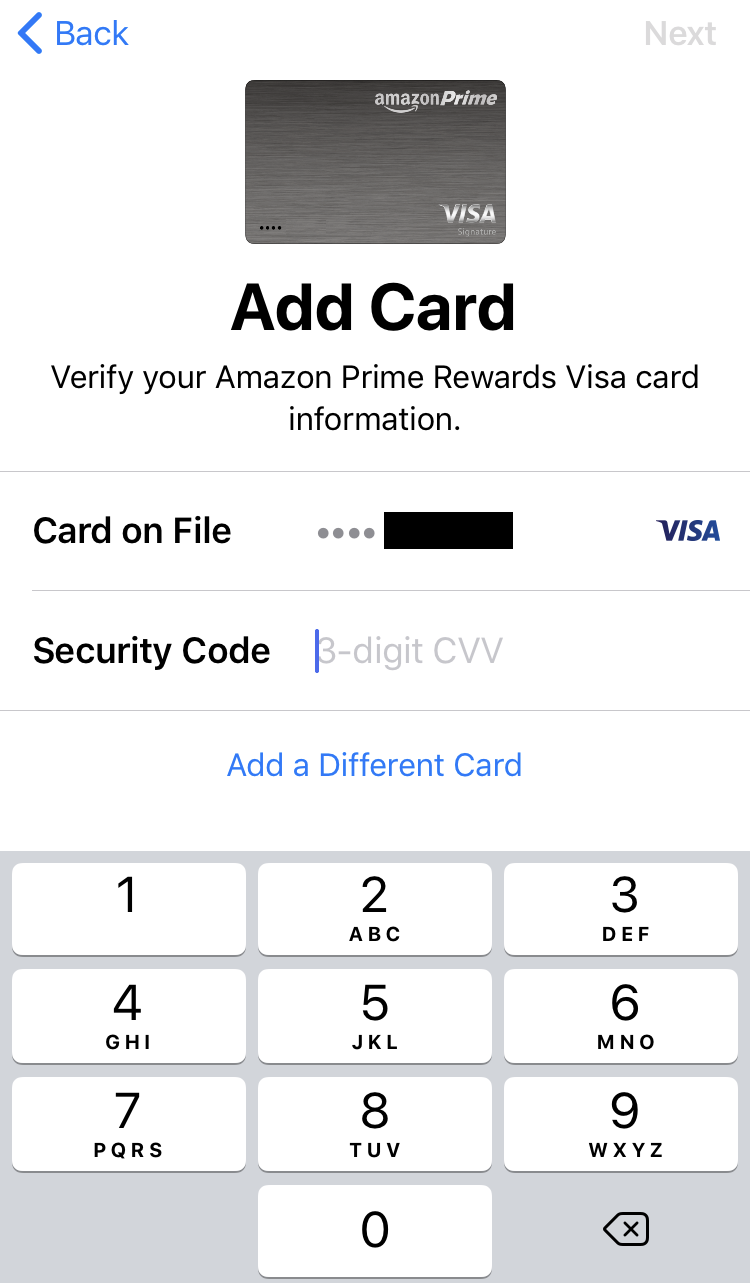
If you do see this, tap on “Add a Different Card” though I suspect it’ll just skip that screen in your sign up process.
Now you’ll have an interesting screen that’s information with a camera portal in the middle:
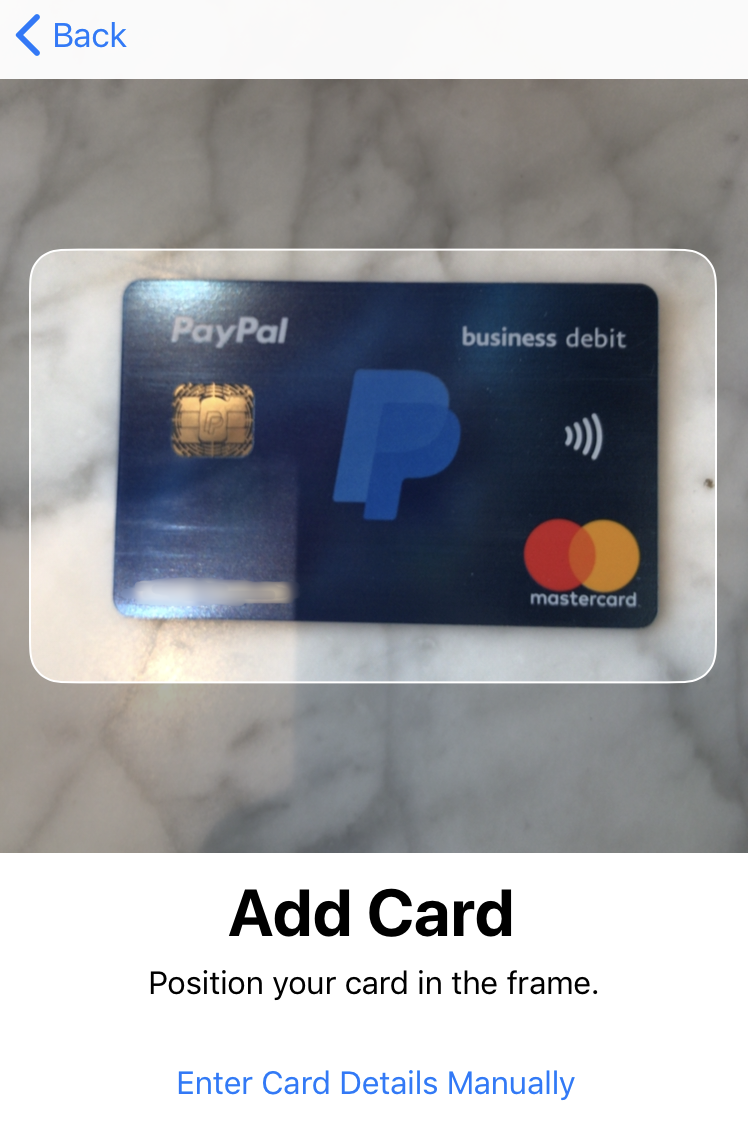
The scanner is surprisingly good so make sure that your card has the card number display visible (in the above example I need to flip the card over because the actual number is on the back) and after a second or two it’ll confirm what it scanned and let you fix any typos or mistakes:
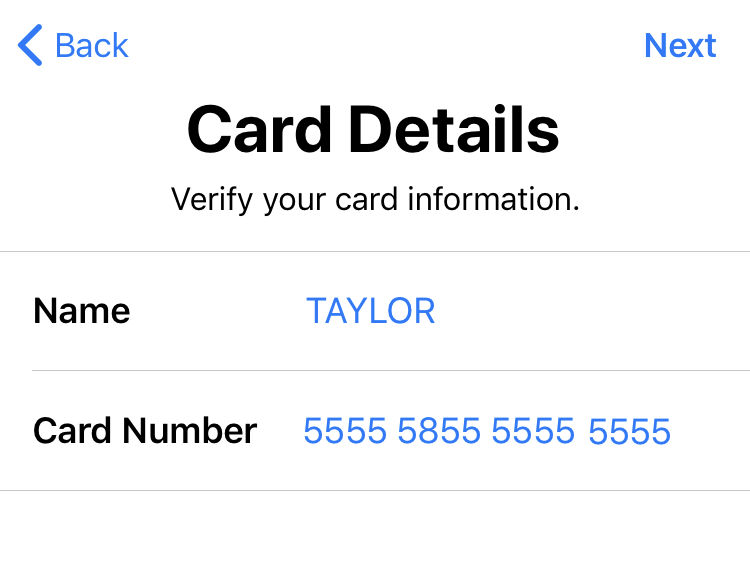
Weird how my card number became just about all 5’s, isn’t it? 🙂
Fix this up as desired or needed, then tap “Next” in the top right corner to enter the expiration date and CVV:
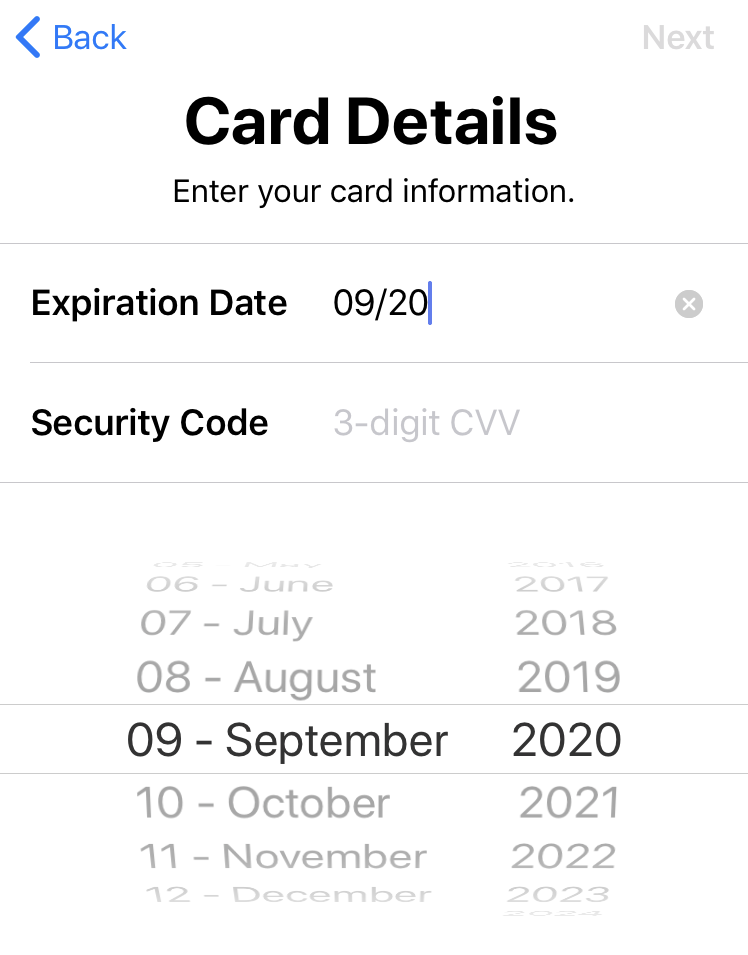
Once you’ve entered those, again tap “Next” in the top right to proceed.
Now it will actually go out to the network and try to verify your card is legit and active:

PayPal, however, isn’t Apple Pay friendly so I see this error:
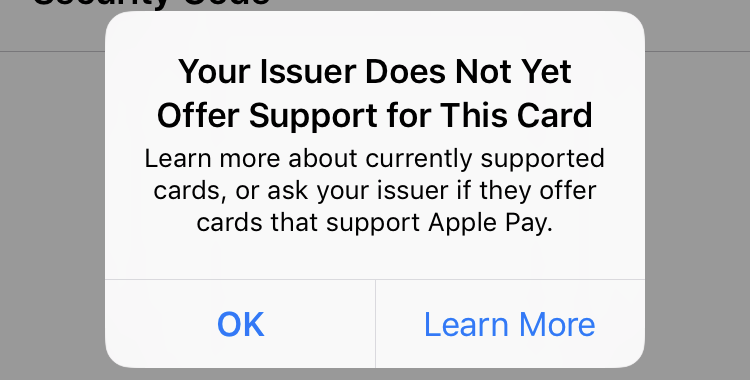
Ah well. Fortunately I have a Chase Amazon Visa card too, so I go through the same process with that and it’s not more than a few seconds later that I see this prompt:

This time notice it’s adding to wallet. That’s a good sign!
One more step, though: To verify the card is mine:
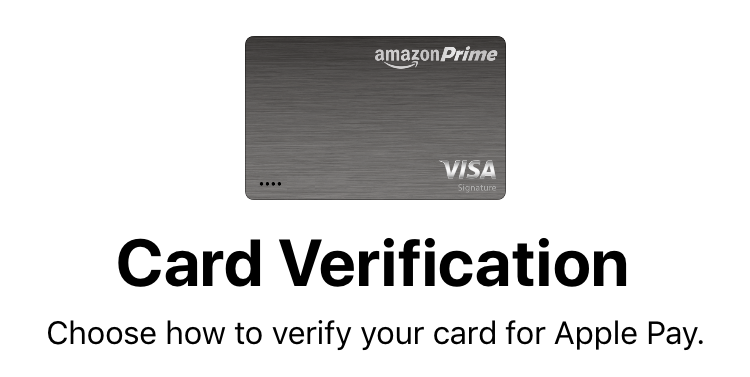
You will see a number of options that range from email to text message to having the bank issuer phone you. Pick one, verify, and you’ll be good to go!
Now when you look at the settings, you’ll see it listed and ready to use!
Time to check. Head to somewhere that supports Apple Pay and double tap on your home button from the lock screen. You should see something like this pop up:
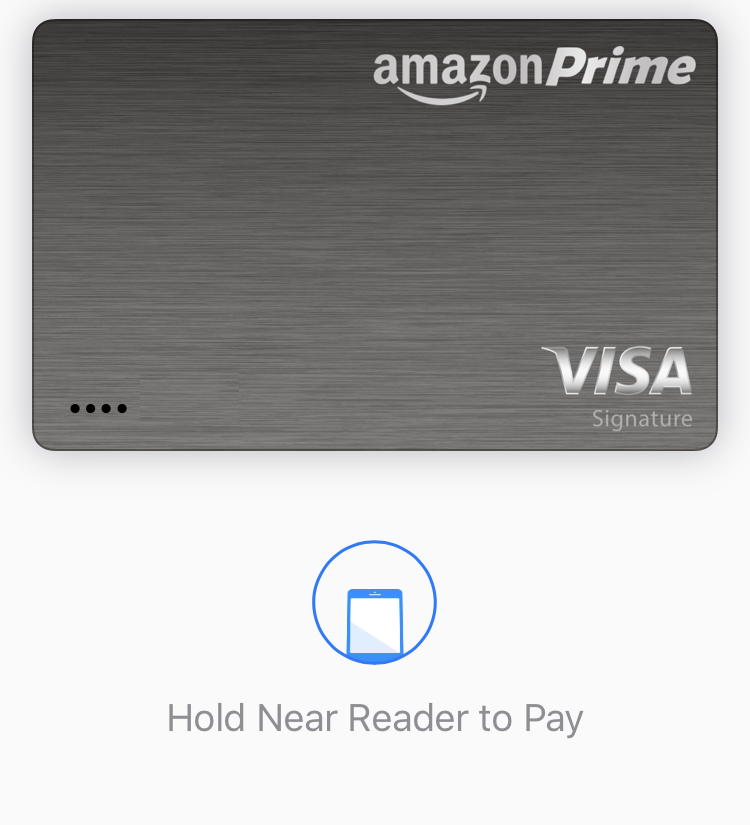
Very cool. Now, go pay for stuff!
Want to add a credit card to your Google Pay app instead? You can do that too! Here’s how: Add a credit card to your Google Pay Wallet.
