
I have a MacBook Pro running on the M1 Apple Silicon architecture. I’d like to also be able to run Windows 11 on my Mac for when I need access to PC software. Is that doable? If so, what do I need to buy for a proper, functional copy of the system?
When Apple was using Intel for its CPU chips, running Windows within MacOS was surprisingly easy since PCs also use Intel as their primary CPU architecture. Apple’s move to its own chip design, the M1, M2, M3 architecture, threw a proverbial monkey wrench in that picture because now you needed an Intel (more properly, x86) emulator. But Microsoft is good at anticipating future changes and realized that advanced RISC architectures like the M1 were going to become more important. As a result, it started working on what it calls an “ARM” (Advanced RISC Machine) version of Windows. The good news? It’s a free download!
There are two major options for running a virtual machine on your Mac system, either Parallels Desktop or VMware Fusion. Both have their pros and cons, and I’ve been using Parallels for a while, but VMware is much more common in corporate environments, making it another excellent option. If you don’t need enterprise-level features (if you don’t know what that means, you probably don’t need ’em!) then what the company calls its VMware Player is free too. The result: You can download everything you need to run Win1 on your Mac without having to pay a nickel. NICE!
Download and install VMware Fusion from this link, then make sure you also sign up for a “Player” license. It’s easy.
DOWNLOAD WINDOWS WITH FUSION
Once installed, launch Fusion, and you’ll immediately be prompted to create a new virtual machine:

What’s new with the 13.5 release is that it can automatically download and open up that ARM version of Microsoft Windows, no hassle, no fuss. Click on “Get Windows from Microsoft” to proceed…
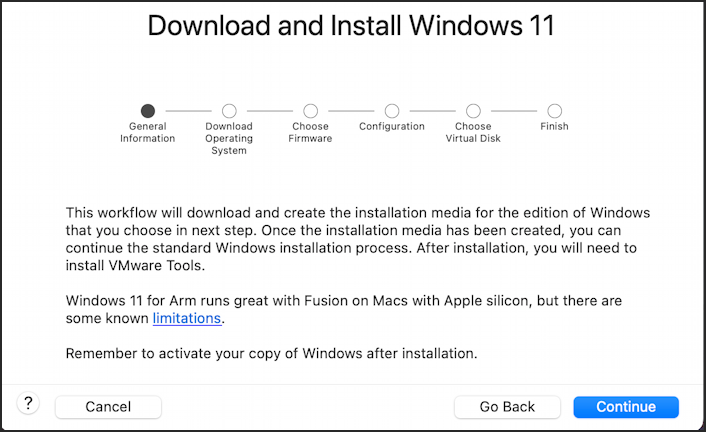
Read the small print, then click on “Continue” to begin the actual download. You can choose Windows Professional and the appropriate language, as per the below screenshot:
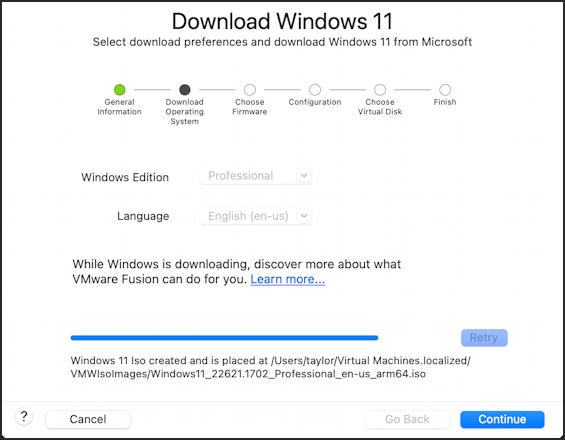
This will take a while, it’s a big download!
SET UP THE WINDOWS INSTALL
Once it’s downloaded, VMware Fusion will automatically move to the second phase of this task; deciding on the exact configuration of your “virtual” PC. There are a couple of choice you’ll need to make, but the defaults are fine in all cases. Start with your Boot Firmware:
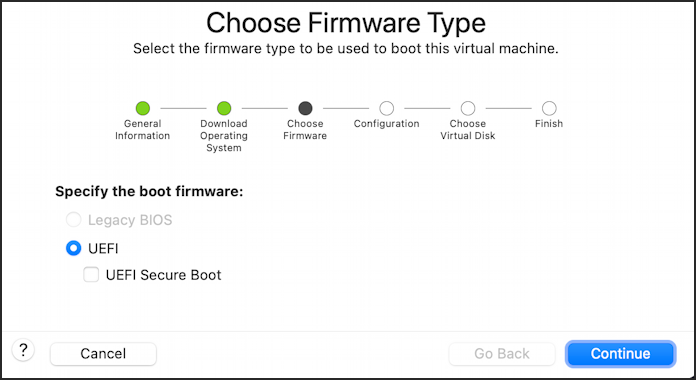
UEFI works fine, no need for Secure Boot. Click “Continue“.
Windows 11 introduced a new feature that makes it far more secure than earlier versions of the operating system, something called a Trusted Platform Module or TPM. This requires that VMware Fusion utilize encryption for part of the virtual machine. No worries, all you need to do is pick how encrypted you want it to be (the default is “Only the files needed”) and enter a password:
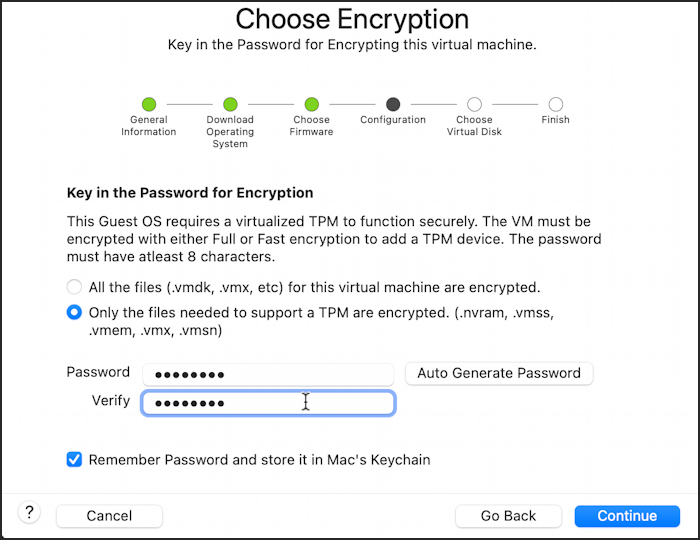
Notice the slick integration with the Mac world with “Remember Password and store it in Mac’s Keychain”. It’s safe to use your system password for this task too, if you’re worried about the proliferation of passwords you need to remember (or, better, use a password manager!)
Click “Continue” to proceed.
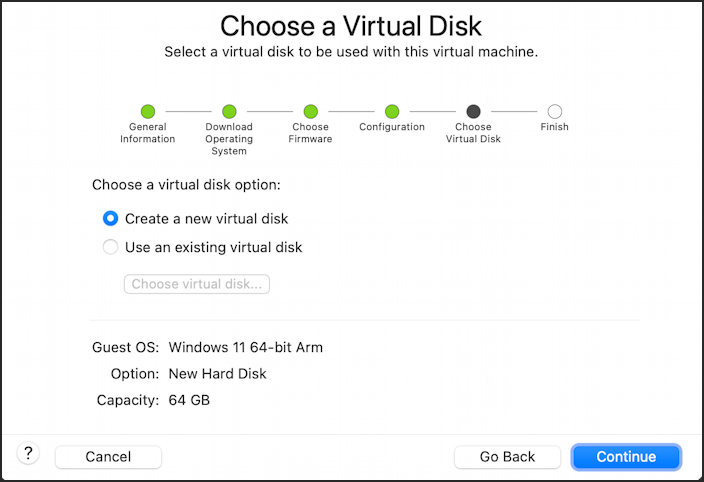
Let it create a new virtual disk. It will consume a big chunk of your disk space – make sure you have at least 75GB for this process! – but it’s quick and hopefully you have lots to spare…
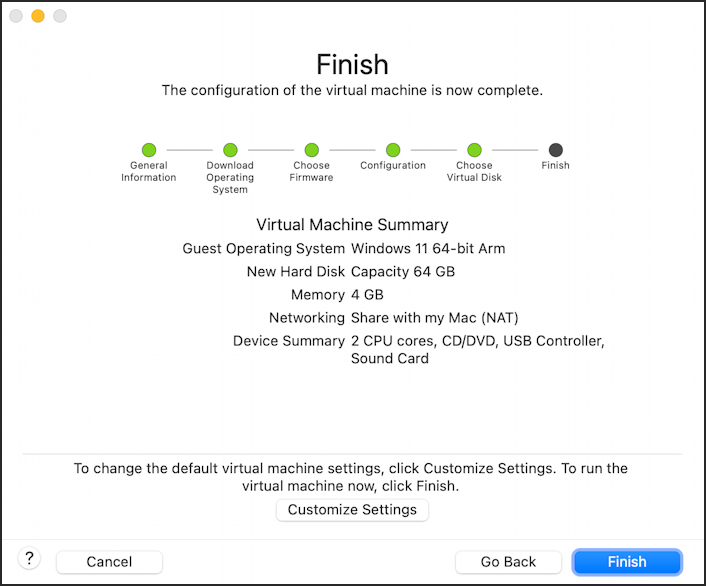
VMware Fusion should pick good defaults here in terms of the configuration. Notice this is chosen 2 CPU cores and added a pretty typical set of drivers to emulate, including a USB controller, sound card, and CD/DVD drive. Want to tweak it? You can use “Customize Settings”, but you can also make lots of changes once it’s installed too (if, for example, you decide you want to give it more than 4GB of RAM).
In fact, when you get to it, here are all the changes you can make to a virtual machine’s configuration:
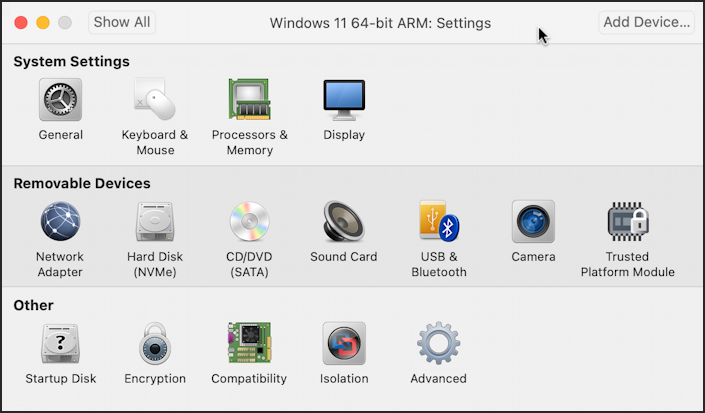
Again, do that later. For now, just click “Finish” to proceed.
LET’S GET THAT WINDOWS INSTALL CONFIGURED
Now the actual Microsoft Windows installer will be launched within a VMware Fusion window and you’ll have to go through those steps too. But we’re getting closer and closer!
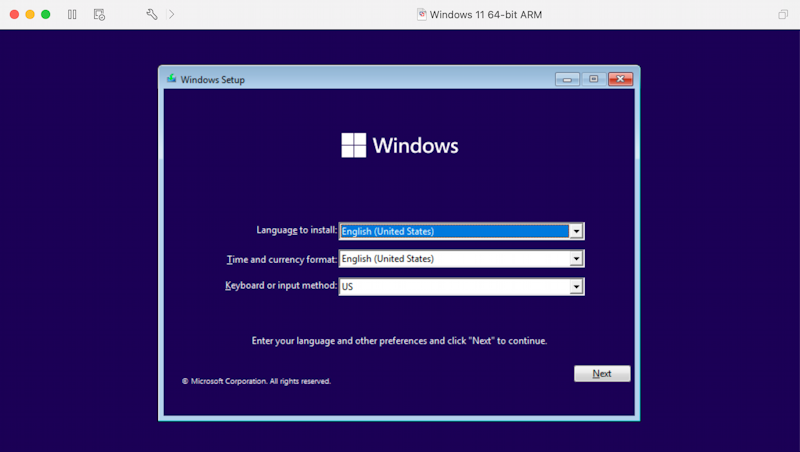
As if you had a brand new Windows PC, choose your install language, national time and currency format, and correct language keyboard. The defaults will probably be correct, as shown. Click “Next“.
Now the step that always used to cause people to break out into a cold sweat: Activation!
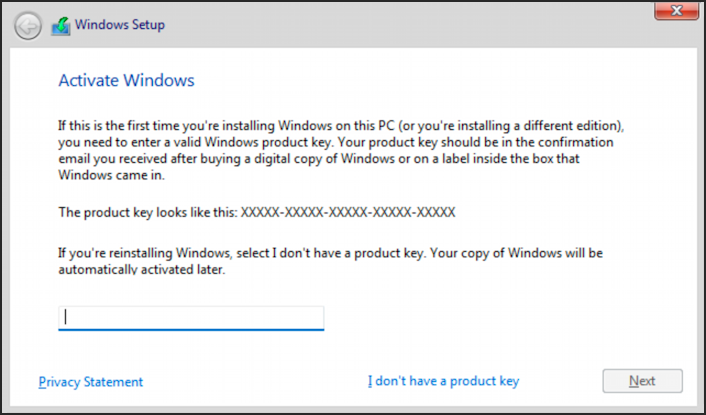
Microsoft has actually changed its policy and if you just want Windows Home edition, you don’t actually need a product activation key. Hurray! Instead of worrying about buying a valid key, simply click on the “I don’t have a product key” link on the lower right.
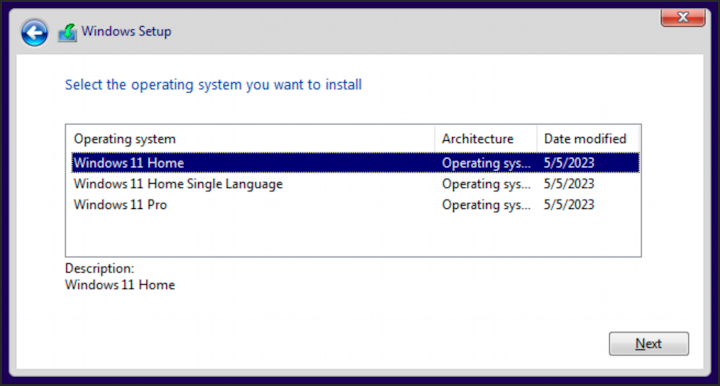
Now choose “Windows 11 Home”, as shown, and click on “Next” to keep moving forward.
The next step is probably the main place your install can go wrong:
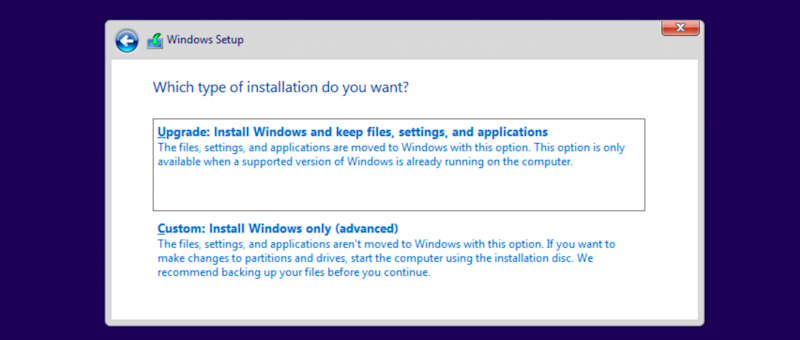
Even if you do have an existing PC, you must choose “Custom: Install Windows only (advanced)” to succeed at this effort. Choose that here and you’ll be able to proceed.
Now it becomes clear that the Windows installer doesn’t know you’re working within VMware Fusion because it asks what disk you want to use for the installation. There’s only one choice, the virtual disk created earlier in the process:
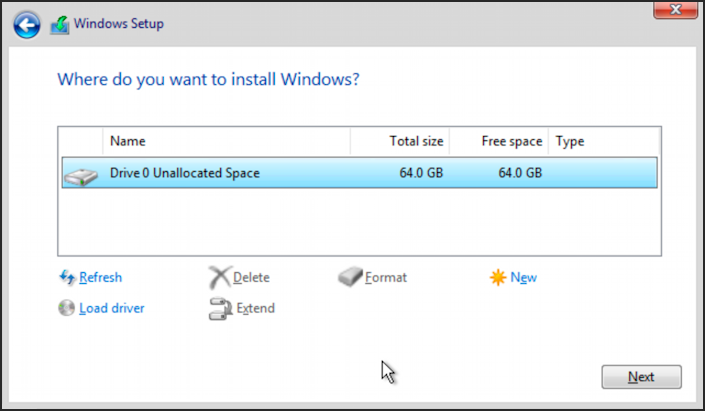
You’re getting really close!
Choose “Next” and the actual install will proceed:
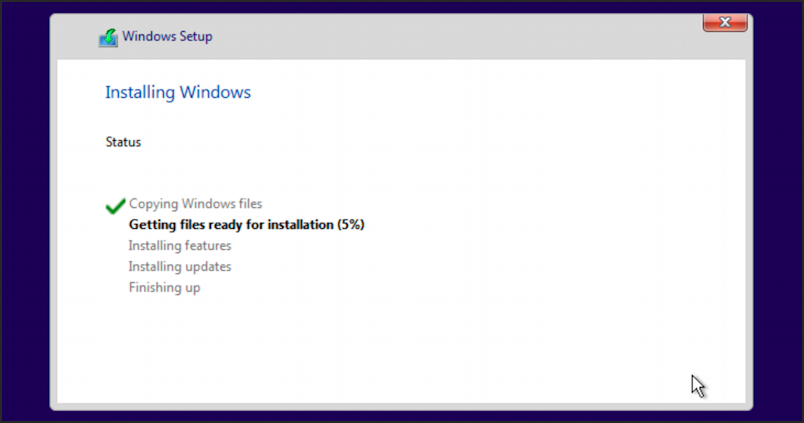
It’s pretty exciting to get to this point. We’ve spent no money on licenses and we’re going to have a legit, fully functional version of Windows 11 running within the world of MacOS on Apple Silicon. Nice!
FINAL INSTALL STEPS FOR WINDOWS 11
Just about done. Windows will ask a few more configuration questions as it finalizes the new setup:
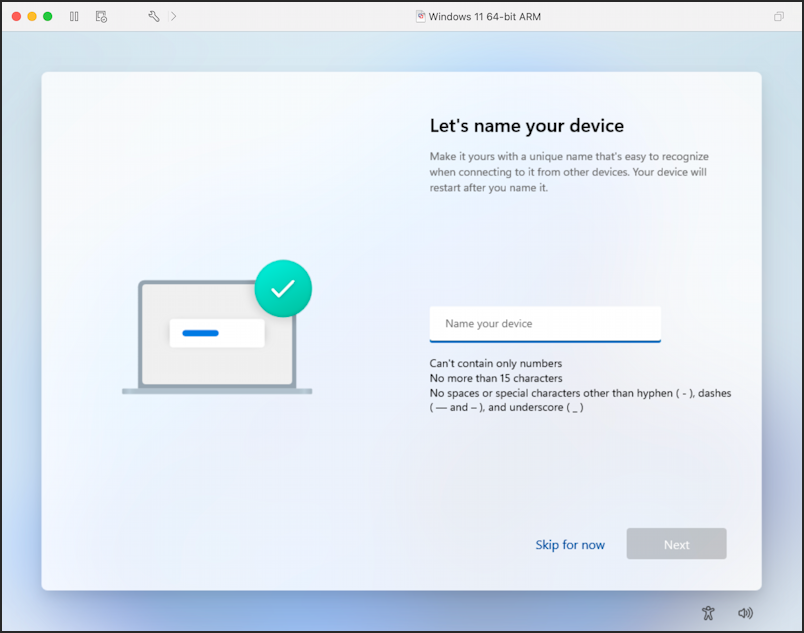
I named my “FUSIONPC” but you can come up with something a bit more creative if you want, or you can skip this step entirely as desired. if you skip it, I can promise Windows won’t come up with a fun and witty name.
The final step is that your new Windows PC will check and update features and apps and do lots of behind-the-scenes housekeeping. This might take as long as 20-30 minutes:
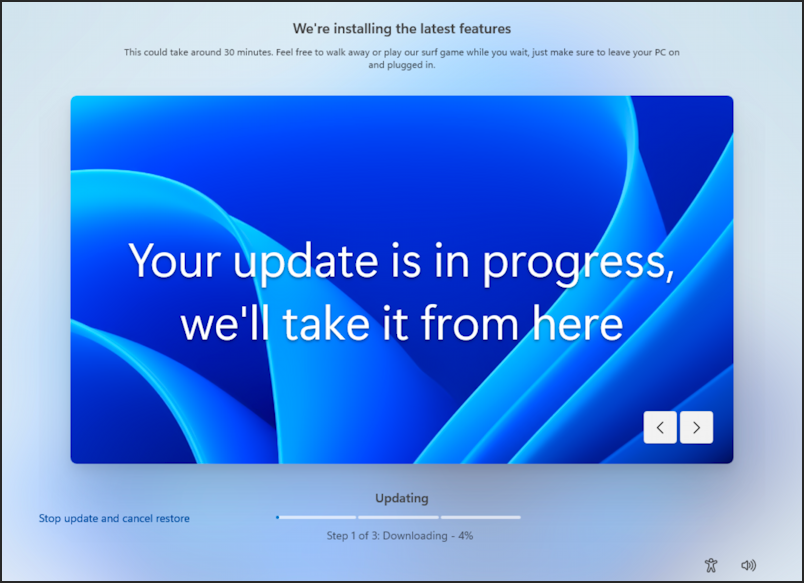
And, finally. Finally!
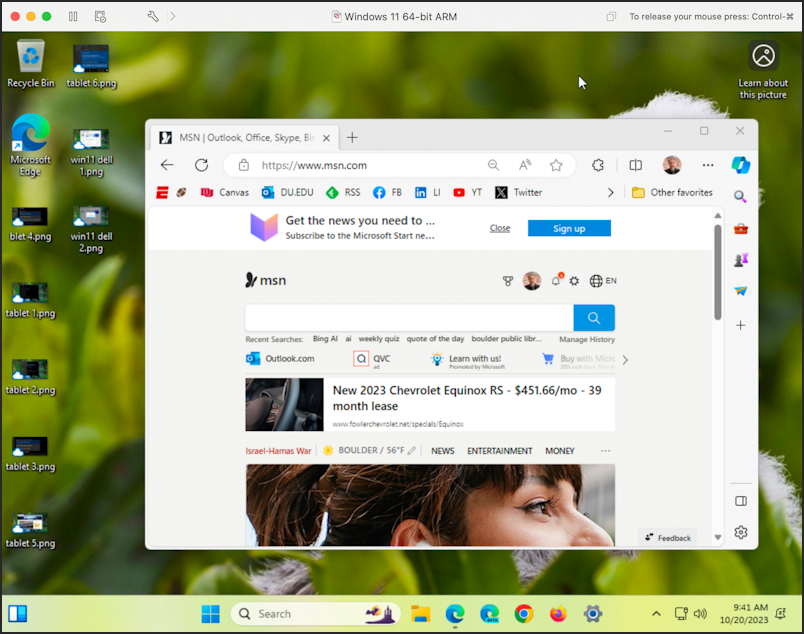
A fully functioning Windows 11 installation running on a Mac system. Click the green dot to make it full-screen, and you’ll swear you were on a Windows PC, not a Mac. Mission accomplished.
Pro Tip: I’ve been writing tutorials for both the Mac since it was first released and Windows since it had a ‘3’ in its name. Please check out my extensive Mac help area and my Windows help area for lots and lots more useful content.
I tried to create and install a Win 11 Arm VM but after finishing the process of creating the VM within Fusion I first have to save the VM somewhere on my HD and then the Vm boots but no Win installer window opens to start the windows installation process. The VM tries to boot but fails because there is no CD or DVD device. It says “time out” and in the display “EFI network” appears and later the Boot Manager …
As far as I understand there might be an issue with the boot process but I have no idea if there is a more appropriate setting in the boot manager but in the past it switched automatically to the next possible option in the boot chain.