Have you ever given a presentation from your Mac system and wished you had a remote clicker to advance your slides? You have one! Turns out that your iPhone (and Apple Watch) can serve as remote controls for Keynote with just a bit of fiddling…
Conference venues and big conference rooms often have a remote-control clicker for presentations that includes both a laser pointer and a remote + tiny dongle. Plug the dongle into your computer and without any additional fuss, you can use the remote to move your slides forward/backward from across the room. Obviously, quite helpful and convenient, allowing you to move away from the computer and mingle with your listeners and audience.
Turns out these devices are startlingly inexpensive on Amazon (you can get a nice one for $15!) but it’s just more stuff, more things to tote around for the few times you’re actually presenting. What if I told you <imagine this in my best slick late-night-TV salesperson voice> that you already had a solution in your pocket? If your iPhone and Mac computer are on the same Wi-Fi network, you can easily use your iPhone to remote control a Keynote presentation on your computer!
STEP ONE: SETTINGS ON KEYNOTE FOR MAC
There’s a bit of back and forth getting it set up the first time, so I recommend you do this before you head to the front of the room in case there are hiccups. Start by going to Settings within Keynote for Mac from Apple…
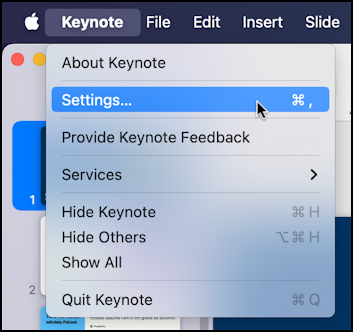
Once in Settings, you’ll notice that there’s a tab labeled “Remote”. Click on it.
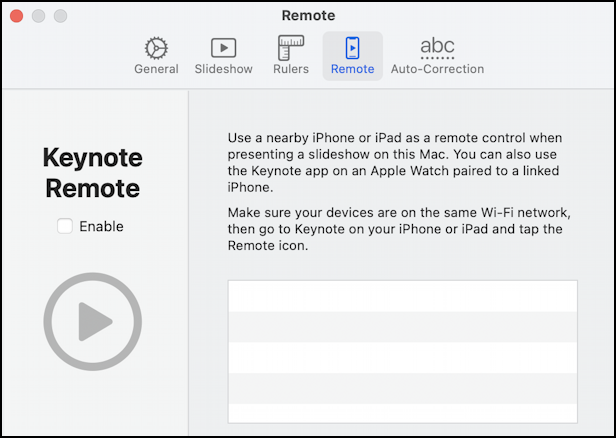
The text says “Use a nearby iPhone or iPad as a remote control when presenting a slideshow on this Mac. You can also use the Keynote app on an Apple Watch paired to a linked iPhone”. Cool, right? Let’s get it working. Check the “Enable” box on the left.
STEP TWO: DOWNLOAD KEYNOTE ON YOUR IPHONE
Now pick up your iPhone and go into the App Store to either add Keynote if it’s missing or check for updates if you’ve already had it for a while. In the App Store, Keynote from Apple looks like this:
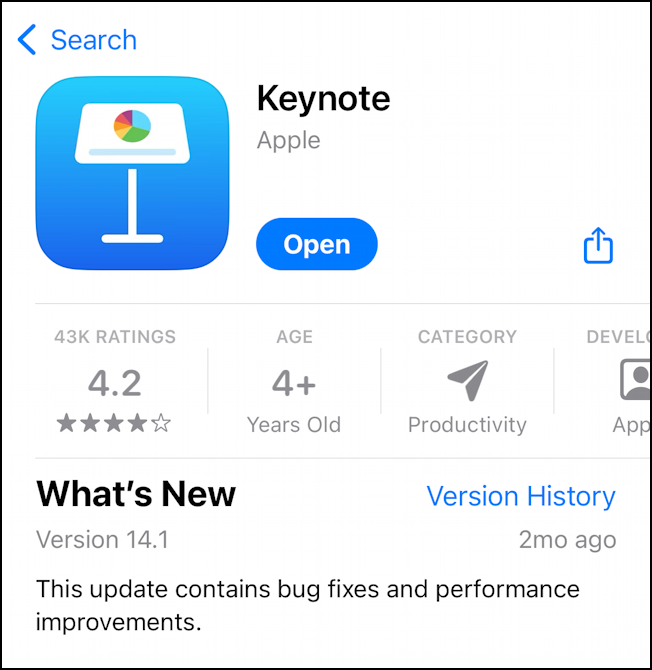
I’m seeing “Open” because it’s already on my own iPhone 15 Pro. If not, you’ll see “Get”. Install it.
STEP THREE: WITHIN KEYNOTE FOR MOBILE…
Before you proceed, make sure that both your iPhone and your MacBook, MacBook Air, or even iMac are on the same Wi-Fi network. This is easily done in Settings on both devices, and is critical. Ready? With Keynote already open on your Mac, open up Keynote on your iPhone…
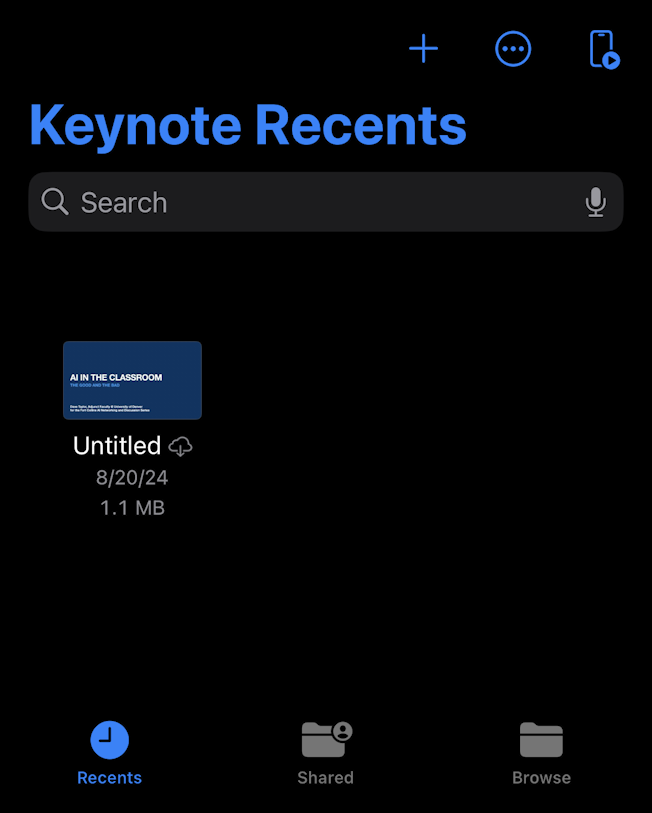
It’s quite different from the Mac application because it’s intended to be a player and assistant, not a presentation composition tool. Notice that it’s instantly identified the cloud-backed-up version of my most recent presentation (the one that’s open in Keynote on the Mac): “AI In The Classroom”.
To proceed, tap on the tiny remote control icon on the top right. Well, on closer examination, it might be the outline of an iPhone with a tiny “play” icon superimposed, but you can see it in the above image. Tap on it.
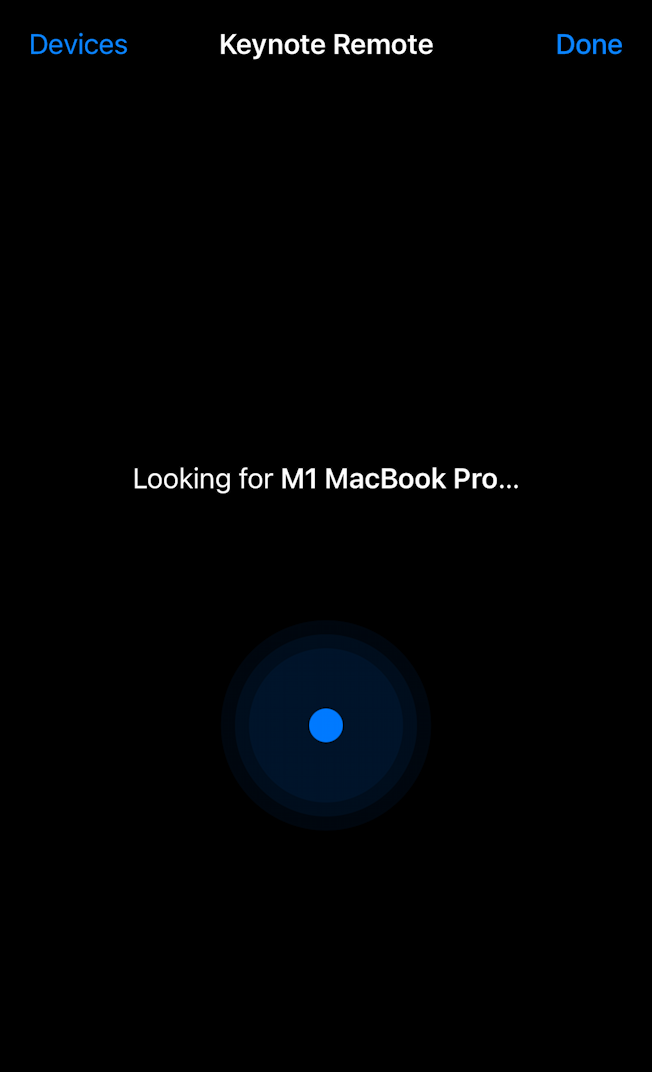
If you have very good digital karma, the app will find the Mac system. My experience was a bit more frustrating, so after a few seconds I saw this error:
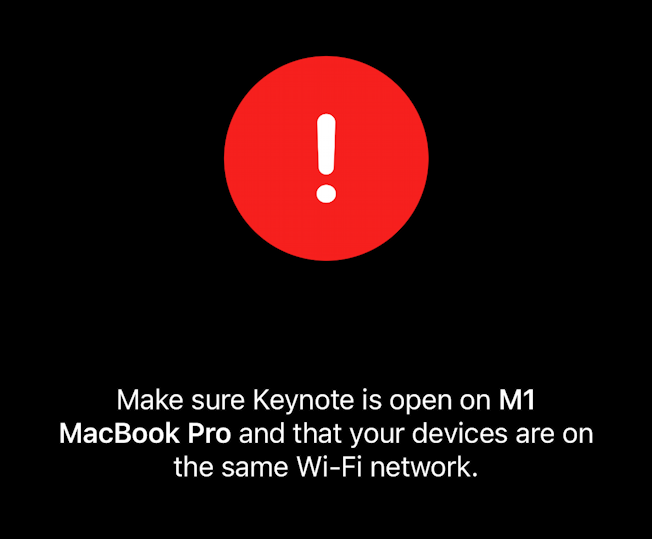
Ugh. Tap on “Done”, double check everything (did one jump to another Wi-Fi network?), and try again. Hopefully second – or third – time’s a charm and you’ll see this:
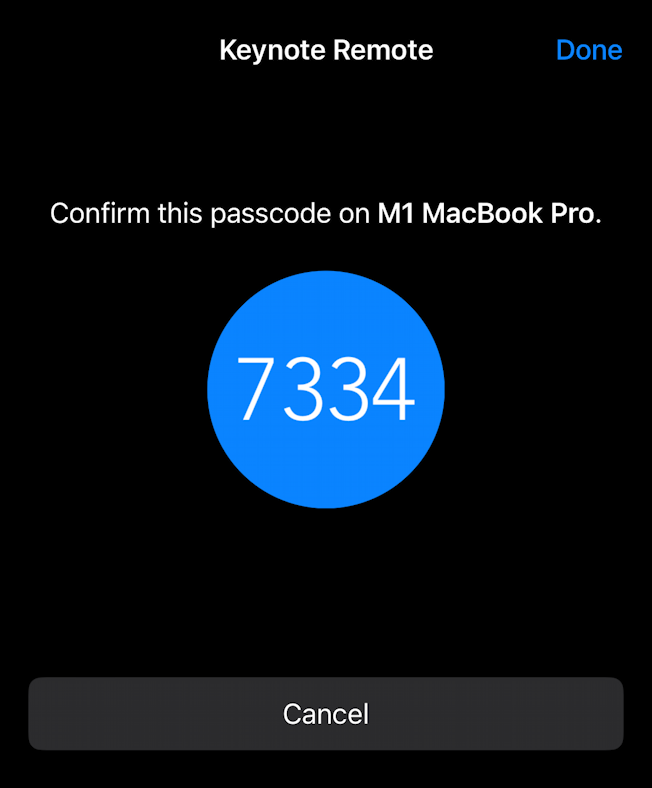
Hurray. Ready for the next step.
STEP FOUR: ACCEPT PAIRING ON THE MAC
Back on the Mac, in Keynote, in the Settings > Remote window, you’ll see the computer name appear:
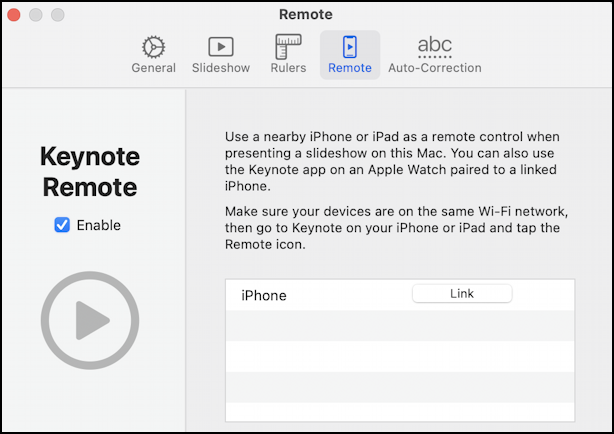
Interestingly, it doesn’t show the actual name of the device, just the generic “iPhone”. To proceed, click on the “Link” button. Now that pairing code appears:
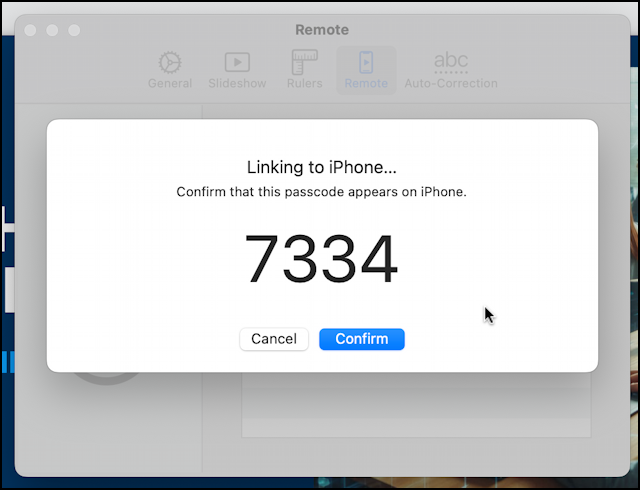
Looks good! Click on “Confirm” and your iPhone display will change…
FINAL STEP: USE IPHONE AS KEYNOTE REMOTE
On the iPhone the display of the pairing code is now replaced by a glorious green button:
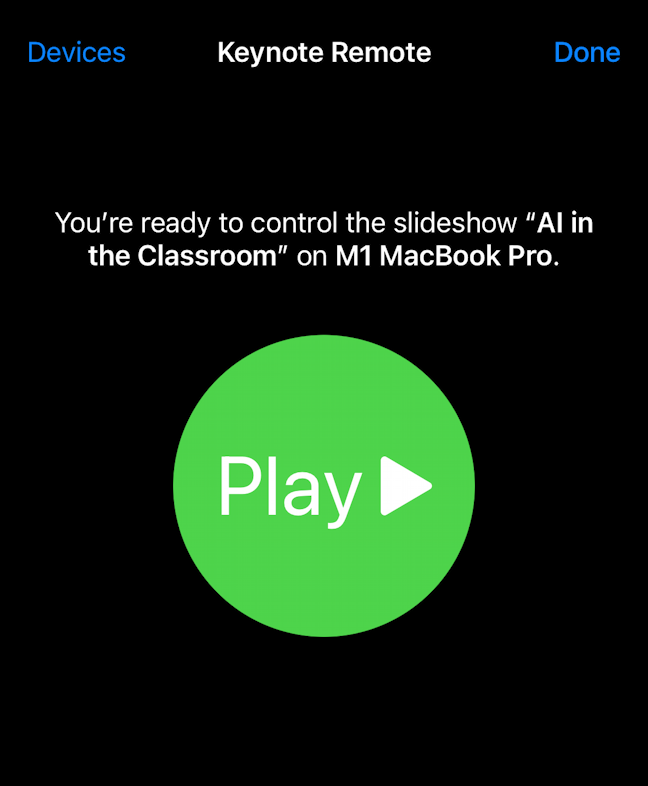
Once you’re in the presentation, the mobile app shows a tiny thumbnail of the current slide and you can easily swipe right-to-left to advance and left-to-right to back up to a previous slide.

It’s quite intuitive once set up. The icons along the top allow you to quickly mark up a slide if desired or even change the layout of the slide (I like “slide and next slide”) on your iPhone. You can even control things from your paired Apple Watch if you don’t want to be holding your phone:
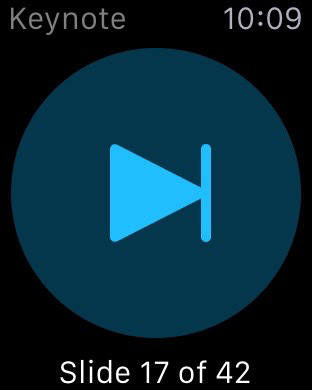
Cool, eh? Give it a try and let me know how it works for you!
Pro Tip: I’ve been writing tutorials for the Apple iPhone and the Mac since they were first released. Please check out my extensive iPhone help area and Mac help area for oodles of useful content.
