
My friends keep complaining that the photos and images I send them are huge. Is there some easy way to resize images before emailing or posting them?
As digital cameras and smartphone cameras have become more and more sophisticated, the images they produce have become bigger too. A typical photo from an iPhone 7, for example, is a huge 4032 x 3024 pixels in size (do the math, that makes it 12.1 million pixels or individual color points. That’s… a lot! If you’re posting it on Facebook and your friends are accessing your content through their mobile devices, they’d be doing great if your image was 20% of that size (and it’d be a lot faster to send and download!)
But how do you shrink the images down? The answer is with the built-in MacOS X app “Preview“, which has some rudimentary editing tools though most people think of it as a read-only sort of utility. The basic idea is to open each photo or image in Preview, use the resize tool to shrink it down to a desired size, then save and use that smaller version.
Let’s go step by step!
Open up an image in Preview, either by double-clicking on it or using Spotlight to find it or by finding the app within your Applications folder. With it open, choose “Tools” on the menu bar:

To start, we’ll go with “Show Inspector”, but shortly we’ll be using “Adjust Size…” too. Open the Inspector and you can see exactly how big the image you’re working with actually is, as shown with my demo image:
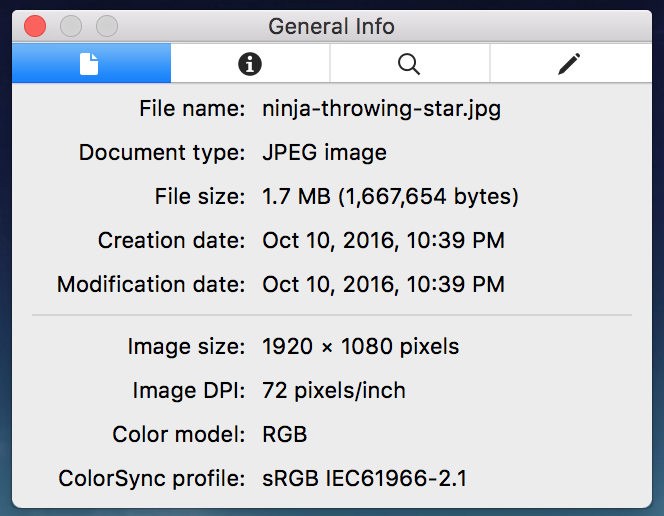
Lots of data, but the key thing is that the image size is 1920 x 1080. Again, for email or posting on Twitter or Facebook, that’s pretty big! Let’s resize it — or ‘scale it’ — to be 800 pixels wide and however high that’d be to remain in proper proportions. Do that by going back to the “Tools” menu and choosing “Adjust Size…“. Here’s what you’ll see:
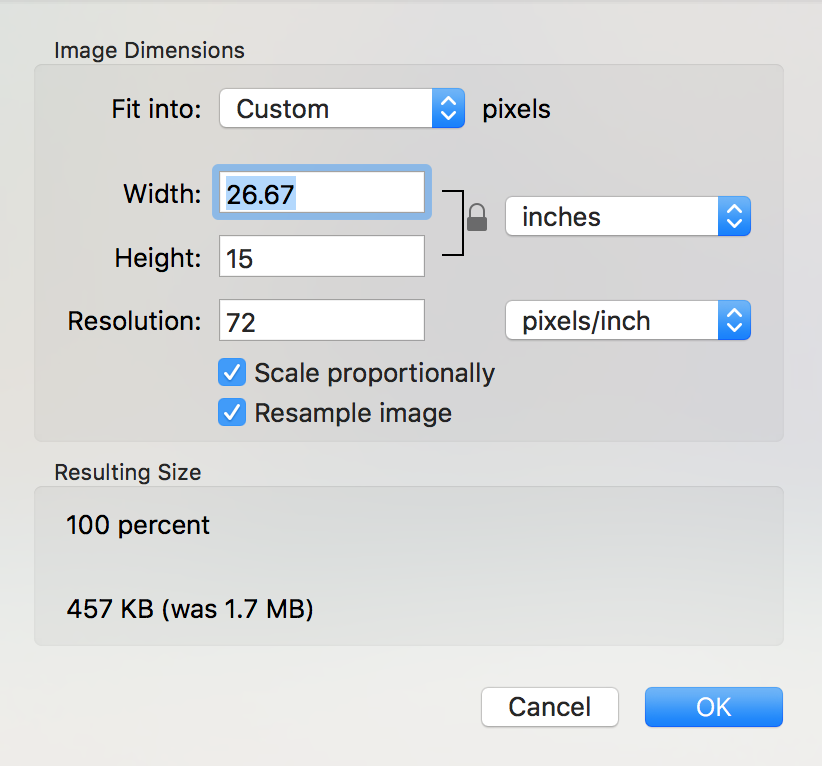
You can see that at 72 pixels/inch (a typical screen resolution) the image is 26.67 inches wide! Let’s fix that and shrink down the image to a more modest 800 pixels wide. Step one: click on “inches” to change it to pixels:
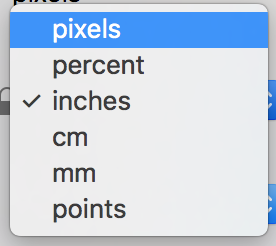
Lots of options, but choose “pixels“. Now you’ll see the image dimensions in that unit of measure:

Now just type the desired width and the height will change to match proportionally:

That’s it. Click “OK” and the image on screen shrinks. Not only that, but the General Info window shows that the dimensions, the image size, has shrunk as desired:
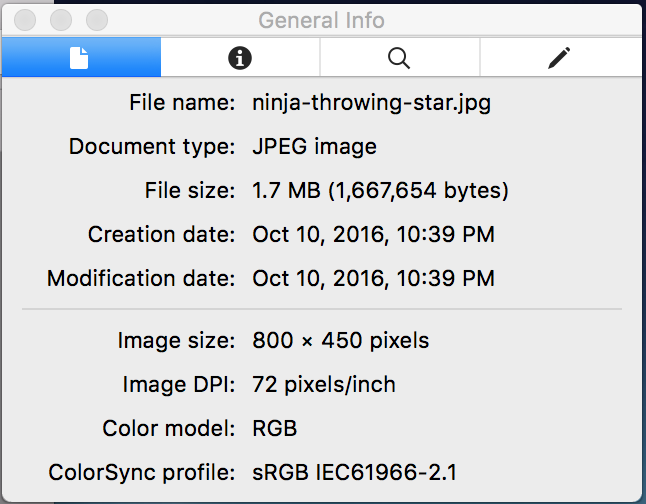
That’s it. Done. Just save the new image, either as a new filename or replacing the older, bigger image.
Oh, and here’s the ninja throwing star, in case you’re curious. At its reduced 800px width:

So there ya go. Preview is definitely your friend, and as you get better at using it, you’ll find that you can shrink down your photos and images pretty darn fast.