I’m not a complete technology newbie, but I find Apple Maps on my iPhone baffling. How can I easily use Maps for directions to a friend’s house?
On such a small screen, it can be tricky to figure out all the buttons and steps required to get turn-by-turn directions in Apple Maps on your iPhone, but it’s doable and it’s quite slick once you get it all figured out. The problem is that unlike the MacOS X platform, there’s no consistent interface design on the iPhone, even with apps from Apple, so you have to just learn where things are stashed and hidden. Oh, and they change from version to version to make it more interesting!
To start, you’ll want to be able to orient the map to find yourself and use the pinch-zoom to get it to have the level of resolution you want. Then you can tap and search, set directions, and go!
Let’s jump in and have a look. To start, I’ll demonstrate getting directions from my current location in Kalispell, Montana to Missoula, Montana, about two hours drive away. Open Apple Maps and on the top right there’s a triangle pointer pointing at approximately 2pm. Tap it. That always updates your location.
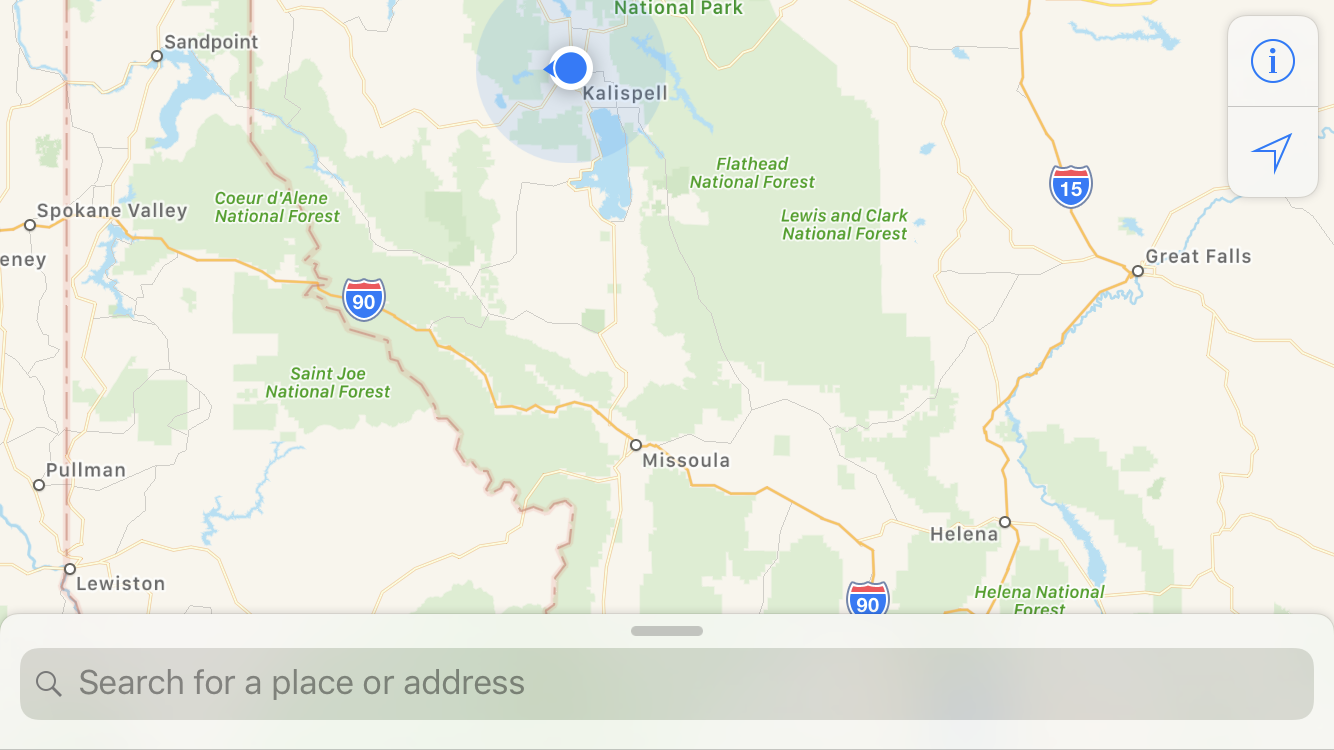
Now on the lower portion you can enter the name or address of a place. Not there? Tap on the lowest portion of the map and it should show up to allow your data entry. This also works exactly the same in vertical orientation too, horizontal just works better for screen captures 🙂

Missoula found and identified on the map, and note the “125 mi” distance from my location. But how to get that turned into directions?
This time you want to drag the lower panel upward — that’s what the grey line is supposed to denote — so do that by tapping on the white window and dragging your finger upward. All sorts of additional info shows up as it obscures the background map itself:
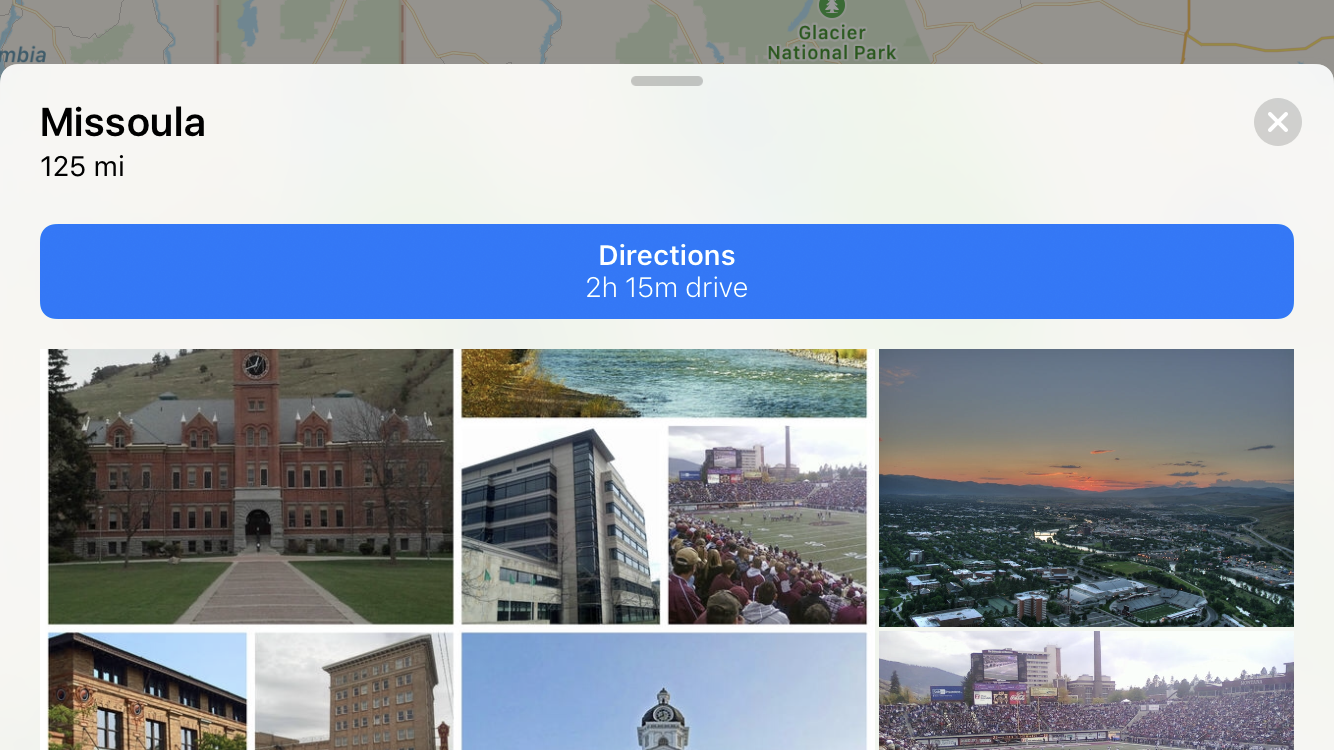
Photos of various places in Missoula and the blue bar that specifies directions and denotes that it’s a 2h 15m drive. Well, it’s a bit faster but Apple Maps assumes you’ll drive precisely the speed limit. That’s another story entirely! 🙂
Tap on the blue “Directions” bar and if there’s more than one way to complete the drive, it’ll show you options for route:
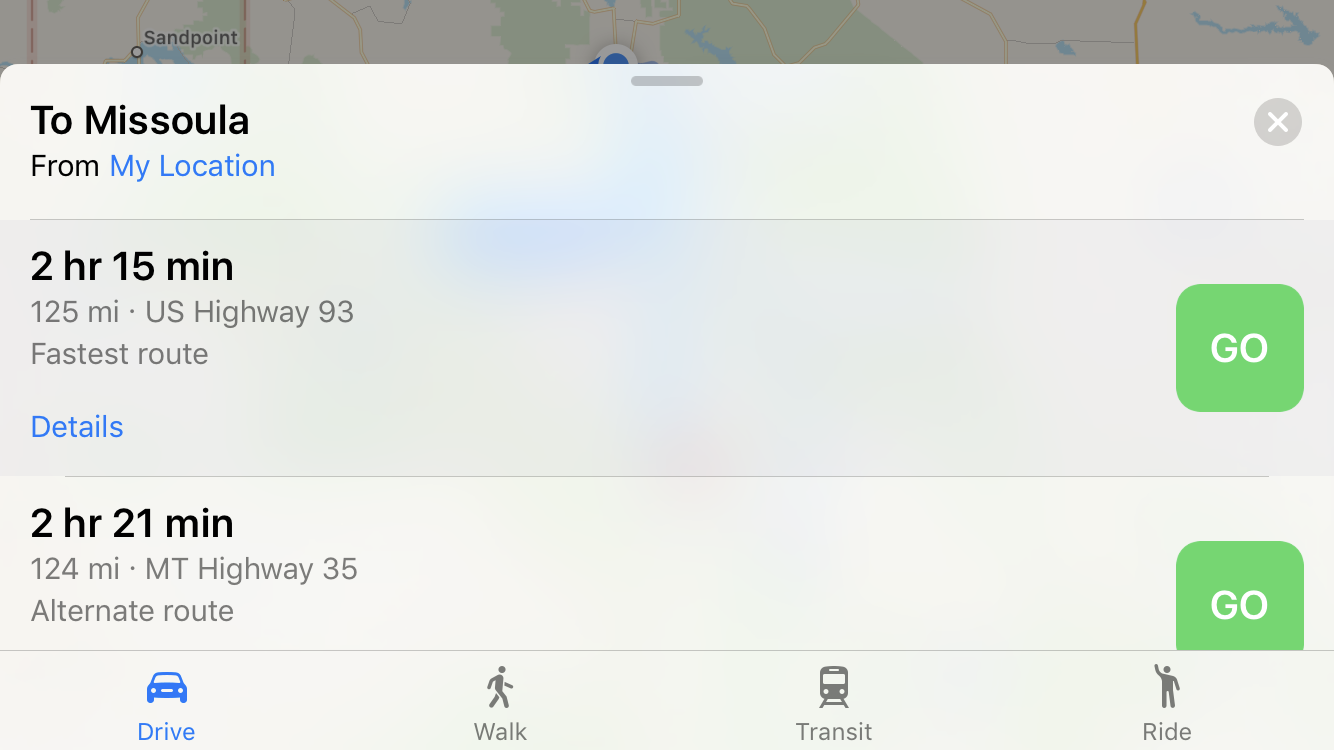
I always pick the fastest but if you wanted to stop by a favorite curio shop on Hwy 35, for example, route 2 would be for you. Also note along the bottom the transit options: drive, walk, public transit and ride. Ride? That’s a link to Uber. For fun you can see how long your route would be walking, but since the average person walks at 2-3 miles/hour, 125mi = a ridiculously long walk. Not so useful.
Tap on the cheery green “Go” button and directions are loaded in:
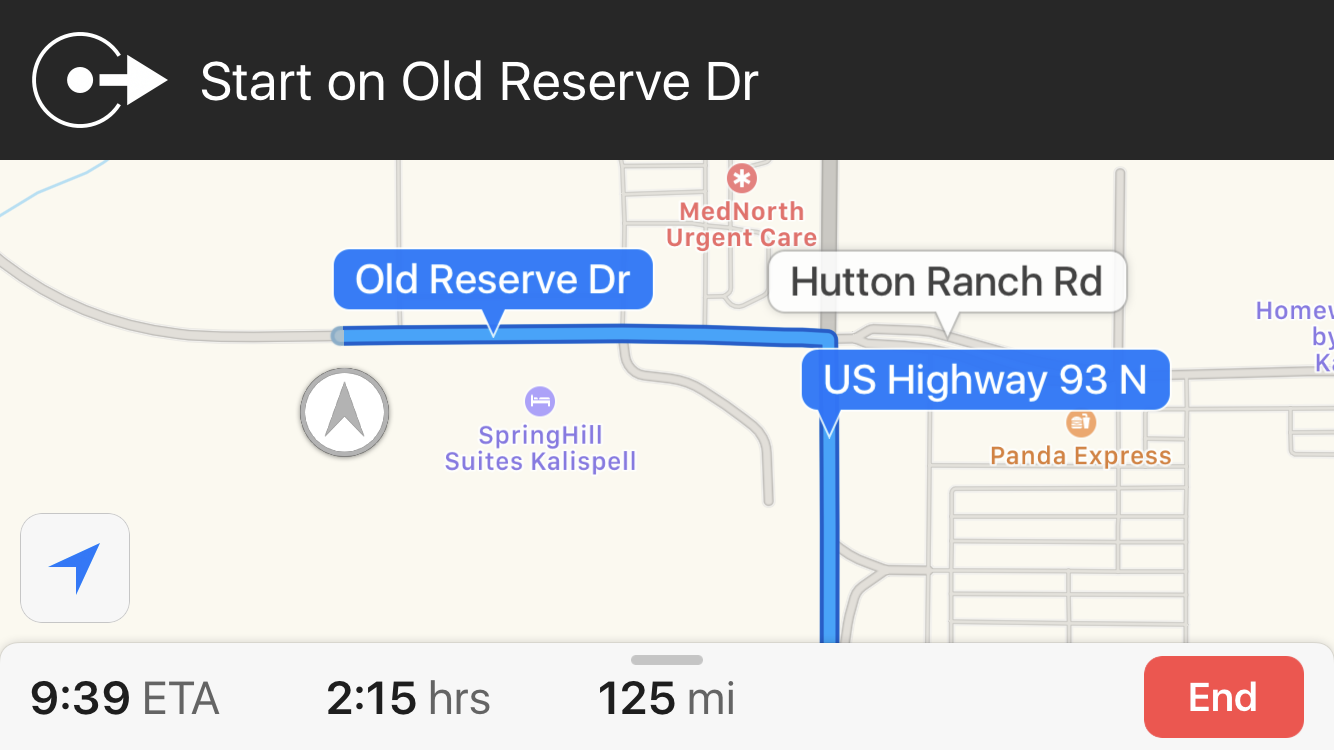
That’s it. Great turn-by-turn directions, easily followed, and both explained on the top bar and shown on the map, which updates as you move. Works very well, in my experience, and when you’re done getting directions, a tap on the red “End” button gets you back to regular map mode.
Oh, and swipe up on the bottom panel again, because there’s more you can do to tweak your Apple Maps experience…
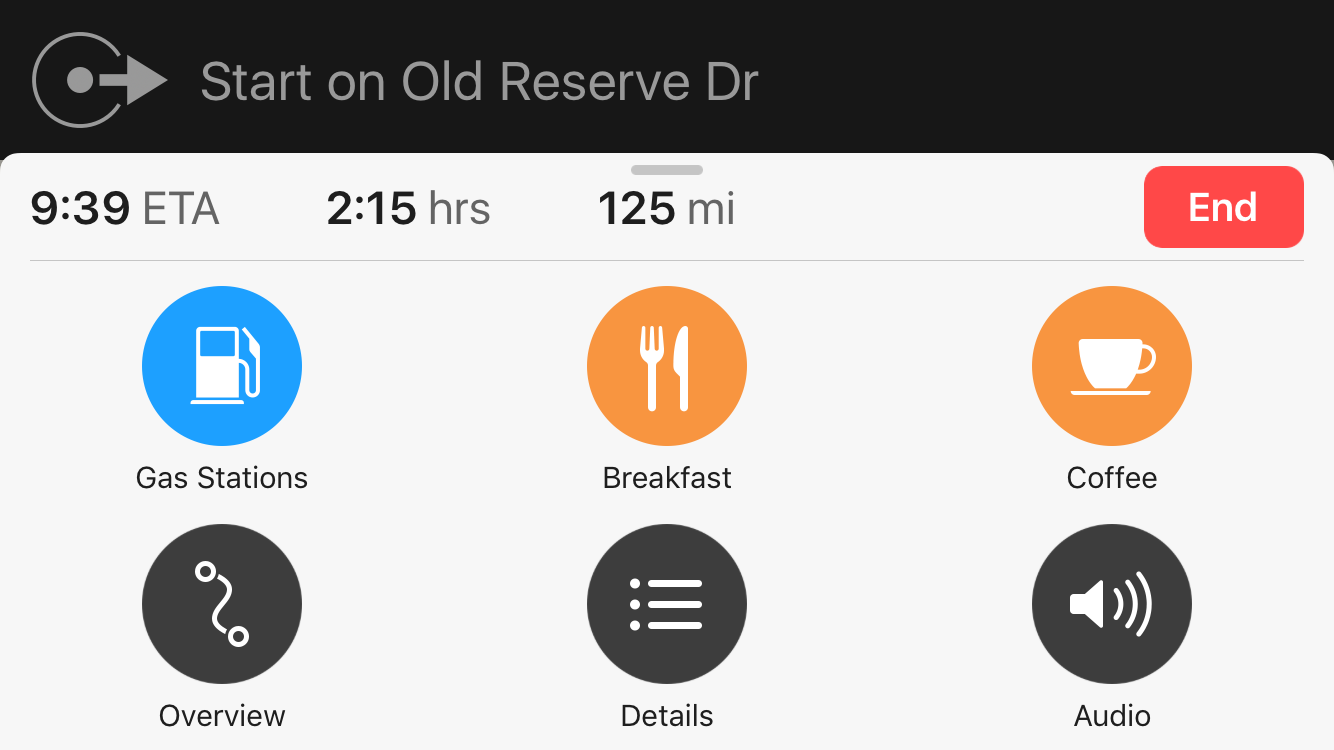
The one I’ll highlight is “Audio“: It’s how you can turn off the voice telling you what to do, something I really dislike. Tap on “Audio” and you’ll see your options:
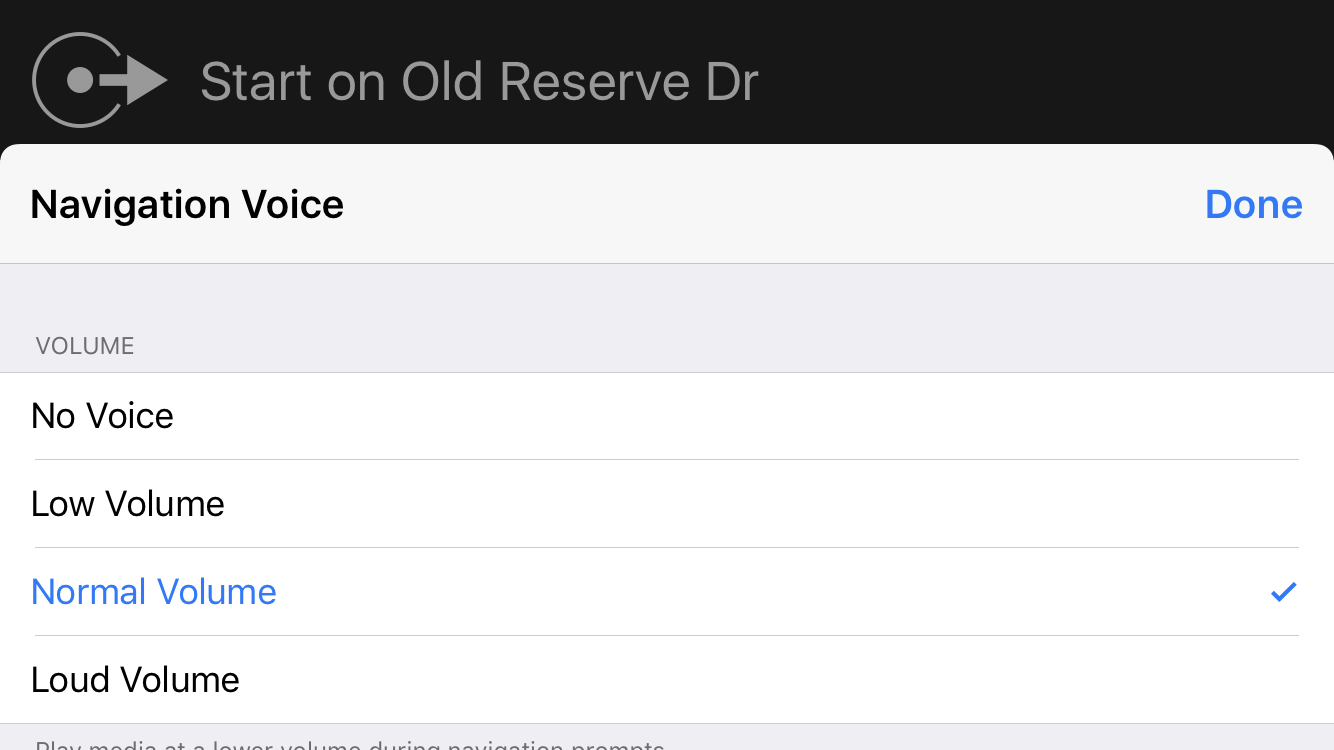
That’s it. That’s how you get the annoying navigational voice to shut up and stop telling you where and when to turn. Of course, if you like this feature, don’t disable it. 🙂
Want to learn more about Apple Maps? Apple has a tutorial page dedicated to its mapping app!
