
I want to be able to save some private photos on my new Pixel phone and am wondering how I can do that without using a third-party app. Does “Photos” support a private or secret photo album or folder?
The more we use our mobile devices, the more they end up repositories of our private and secret information. From confidential emails to credit card and banking information, direct messages from secret pals, even photos that you wouldn’t want the kids to bump into – or your parents! – there’s lots that might be worth hiding. While there are apps that might purport to offer a secure digital lockbox for this sort of information, how well do you trust the developer of that application?
Fortunately, Google‘s realized the issue, at least with photos, and has what it calls a “Locked Folder” as part of the Google Photos app. It’s not easy to find, however, though once you know where it is, the setup’s not too bad. Since it is secret, you’ll also find you can’t take any screenshots of the setup process or the screens within the Locked Folder. For this tutorial, I’ve resorted to taking actual photos of the Android (Pixel Fold) screen, as you’ll see.
SET UP YOUR PHOTOS “LOCKED FOLDER”
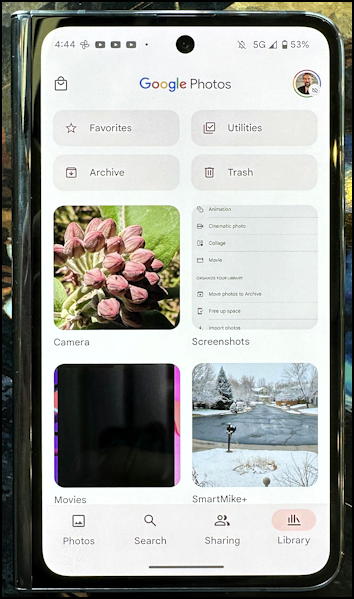
As always, the first step is to ensure you’re running the latest version of Android (always a good habit), then go into the Photos app. Tap on “Library” along the bottom and you’ll see something like this:
Tap on “Utilities” on the top right. Turns out that Google Photos has a lot of utilities included, some of which deserve much greater visibility:
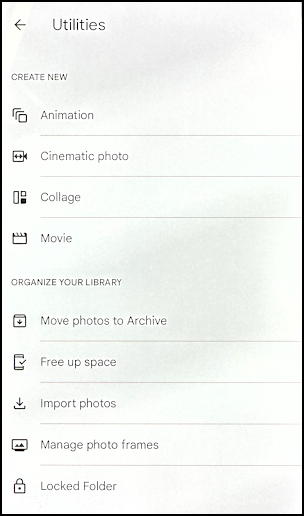
The feature that most surprised me is that Google Photos has its own Manage photo frames capability baked into the regular Photos app. Very helpful if you have a digital photo frame, no question!
For our task, however, it’s Locked Folder that we want, so tap on that. A screen will appear that explains how the Locked Folder actually works:
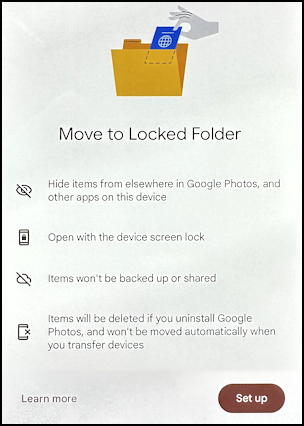
The four bullet points are: “Hide items from elsewhere in Google Photos, and other apps on this device.”, “Open with the device screen lock”, “Items won’t be backed up or shared.” and “Items will be deleted if you uninstall Google Photos, and won’t be moved automatically when you transfer devices.”
These are quite important: Once you move a photo into the Locked Folder, it really is hidden. It won’t be backed up, it won’t be visible in other apps even if they have permission to view your photo album and none of the photos will be transferred to a new phone even if you “transfer from old device” and let Android do all the work.
Ready to proceed? Tap on “Set up“.
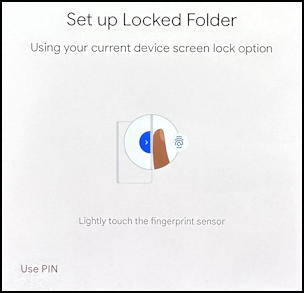
Depending on what biometric support is included with your Android device, you might be able to use a fingerprint sensor – as I can with the Pixel Fold – or just set up a basic PIN.
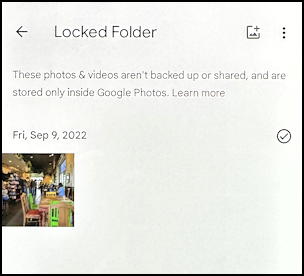
Once set up, here’s what Photos will display:
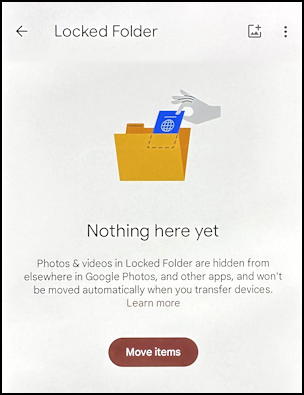
It’s all set up and, of course, it’s empty. Ready to move some photos into the Locked Folder? Let’s do it!
MOVING PHOTOS INTO YOUR LOCKED FOLDER
While you’re setting things up, you can tap on Move items to pick and choose a few photos. Try it and you’ll move directly into your camera roll:

You can scroll and poke around even years in the past, depending on how big your archive might be. Tap to choose the photos you’d like to hide in your Locked Folder and it’ll have a “move” link appear on the screen. Tap on that and Google Photos will confirm you really want to move the photo or photos:
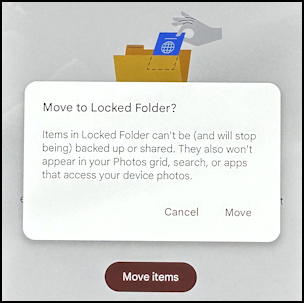
The pop-up warns “Items in Locked Folder can’t be (and will stop being) backed up or shared. They also won’t appear in your Photos grid, search, or apps that access your device photos.”. Tap on “Move” to have the photos migrate into Locked Folder. Android will warn you one more time:
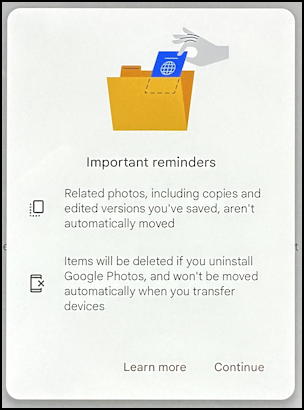
Finally, tap “Continue” and, finally, the photos will be moved.
VIEWING YOUR LOCKED FOLDER
At any time once it’s all set up you can go into Photos > Library > Utilities and tap on “Locked Folder” from the menu of options, as shown earlier. It will then confirm your identity based on the PIN, password, or biometric you set up earlier:
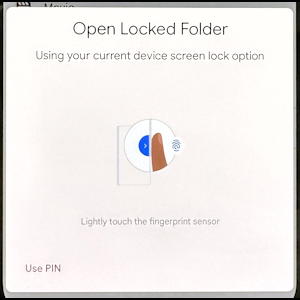
For me, a tap on the fingerprint sensor and I’m looking at the single photo I moved into my own Locked Folder:
That’s it. Now, keep in mind that even if this is secure, it’s a bad idea to have photos that are evidence of any illegal activity or other material that could be embarrassing – or illegal – if it appeared in public. Best to just keep that material offline or not save or accept that kind of photo in the first place. Good luck!
Power Tip: I’ve been writing about Android for many years and have an extensive Android help library here. Please check it out while you’re visiting. Thanks!