
I know how to pin a favorite program to the Taskbar in Windows 10, but how do I add it to the Start Menu? Appreciate a quick tutorial, if you can…
There are few things more controversial in the history of Windows than the Start Menu and its big brother the Start Screen. The concept was great, if you were on a tablet, but on a computer? That full page of app icons was quite disconcerting for the millions of people who had been using Microsoft Windows for years and years. It was scaled back to the Start Menu, but those app “tiles” remain and will survive the jump to Windows 11 in a few months too.
Once you have a tile on the Start Menu it’s pretty easy to modify it, but adding a new program tile is not as obvious as it could be. Fortunately, I can show you the steps quickly and easily enough, so let’s jump in and get those program tiles you seek on your Start Menu!
HOW TO MODIFY AN APP “TILE” ON THE START MENU
The logical place to start is with the Start Menu itself. Right click on any of the program or app tiles and a context menu pops up with some very helpful options:

As you can see, it offers the ability to “Unpin from Start“, along with “Resize”, some notification options accessible through “More”, and a program “Uninstall” option. But how do you add a new tile?
I’ll do so by adding a tile for the Brave web browser. Right-click on an empty space on the Start Menu? Nothing.
Let’s take a slight detour on the way to a solution…
HOW TO ADD A PROGRAM TO THE TASKBAR
Fire up a program and you can hover over its button to get a thumbnail of the program window:

You’ve probably seen this millions of times. Not only that, but you also know that you can right-click on the program’s entry on the Taskbar and get a context menu:
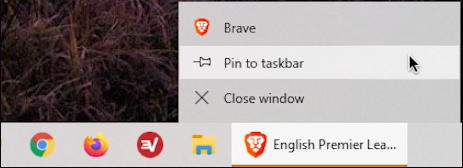
That’s how you pin a program to the Taskbar (as I’ve done, above, with Chrome, Firefox and ExpressVPN, all shown to the left of the File Explorer shortcut). But how do you pin it to the Start Menu?
HOW TO PIN A PROGRAM TO THE WINDOWS 10 START MENU
Turns out that, quite unintuitively, you right-click on the program’s name on the Apps list in the Start Menu itself!
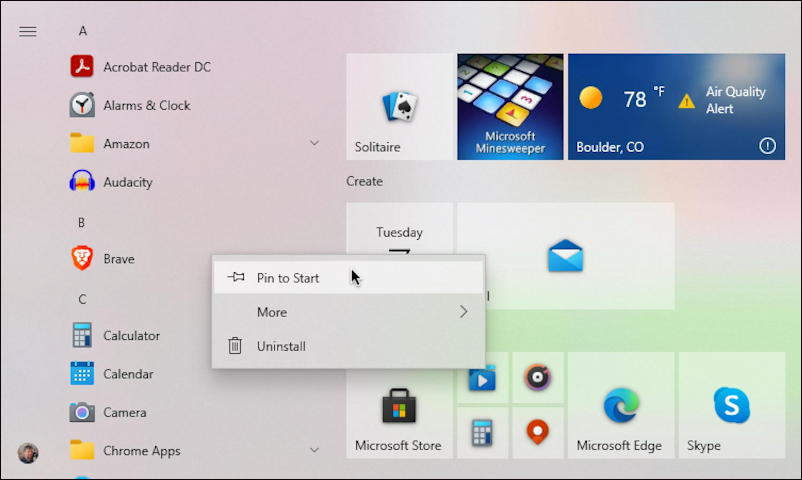
Seems in the pic like a floating menu not associated with the “Brave” entry, but try it yourself and you’ll see how it ties together. In this instance, of course, it’s the “Pin to Start” option you want to choose.
The program tile shows up on the Start Menu, but not necessarily in the spot you’d prefer:
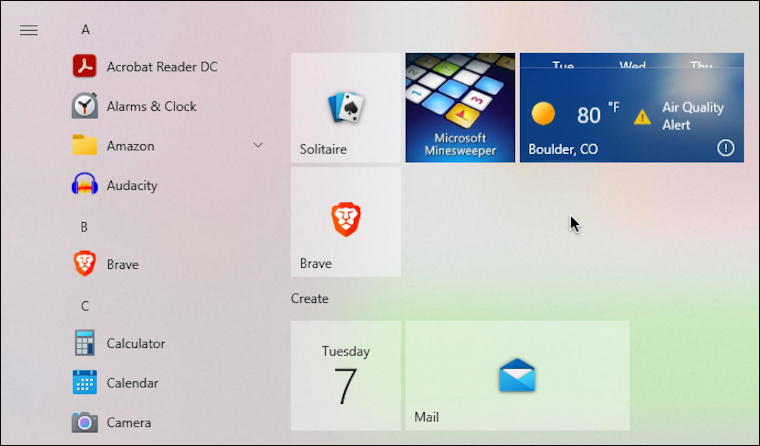
No worries. Turns out you can just click-and-drag tiles around to change their location. It’s a matter of a second or two to get the Brave app tile in the correct spot:
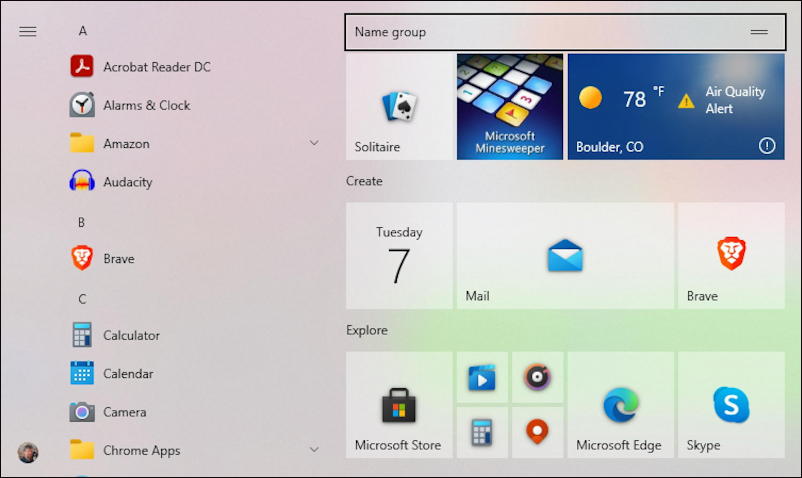
Mission accomplished. And now you too know how to customize that Start Menu!
Pro Tip: I’ve been writing about Windows for many years and have an extensive Windows 10 help area. Please check it out to find lots of additional tutorials and guides while you’re here. Thanks!
The “Start Menu” has sucked since Windows 8. I replaced it with Start 8 and now Start 10 from Stardock. It’s like the good old Start Menu from Windows 7 to Windows 95. It seems as Microsoft ages they get dumber and less friendly. Whether it’s changes in Outlook or the way Edge displays a new tab. I am sick of them trying to remove features that I liked by making things less flexible and user friendly. One would think that as time goes on Windows would get more user friendly not less.
I use a few apps that do not require installation, such as Rufus – an app to ‘burn’ an iso image to a USB drive. I could use the programs context menu (opened with ALT-Click on the app) to send a shortcut to my desktop, but what if I want to put it on my taskbar, or into the Start menu?
There is a way. In File Explorer’s navigation pane, expand C:\Users and select your user’s sub-folder. There is a hidden sub-folder in your user’s folder named ‘AppData’, but because it is hidden, it is not listed in the navigation pane. To get into it, click in the file path listing near the top of the window. Press the ‘END’ key to de-select the current file path, then append “\AppData” (no quotes) to the end of the path name and press the ENTER key. This puts you in the AppData folder. Now navigate to ‘Roaming\Microsoft\Windows\Start Menu\Programs’. This is where your computer’s file list lives on your hard drive.
To make my custom program icons like the one for Rufus easy to find, I created a folder named ‘Applications’ in my Programs folder, then in my new Applications folder I added a shortcut pointing to the Rufus program on my hard drive.
To do something similar, ALT-Click an empty place in the Programs folder and select ‘New -> Folder’. Enter a name for the new folder. Note: Sometimes, the new folder gets created with the name ‘New Folder’. In that case, ALT-Click New Folder, and select rename (near the bottom of the context menu), then enter the name you really want for your new folder.
Enter the folder you just created, then ALT-Click in the file list pane and select ‘New -> Shortcut’. This will open the Shortcut creation wizard. In the window that pops up, click the ‘Browse’ button. A navigation window opens. Expand ‘This PC’, then navigate to the application you want to add to the Start menu file list by expanding one folder at a time until you get to where the app is stored on your hard drive. Select the app then press the ‘OK’ button. Click the ‘Next’ button near the bottom-right in the wizard’s main window. You can then edit the name to make it what you want to see in the Start Menu’s file list (for example, you may want to change “MyCustomApp.exe” to “My Custom App”). Finally, click the ‘Fi8nish’ button near the bottom right to close the wizard.
I hope this helps someone,
Ernie