
I bought an external microphone so I could record my own songs. Very exciting. But how do I record audio on my iMac, and especially, how do I ensure that it’s using the external mic not the built-in mic on the computer? Thanks!
Shortcuts: Record the Screen | Record via Webcam | Record Audio
Using your iMac to create new content is a great idea, and the platform has a zillion tools ready to help you get the very best possible results, whether you want to multitrack [try Garage Band, it’s phenomenal], add video to create music videos [I’m a big fan of Final Cut Pro but iMovie can get you a long way too] or just fine tune the timing of your stanzas and choruses. My favorite audio recording tool turns out to be one of my favorite video recording tools too: QuickTime. Included with MacOS, few people realize just how powerful this program actually is, but it’s perfect for your audio recordings.
Not only that, though, but it can record your computer screen – including audio or a voice-over narration – or record videos using the webcam on your Mac system too! Where the program is weak is in editing what you’ve produced, something that can be handled by importing the video content into iMovie or downloading a copy of the open source Audacity program for audio editing. Let’s have a look at all the features of QuickTime, especially how to change audio input to ensure your new microphone is being utilized.
RECORD YOUR MAC SCREEN WITH QUICKTIME
I believe that one of the main reasons that QuickTime doesn’t get more love is simply because when you launch it you are shown a file open dialog window and nothing else:
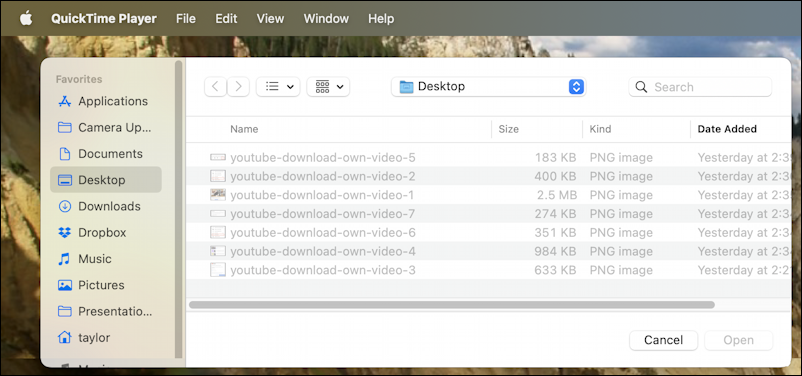
Not unreasonably, people assume that with the name “QuickTime Player” it’s just a video player app (which it is) and look elsewhere for content creation and recording. Check out the “File” menu, however, and you might be surprised what shows up:

Those are the three main functions of QuickTime Player that I use: New Movie Recording, New Audio Recording, and New Screen Recording. The first lets you record from your Webcam, the second is audio only, and the third – you can guess – lets you record what’s happening on your computer screen. All are very handy!
Let’s start with the third option, “New Screen Recording”. Choose that and a small floating toolbar appears at the bottom of your screen:
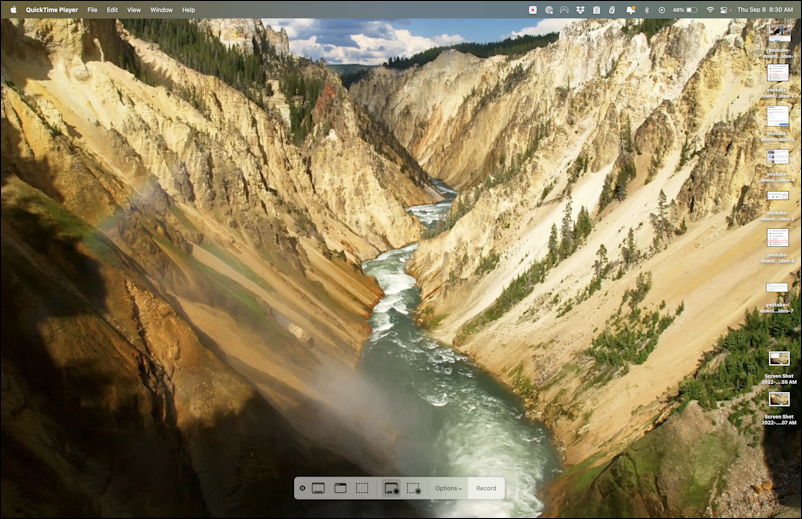
I know, it’s pretty small. You can see it larger in the following image, which shows what happens when you click on the “Options” button:
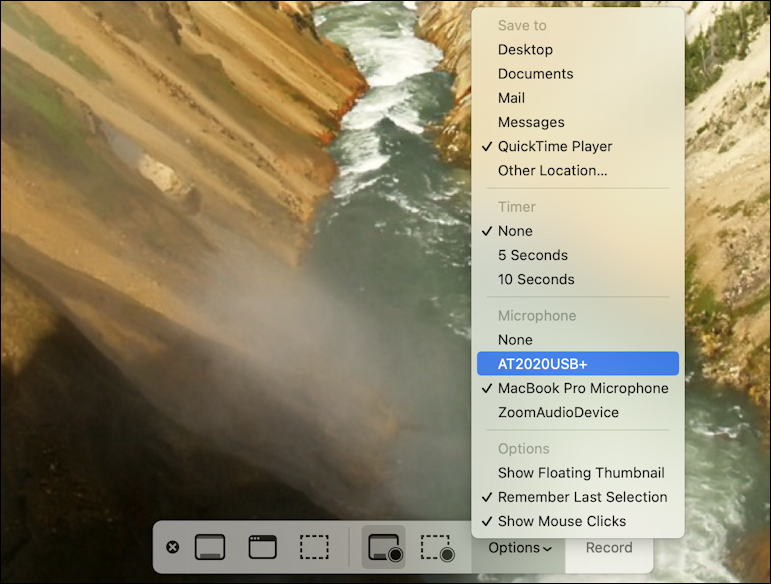
Turns out this is the same code that does screen captures on the Mac system (somewhat confusingly), so the first three graphics on that toolbar are shortcuts to capture the entire screen, the current window, or a defined rectangular region. Click, done. But to record video, the next two let you choose between capturing the entire screen or a defined rectangular region. The “Options” button brings up the menu of options, as you can see, notably including the choice of what program you want to use for the output once the recording’s done. The other options are a start delay timer, the microphone to use (I have three!) and a couple of other useful options for screen recording.
If I wanted to record the screen to, perhaps, demo how to do something on my Mac, that’d be full screen, no timer delay, and the appropriate microphone. Once they’re all set, then the “Record” button will start the recording. A small square will show up on the menubar:

It’s leftmost in the above image. Once you’re done with your recording, simply click on the stop button and it’s saved. Easy enough!
RECORDING YOUR MAC WEBCAM WITH QUICKTIME PLAYER
Instead of recording your computer screen, perhaps you’d rather record yourself? That’s what the “New Movie Recording” feature does. Choose that and after a moment or two, you’ll see yourself on the screen:
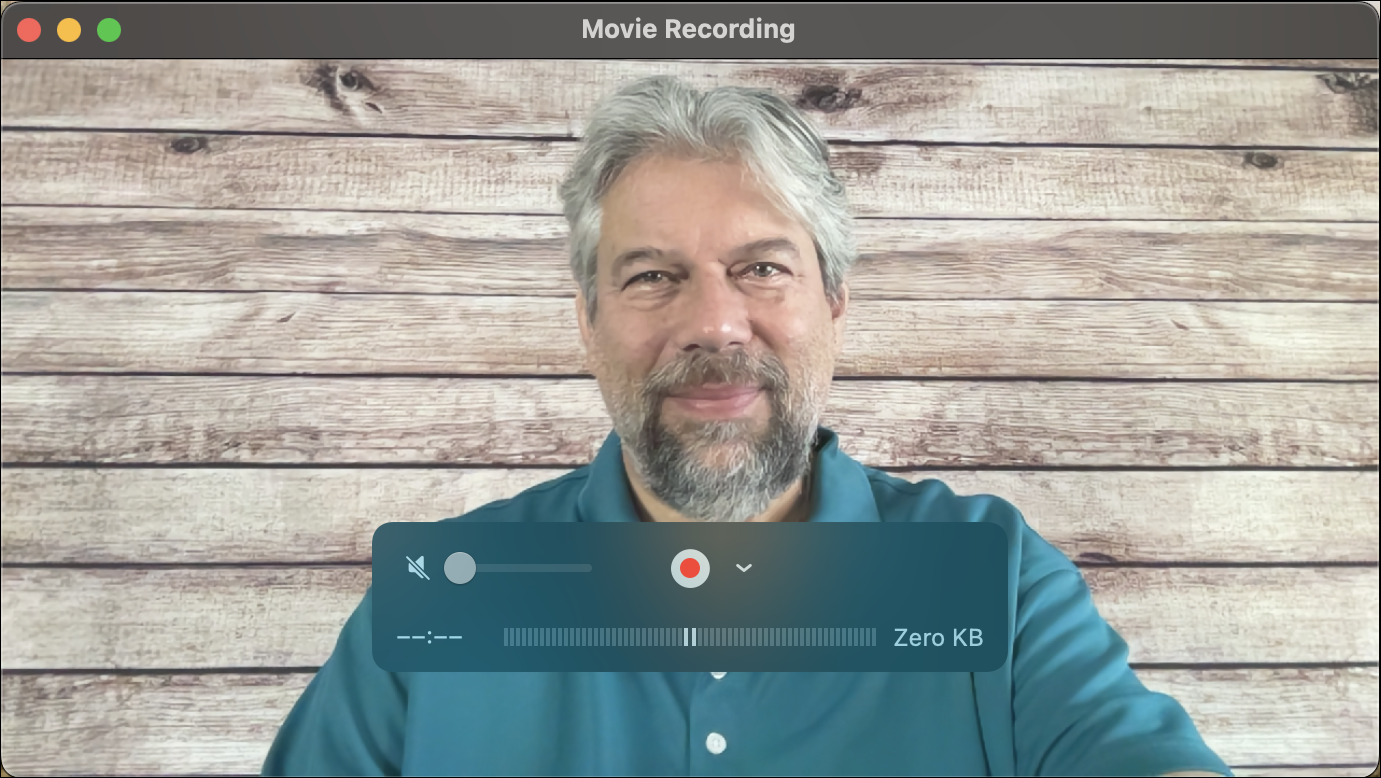
This time it’s a different toolbar, one that shows audio input (the bars in the middle), current filesize, current runtime, etc. But how do you check to see what microphone it’s going to use? Click on the tiny “v” adjacent to the red record button.
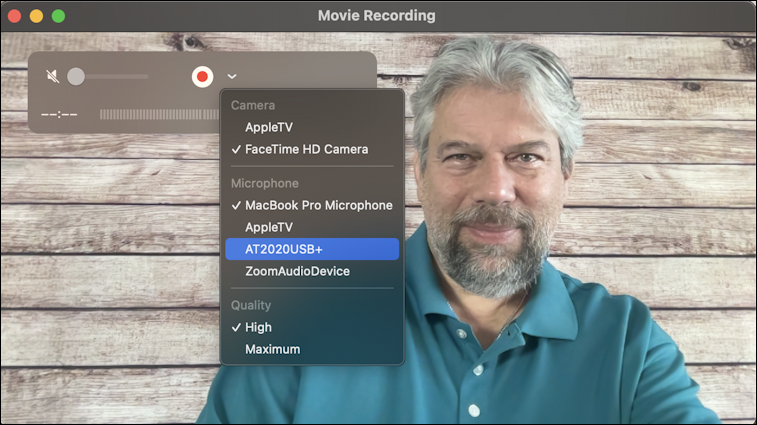
The interface is different and the options are different – notice I can record off my AppleTV! – but again, there’s a Microphone section that lets me choose the audio device I plugged in, my Audio-Technica AT2020 USB+ desktop microphone. I always choose “Maximum” quality for the video to get the best possible results too. Once you’re recording, the toolbar shows progress information and lets you easily click on the stop button since it replaces the record button in that same spot. Again, as soon as you stop recording it’s saved.
RECORDING MAC AUDIO FROM EXTERNAL MICROPHONE
The third option on that “File” menu is “New Audio Recording” and that’s the simplest of all three interfaces once chosen, popping up a very small window:
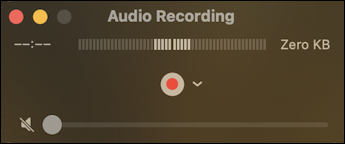
By this point you should know how to find those options: Click on the tiny “v” adjacent to the red record button!
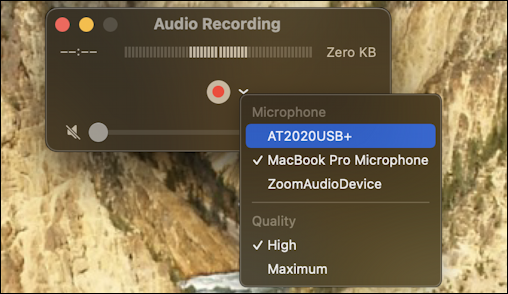
Again, I choose “Maximum” for the best possible results. How does it all sound? Here’s a sample!
And that’s it. QuickTime Player has more features hidden away, but these three will definitely get you started and now you can see how to get audio recordings too, perfect for practicing and experimenting with your songs. Good luck!
Pro Tip: I have hundreds of Mac tutorials and help pages on the site as I’ve been running MacOS since the introduction of the operating system. Please take the time to check ’em out!