
I need to export a bunch of entries out of one WordPress blog and import them into a different WordPress site. Can you step me through the process, Dave?
You’re in luck because your source and target sites are both running WordPress. Not a huge surprise since WordPress is incredibly popular and powers a significant percentage of the entire World Wide Web, but still, much easier than going from something like Wix, or having a bunch of articles you posted on LinkedIn you want to import! Further, WordPress has built-in import/export tools that make it easy.
In fact, I have a monthly routine of exporting everything out of my blogs and saving the resultant data files on my computer just in case. Yes, I also use backup systems on my blogs, of course, but it’s smart to have a backup for your backup system, right?
In any case, while there are a number of steps involved, the overall process is surprisingly straightforward and it starts on the old WordPress blog from which you want to extract your posts…
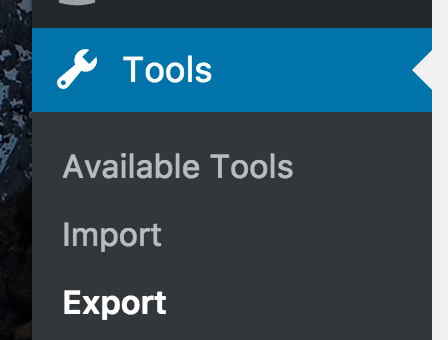
On that site, log in and get to the administrative Dashboard. You’ll see a “Tools” item on the menu. Choose it and you’ll have “Export” listed:
Note: If you don’t have a Tools option, it’s possible you aren’t the administrator or otherwise haven’t been granted appropriate permissions to do this task. If so, talk to the owner of the blog about gaining the additional account privileges to produce the export, or ask them to export all your files instead.
Assuming you see this, clicking on “Export” brings up a surprising number of different groupings of WordPress content:

I have to admit, I’ve never seen “Campaigns” as something I could create or modify in WordPress, but apparently it’s a thing. Most likely you’ll be choosing “All content” or “Posts”: Pages, you’ll recall, are static pages managed by WordPress. If you’re blogging with new entries every day or two, those are all Posts. Indeed, this very article is a post.
To demonstrate, I’m going to just choose a subset of posts from the source blog. Once chosen, Posts reveals:
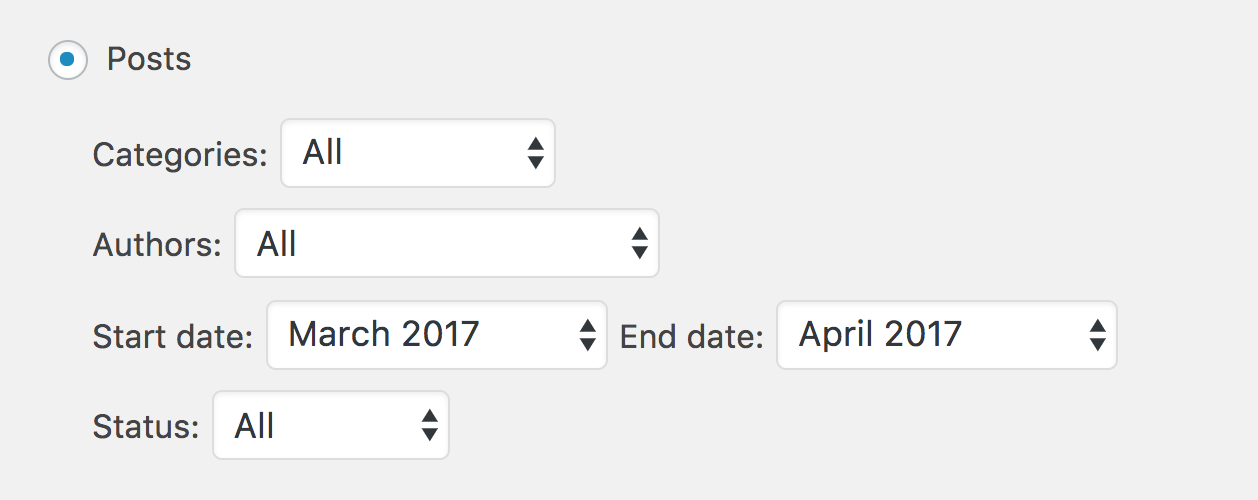
Very cool: You can export posts by category, author, a date range or even by status. For example, if it’s a multi-author blog, you could export just your own articles. Or just those in draft form or within a specific category (allowing you to, say, export all your car posts and move them a new car blog!)
I’m just going to export blog posts from the last two months by specifying the date range shown above.
When ready, a click on “Download Export File” does the work and exports a “.xml” file.
Done with the source WordPress blog. Log out, open a new browser window or tab, and jump onto the new blog. Again, log in to an administrative account and go to the “Tools” section:
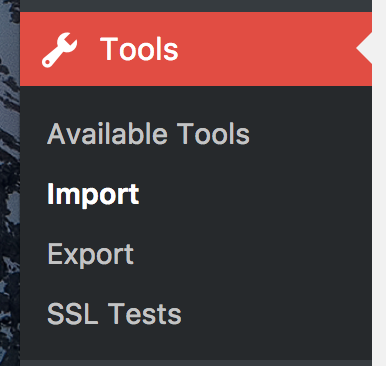
If you guessed “click on Import” you’re doing great! Click on, um, Import. Now you can see how many different file formats WordPress can handle:
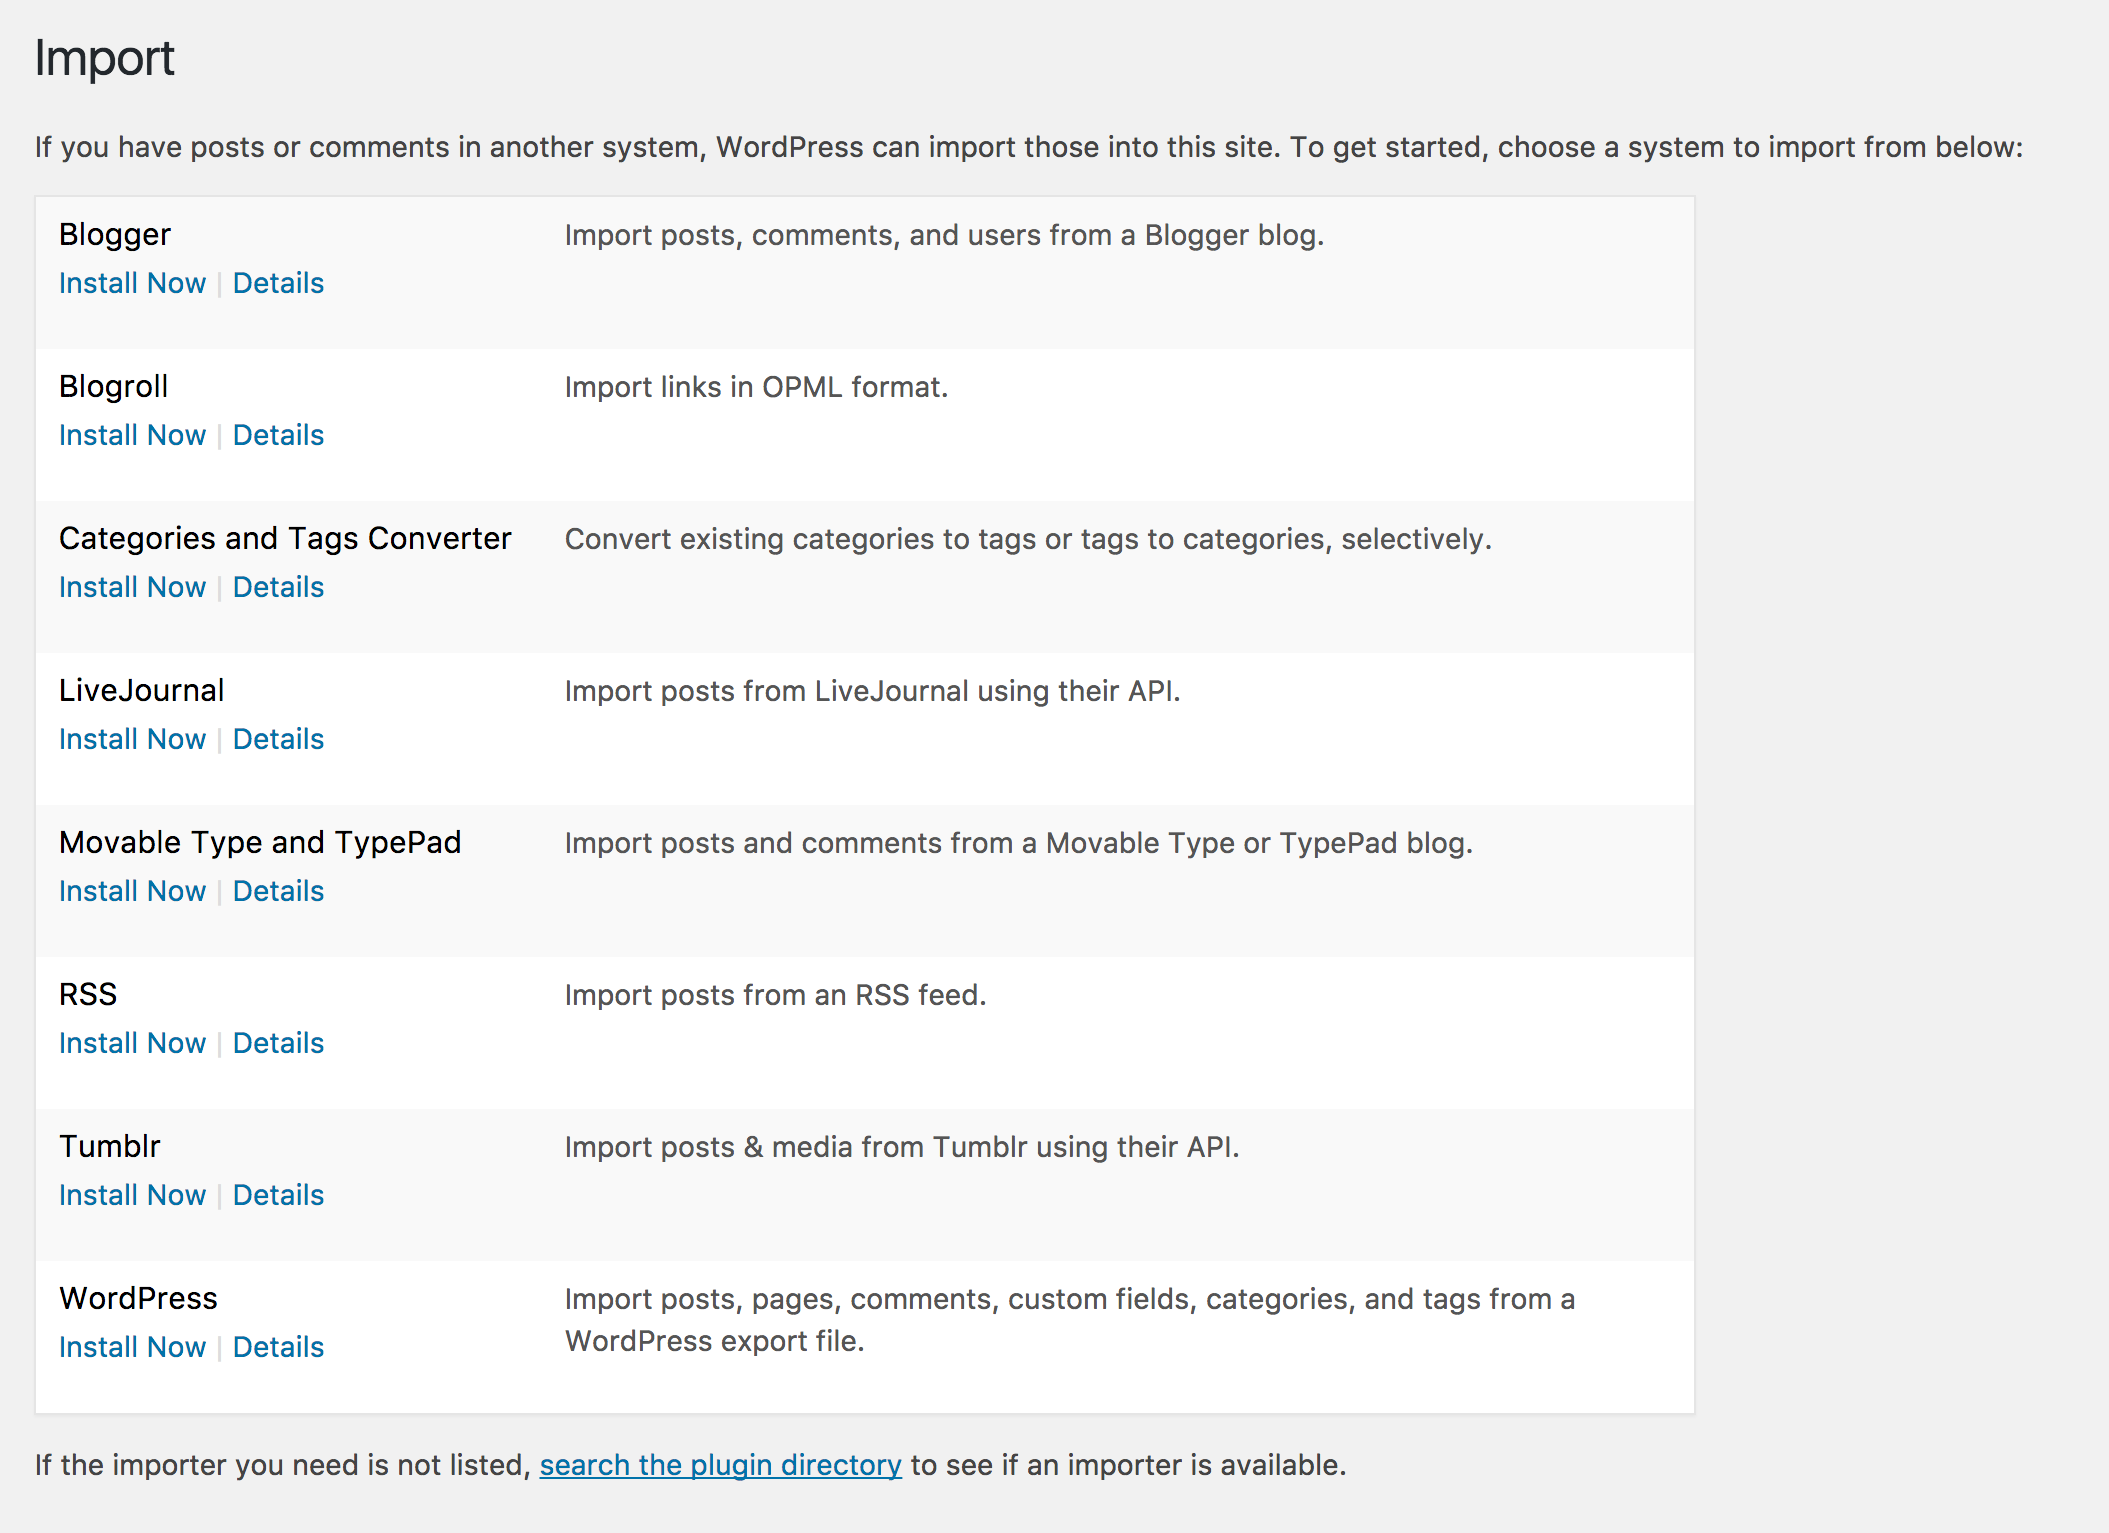
Since you’re importing from another WordPress blog, it’s the last option. Click on “Install Now” and after a few moments, “Install Now” turns to “Run Importer“:

Click on “Run Importer” and you’ll see, there aren’t many options at all:
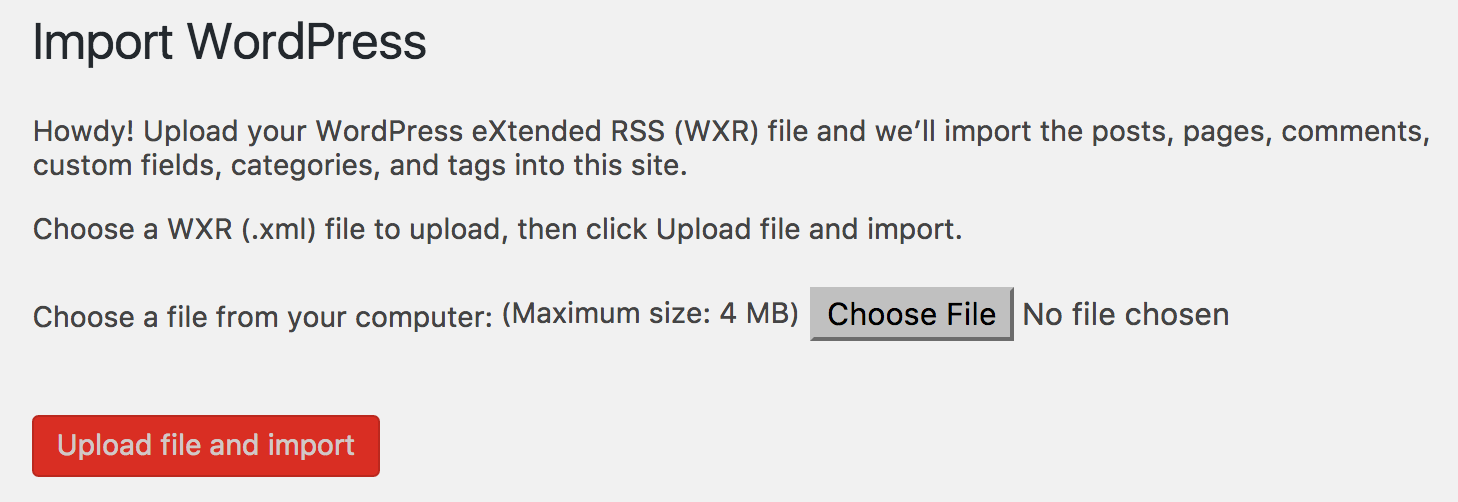
You’ll want to “Choose File” and then select the “.xml” file that you exported from your original blog:
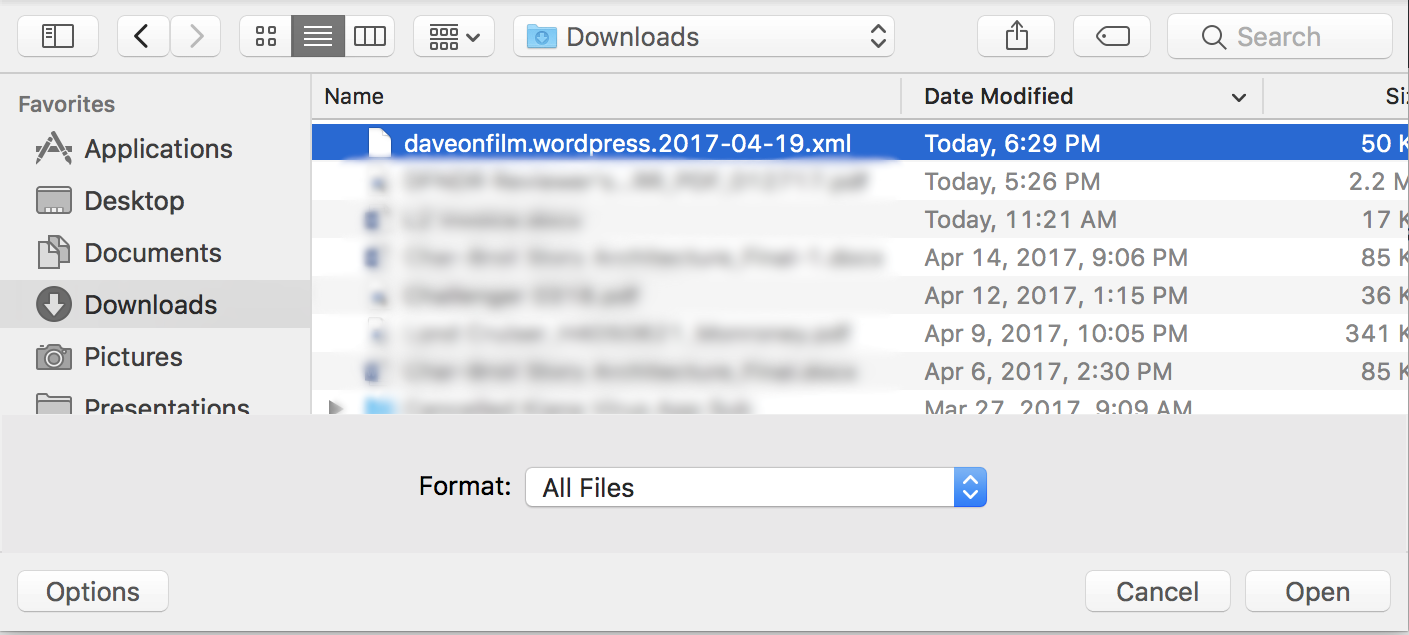
Easy enough. Pick the file and click “Open” to proceed.
The next step is pretty straightforward:
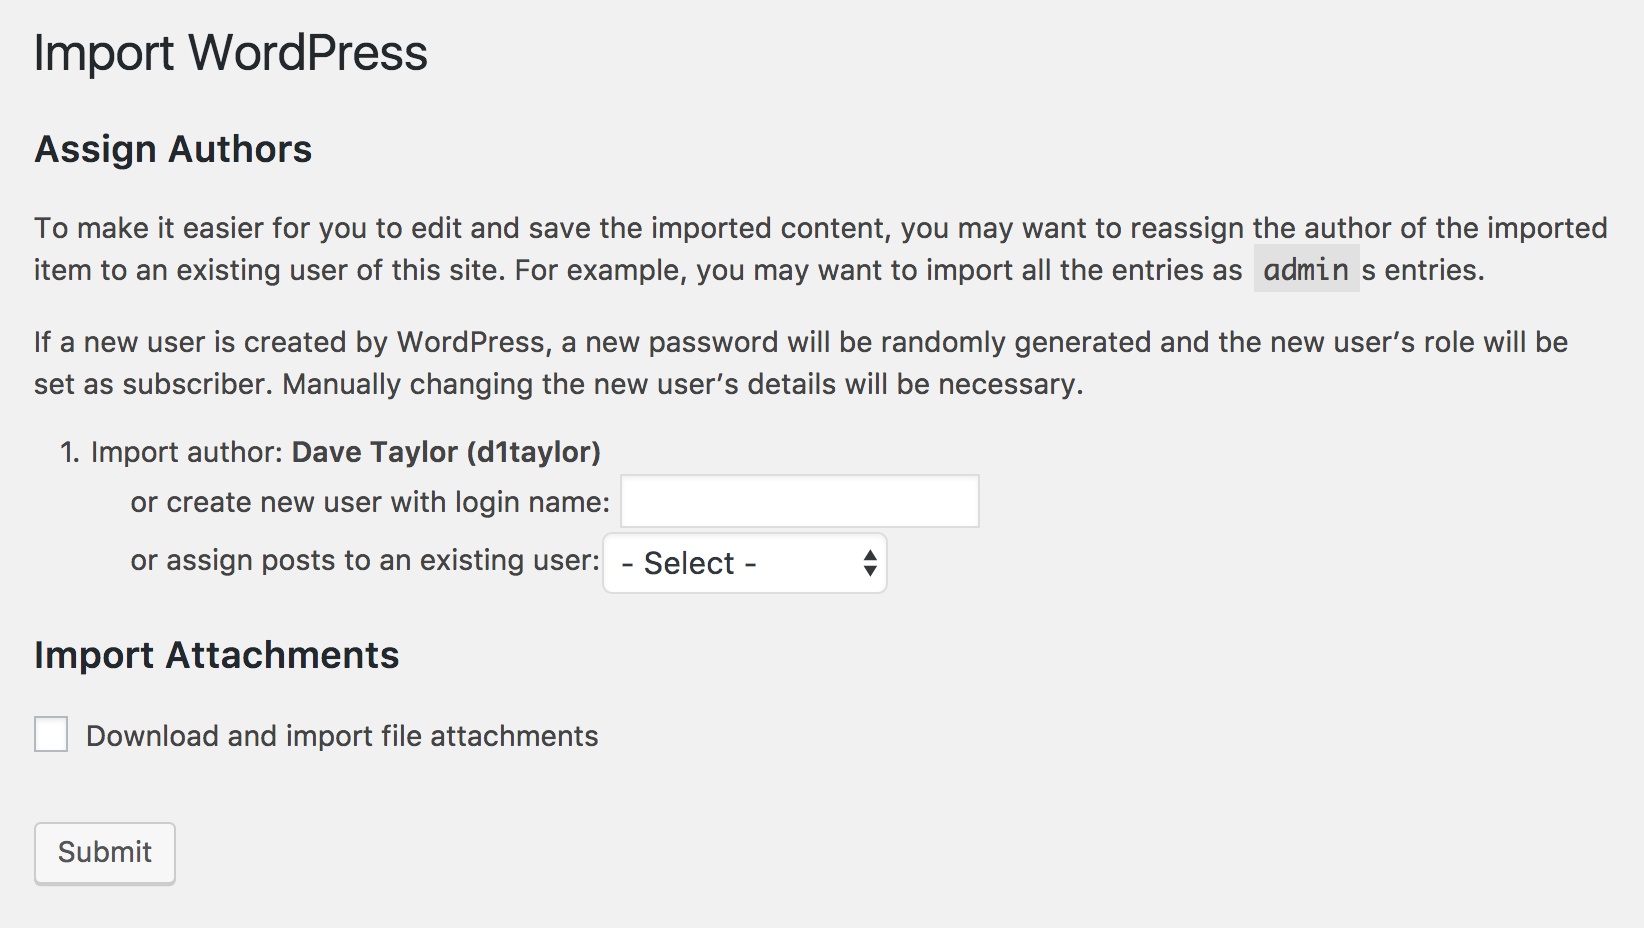
You can use the default author — you, as logged in — create a new user name (you can add a password later), or pick from a pop-up of defined users. I want the posts to list me as the author, so the default works fine. And in terms of importing attachments, for the default export/import, you can skip that step.
Ready? Click “Submit”. And….done!
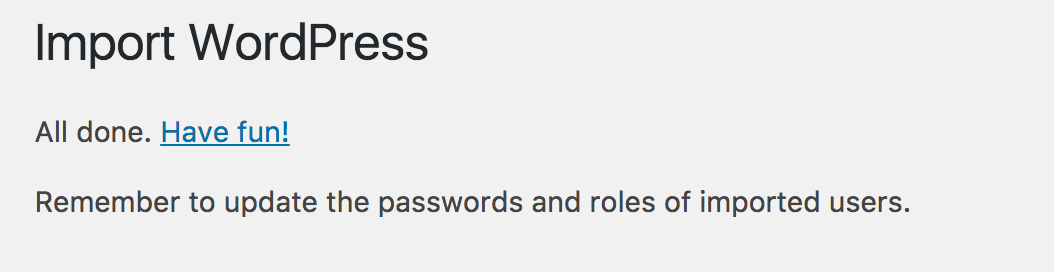
That’s it. Now let’s have a quick check to see what actually happened. First off, check it out: a post that was queued for publication on the old blog is now queued for publication on the new WordPress blog:
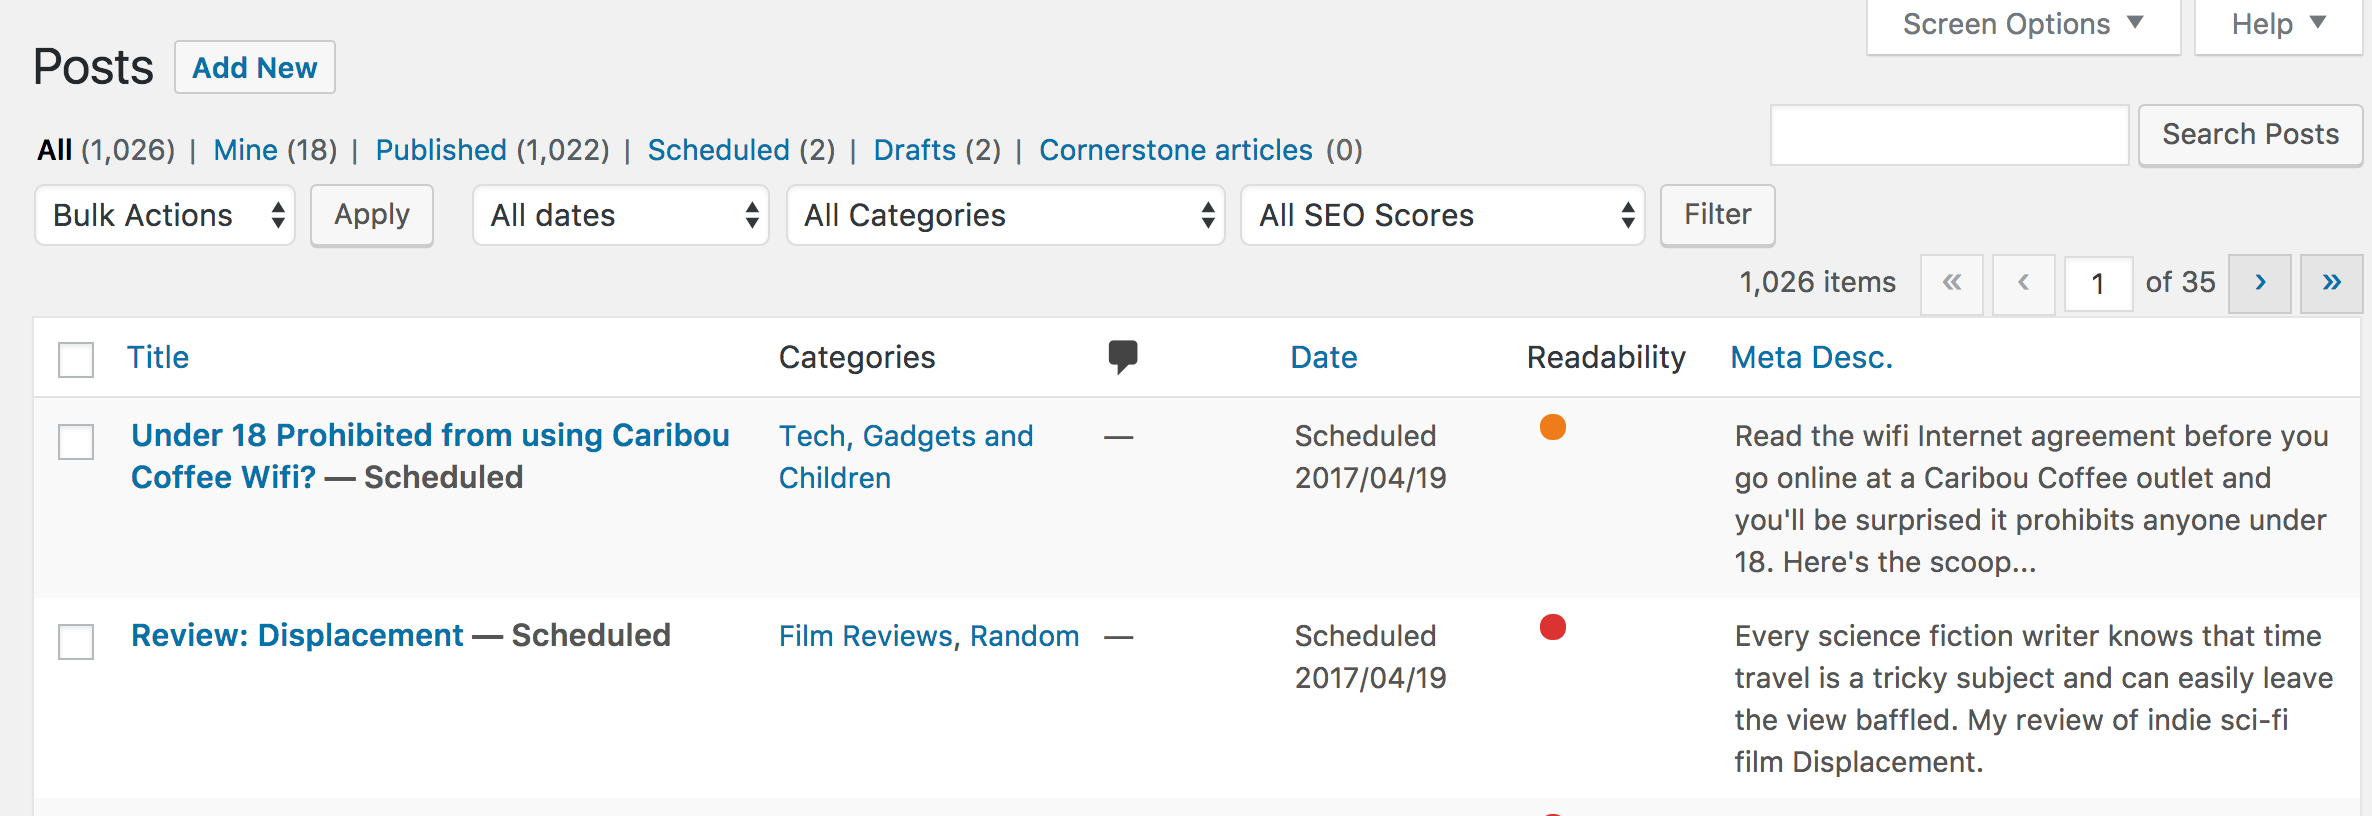
The second of those posts is the imported one. Unfortunately the imported posts are in the wrong category. Fortunately that can be quickly fixed by choosing “Quick Edit” under the post’s entry, then unchecking the wrong categories and checking the correct categories:
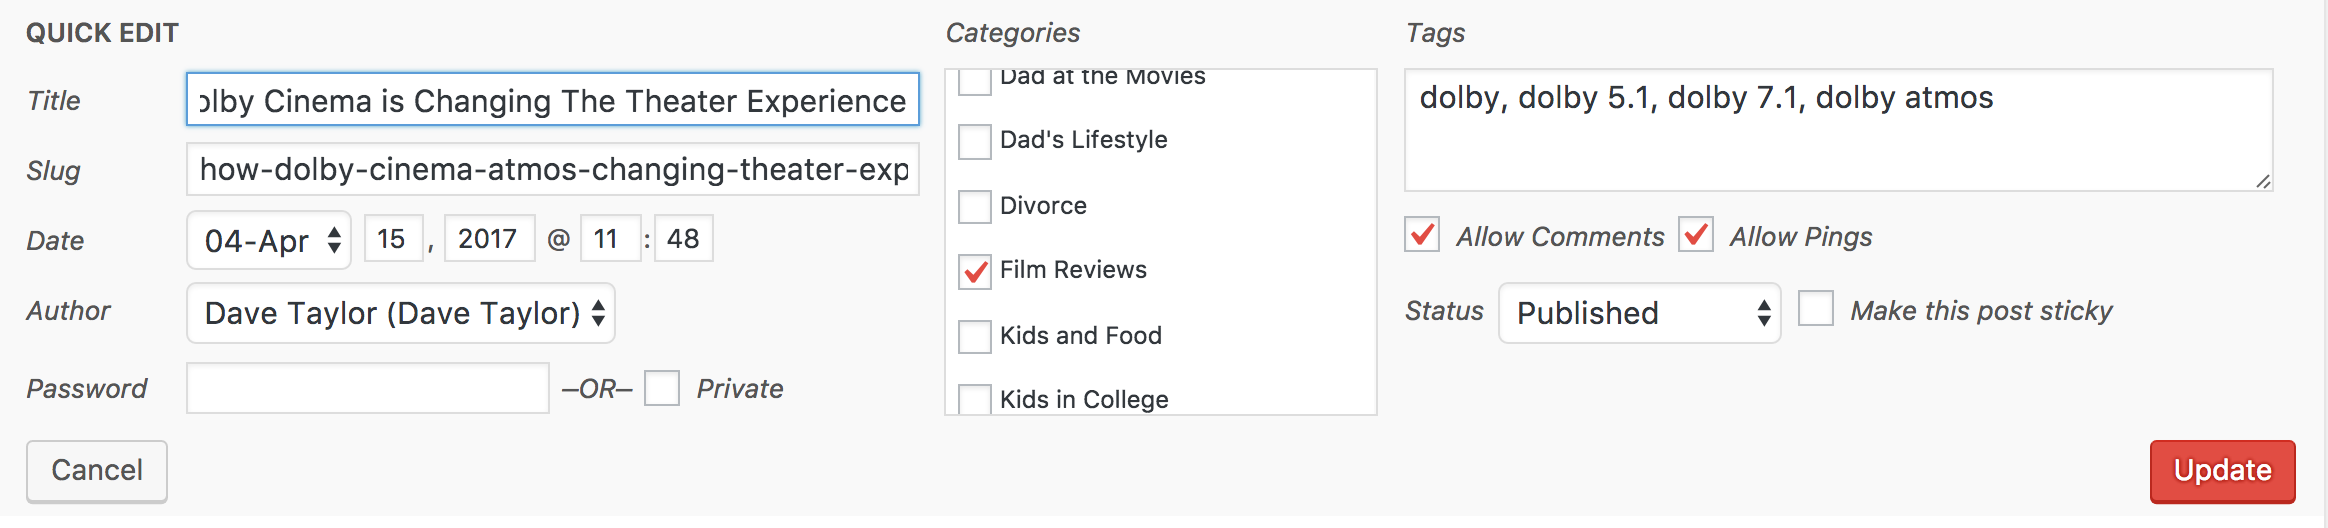
Looks good? Click on “Update” and it’s fixed and in the correct category. Notice that the slug (which is the base of the page’s URL) remains the same on the import too.
Oh, and all the images migrated along too, as this shows:

That’s it. There’s more you can do to make the export/import process smooth, but those are the basics. Good luck/