
I can’t seem to figure out how to connect to the Starbucks Wi-Fi network and have it work on my Android phone. It shows it’s connected, but nothing works?
If you’re used to Wi-Fi networks where you have to ask for the secret password then a login type wireless network like what they have at Starbucks can be a bit confusing. The issue is that you have to take a second step: You have to connect to the network, then you have to get to a login screen and log in to the system that controls actual Internet access too. There are a lot of companies moving in this direction and while it’s usually pretty easy because the login window just pops up (like on a Mac or PC) sometimes you have to do a bit more for it to all work smoothly.
To demonstrate the steps, I’m going to be using Android 8.0 Oreo on a NUU Mobile G3, so odds are pretty good that it’s different to what you have on your device too – since there are many different versions of Android in the wild – but hopefully you can still follow along.
Let’s start out with the most obvious of steps: Make sure you have Wi-Fi turned on. To do this, go into the Settings app and choose “Network and Internet”:
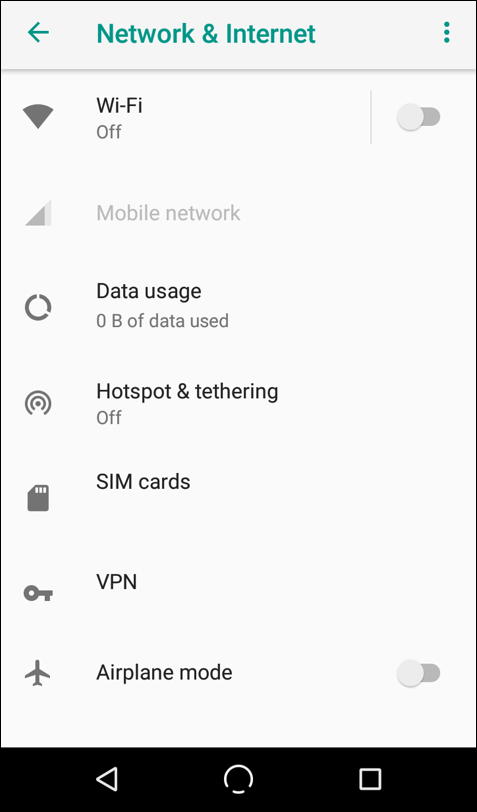
As you can see, I have Wi-Fi turned off. Oops! To turn it on, simply tap or slide the control widget to the right and “Off” will change to “On”. Then tap on the “Wi-Fi” so you can see all the available networks. I’m at a Starbucks in Colorado so here’s what I see:
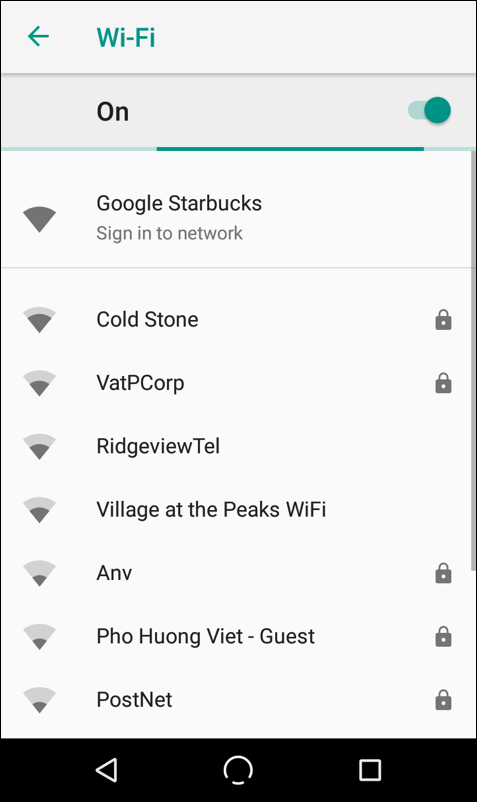
Here’s something that will amaze you: Companies like Google and Apple have sufficient data that they could look at all the wifi networks above and figure out my location to within a few dozen meters. Just from that list of networks.
You can see that the phone’s kindly suggesting Starbucks already as it’s the strongest signal (the ‘fan’ shape icon is a signal strength indicator, with PostNet having the weakest and Google Starbucks the strongest). The networks with a tiny padlock are old school and require a password to connect. Starbucks isn’t the only newer network, however, notice above that both RidgeviewTel and Village at the Peaks WiFi lack a padlock too. That means they’ll have a login screen too.
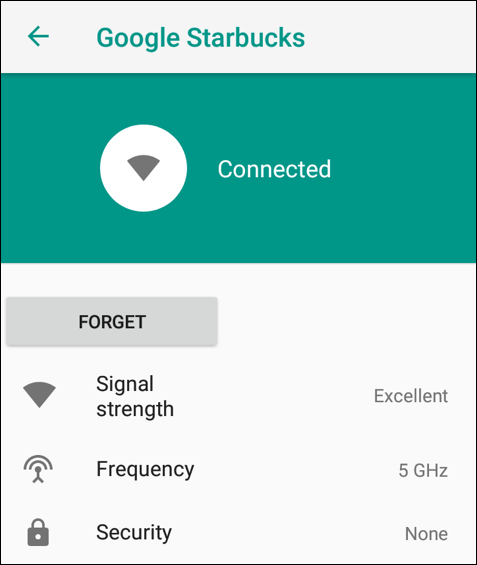
Tap on “Google Starbucks” on the list.
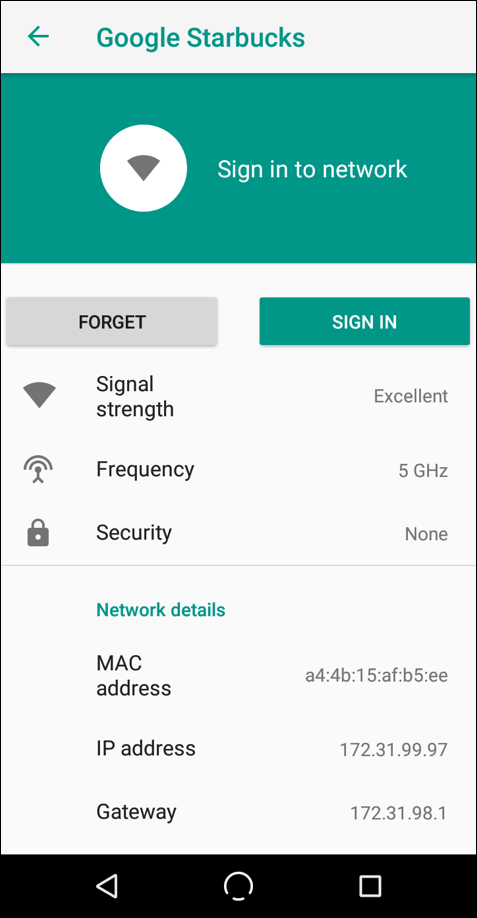
You can see all the connection info, but more importantly you can see the big green “Sign in to network”.
That’s what you want – no surprise! – so go ahead and tap.
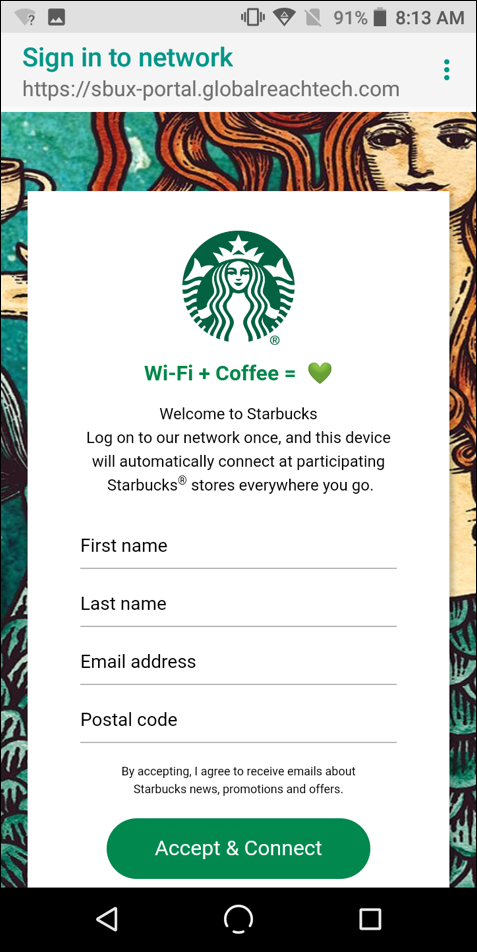
Starbucks has fast, free wireless connectivity (which is darn appreciated, thanks Starbucks!) but they do want a bit of information about you in return. The good news is that once you fill in this form once at one Starbucks, all other Starbucks you visit will already know and you won’t have to log in a second time.
Tip: Check out the very top left of the above screenshot. Notice the Wi-Fi “fan” icon with the tiny question mark? That’s Android’s way of showing you that you have Wi-Fi enabled but aren’t on a fully functional network. Yet.
Enter your first, last, email address and zip code, then tap on “Accept & Connect” and it won’t take more than a few seconds to be fully online and ready to go!
That’s it. Good to go. Just go back to whatever app, game or utility you want to use and you’ll be rockin’ it with the Internet on a fast Google Starbucks connection.
At any time you can also swipe down from the very top edge of your Android device to check on your Wi-Fi status:

Lots of good info and a very easy way to access the key features and settings for your phone. That swipe down status screen is definitely your friend. And now, so is Google Starbucks too.
Pro Tip: I have a ton of Android help here on the site. Please do check it out while you’re here. Thanks!