Have a Windows PC that doesn’t have a webcam, or just wish yours was more flexible or higher quality? Turns out you can use your Android phone or iPhone as a webcam for your PC, and it works great! Here are all the steps involved, and no worries, there’s no software to buy or license required.
Most modern laptops include built-in webcams, but that doesn’t mean that every computer has a high quality camera and microphone by any means. Where this can be most problematic is with desktop computers where you plug an external monitor into a base unit: Unless you buy a separate webcam as part of your setup, odds are very good you’ll be the odd one out on those family Zoom calls, or stuck on your phone with everyone about the size of a postage stamp.
What most people don’t realize, however, is that with some free software, you can actually use your smartphone – or tablet – as a remote webcam for your Windows PC! Imagine how convenient it would be to have the actual Skype, Zoom call, Microsoft Teams, or Google Hangout on your big monitor while the video signal and audio you’re sharing are both from your phone. You can even pick up your phone and show people your space if you desire, or purchase a budget mini-tripod and make your setup even a bit fancier.
There are a number of technical solutions with the software, but the one I really like is called DroidCam and it’s both a smartphone app and a PC app. They pair when you want to be live and make the entire process surprisingly easy once you accomplish the one nerdy technical configuration step. But let’s start at the beginning…
DOWNLOAD DROIDCAM CLIENT ON YOUR PC
To start, go to www.dev47apps.com and download the DroidCam PC client. On that page you’ll see the following (you might have to scroll down to find these buttons):
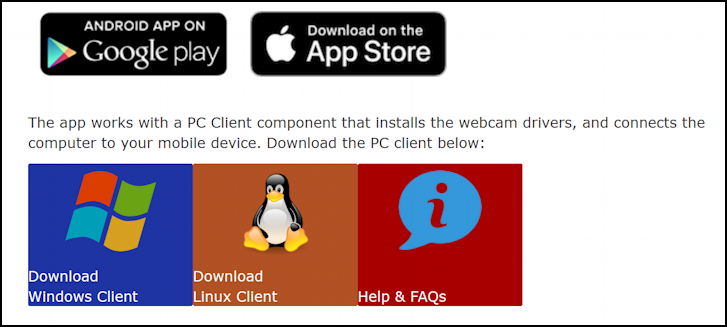
As you can see, it works with either an Android phone or iPhone as the camera, and either a Windows PC or a Linux system as the main unit. Click on “Download Windows Client“. Once you download it, open up the setup exec and you’ll see a pretty typical Windows app installer:
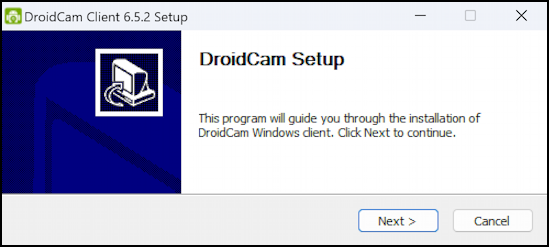
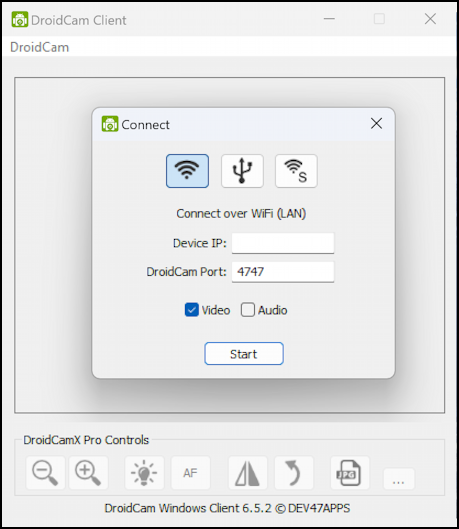
Be aware it does need a fair number of permissions to access the camera and the microphone, and ostensibly to record from those sources too. I allowed all of that, including notifications. All told, the installation took under a minute. Then you’ll need to launch the new DroidCam Client application, which will produce this rather austere window:
To proceed, it’s time to grab your Android phone and get that all set up too…
DOWNLOAD DROIDCAM FOR ANDROID
You can use one of the links on that Web page I referenced earlier, or just search the Google Play Store for DroidCam:

Notice it has over 10 million downloads is reassuring if you’re worried about the developer and security, with 4.4 stars out of 120,000+ reviews. It’s popular! Eagle-eyed readers will note that it “Contains Ads” but, as you’ll see, they never get in the way of the video or audio transmission and are easily ignored. Prefer to never have ads? You can upgrade to the HD version of the app for about $6.00, which eliminates all ads and is something I recommend if you find this useful and will utilize it with some frequency.
Once installed, launch the app and it goes straight into a help screen:

Tap through “Next” to get to the main ready screen. It’ll show a bunch of technical information:
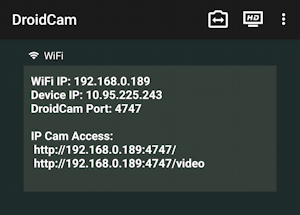
Now flip back to your PC and look at what it’s prompting you to enter: Device IP and DroidCam Port.
ENTER IP ADDRESS TO PAIR THE TWO PROGRAMS
Here’s where it’s a bit tricky, because you don’t want to enter the number shown in the field labeled “Device IP” but rather the information shown as the “WiFi IP” address!
In other words, I need to enter 192.168.0.189, as shown below:
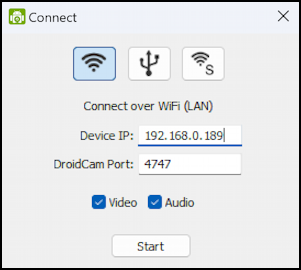
Notice that the default port value – 4747 – is already matched on the Android phone and PC client app, so there’s nothing to change there. Also note that I have checked both Video and Audio so my phone delivers both channels.
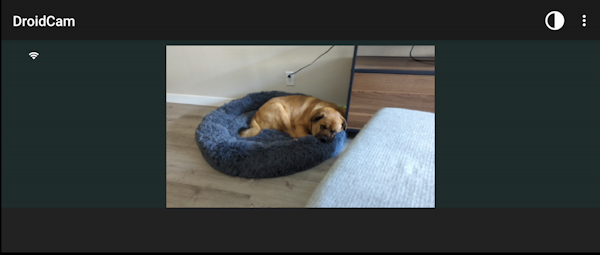
Ready? A click on “Start” in the PC client app and after a few moments they should pair and you should see a live camera image on both ends! On my phone, I pointed it at our dog:
And on the PC, amazingly enough, I see the same image in the client program:
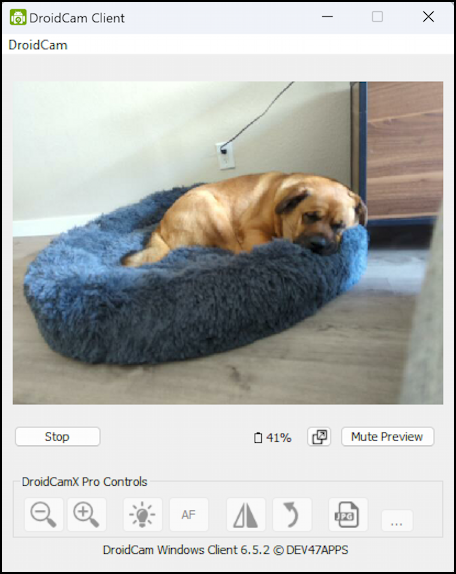
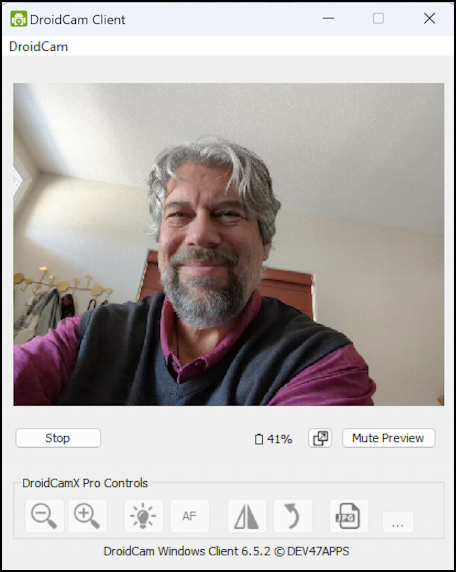
There are some tweaks you can make to the image along the bottom, but you’ve accomplished the main task. Well done.
Can’t connect? Make sure that both devices are on the same Wi-Fi network and that you both entered the correct “WiFi IP” address and granted the necessary permissions on both the PC and Android units too. I also restarted both devices though theoretically, that should have been unnecessary.
SWITCHING TO THE FRONT-FACING CAMERA
The awkwardness with this setup is that by default it’s using the rear-facing camera, which is not typically optimal. You can’t just switch cameras in the Android app, however, so you’ll need to stop the live video feed for a moment. Simply tap on the “•••” button on the top right (it’s vertical, not horizontal, but you can see it in the pic above) and choose “Stop”.
Then you’ll be back to this view on the mobile device:
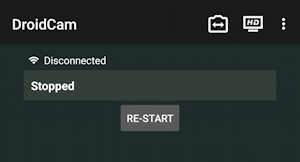
Not to worry, simply tap on the leftmost of the icons along the top, the one with the <–> symbol. That’ll prompt you to choose which camera you want to use…
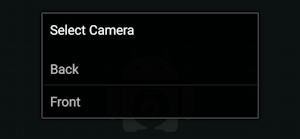
Once you choose “Front” you’ll go back online and the PC application you were using will automatically reconnect.
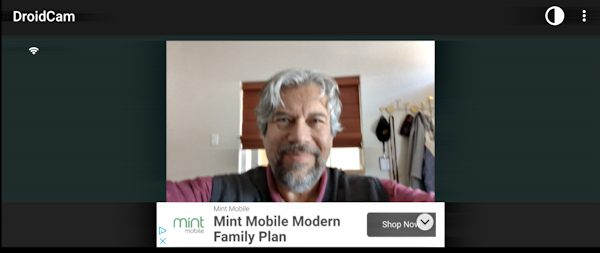
Here’s an example of one of the ads that pop up in the program if you haven’t upgraded to the HD version, by the way. Pretty easy to ignore if you aren’t interested (but remember the developer has created a great tool so why not throw a few dollars their way as a sign of appreciation?)
Meanwhile, on the PC:
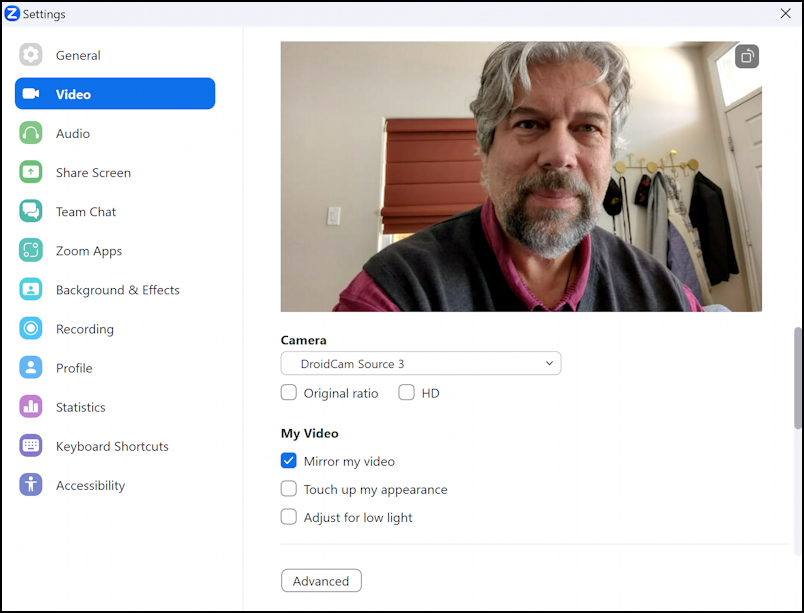
Finally, what if you want to use another program with DroidCam? Turns out it’s now just another choice for video input and audio input, so if I fire up Zoom I can go into Settings > Video, choose “DroidCam”, and see myself through my Android phone camera:
You have to admit, that’s one cool utility and darn helpful, particularly if you lack a good webcam on your PC. But even if you have a good Webcam, the wireless portability of your Android phone might make this a far more entertaining and useful method anyway!
Power Tip: I’ve been writing about Windows and Android for many years and have extensive Windows 11 help and Android help libraries here. Please check them out while you’re visiting. Thanks!
