
My friend sends me photos of text content and I want to be able to quickly convert the image to text so I can copy it into documents or email messages. Is there any way to do that in Windows?
A long time ago a bright engineer realized that the scanning feature of a copy machine could be adapted to actually digitize images and photos, creating a computer-friendly version of anything from a child’s drawing to a textbook page. The challenge that this posed was how to convert the pixels in an image into the corresponding text so users could add it to an email, document, or even text message. This went by the name optical character recognition or “OCR” for short.
But modern tools have all sorts of additional power that early developers couldn’t even have dreamed about, including the now-ubiquitous AI features, that prove a game changer with image to text. People don’t want yet another program on their PCs (do you?) so where to add it? In Paint? Maybe. Turns out that Windows 11 now includes an OCR feature but it’s in the least likely place you’d expect: Snipping Tool. There’s also an online way to convert images to text that we’ll consider too. Let’s check it out!
CONVERT IMAGE TO TEXT IN MS PAINT?
As a starting point, I took a photo of the first page of the delightful and enormous best seller Harry Potter and the Philosopher’s Stone by J. K. Rowling. It’s a JPG so there’s no way to “grab” the text from the image. Double click and it opens up the image in Paint:
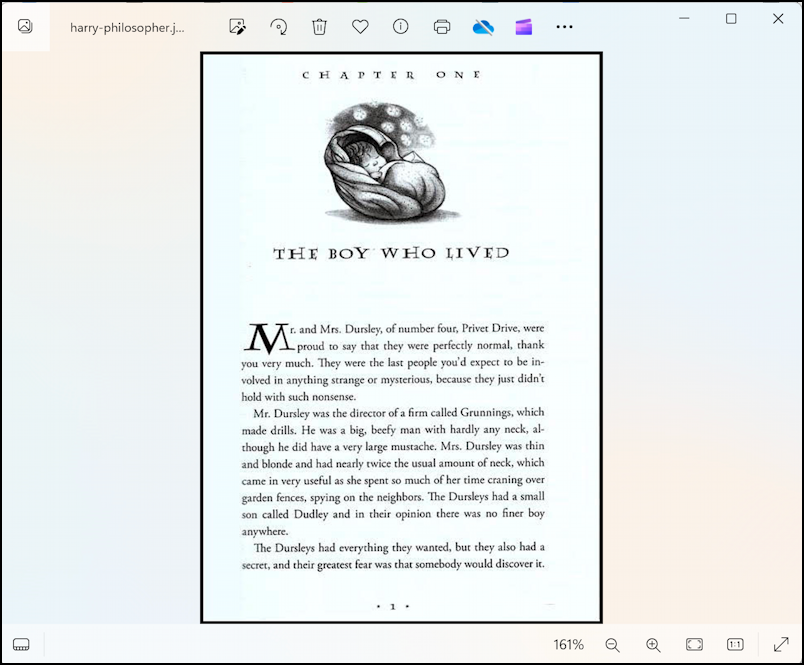
This would be a logical place to add an “extract text from image” feature but it’s not (yet) included in this app. But…
CONVERT IMAGE TO TEXT IN SNIPPING TOOL
When you go to capture what’s on your screen in a modern Windows 11 system, you’re probably using the Microsoft program Snipping Tool. As with so many programs, however, if you don’t poke around, you won’t know what it can do. For example, didja know you could open up existing images? Turns out if you click on the “•••” link on the right…

A click on “Open file” to select the photo file and it opens up in Snipping Tool as if I’d just captured the image:
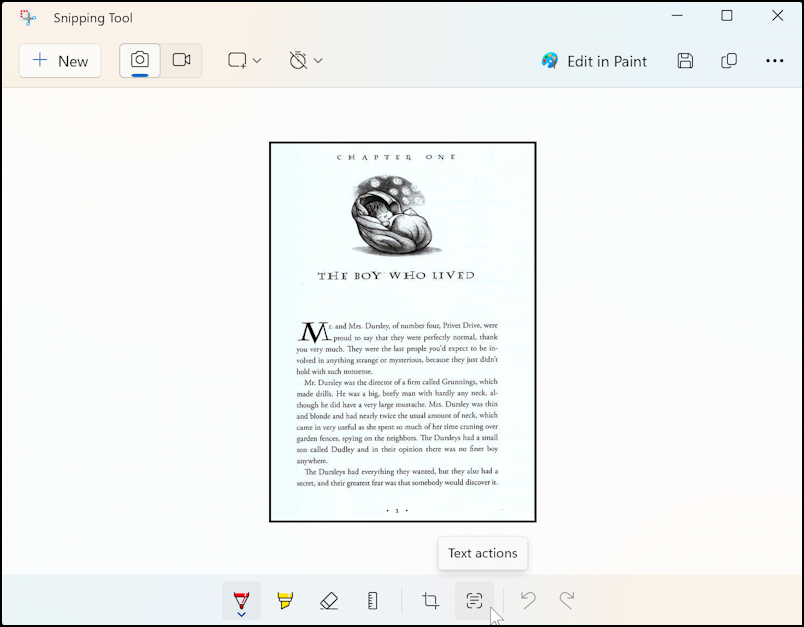
Notice that the bottom toolbar includes “Text actions”, as highlighted by the cursor. Without doing anything else just click on the “Text actions” button along the bottom.
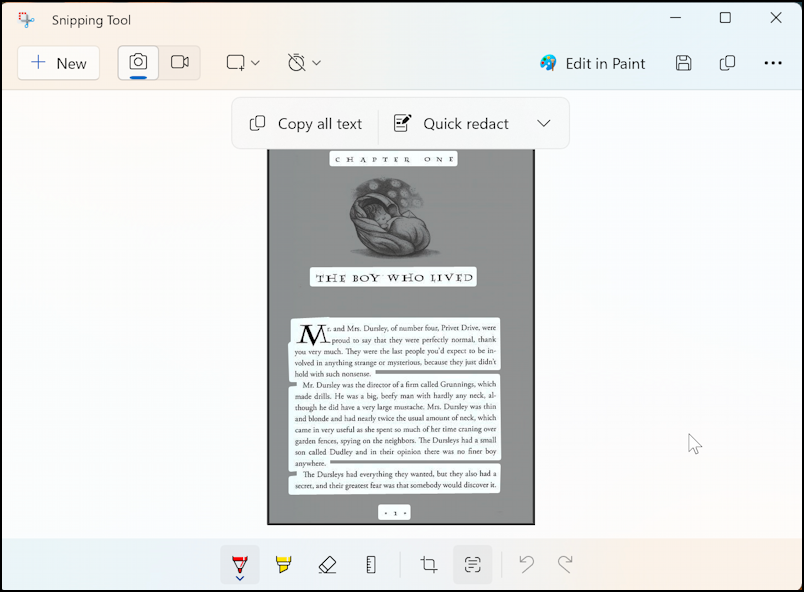
The program has scanned the image, identified all the text, and highlighted it on the page. Notice that it did not pick the illustration of the swaddled baby (Baby Harry!). A new bar has appeared on the top too: “Copy all text” and “Quick redact”. The latter lets you automatically block out all names and phone numbers and then save a new redacted copy of the image, which can be very handy before sharing the image.
We want the former option, however. Click on “Copy all text“, then open up a text editor or other program. I’m going to just utilize WordPad and use the Paste feature to see what it figured out:

That is pretty dang close, though the words following the ornamental dropcap (“M”) appear to have vanished. The opening sentence should be “Mr. and Mrs. Dursley, of number four, Privet Drive, were proud to say that they were perfectly normal, thank you very much.” The highlighted words aren’t missing in the new document, however, they’re just (rather inexplicably) in the wrong place. Scroll to the bottom and here’s what’s revealed:

It’s easy enough to copy and paste to move those words to the correct spot. Most text won’t have a fancy dropcap like that so this won’t generally be an issue. A neat Snipping Tool trick, eh?
GOOGLE SEARCH CAN DO THAT TOO!
Don’t want to use Snipping Tool? Okay, an online alternative that therefore would work for Chromebooks, Linux, etc, is to utilize Google Image Search, which includes a lot of Google Lens functionality. Simply go to images.google.com and drag the image file itself onto the search box. It shifts into Lens and offers three options:

I’ve chosen “Text” above, and you can see the results on the right. Impressive! “Search” would let you try to identify similar images and “Translate”? Well, you can have some fun with that…
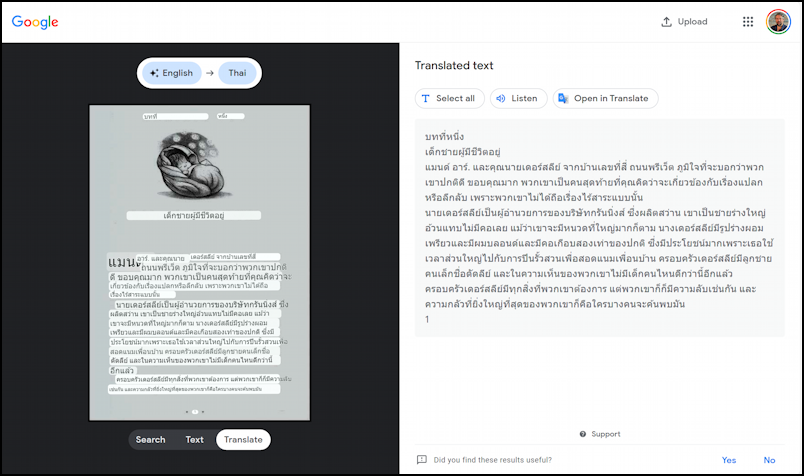
This is a really sophisticated set of processes here: image to text, text to translation, translation squeezed into the original text areas in the image. It also shows the result on the right side too. Now this isn’t going to be anywhere near as good as the book translated by a professional translator, but it’s still quite marvelous for what it is. Not quite as easy as waving your wand and chanting aparecium! but this does give you a couple of potential solutions!
Pro tip: I’ve been writing about Windows for many years. Please check out my Windows help area for lots more useful tutorials while you’re visiting the site!