I use Apple Maps on my iPhone and my MacBook Air, and have been wondering how I can update and add new Favorites so that the shortcut buttons are useful for me? Thanks!
I use Apple Maps on a daily basis, and while often it’s heading to new destinations, it’s more often the same place and I’m just seeking the optimal route. Even routes I take with frequency can have unexpected traffic snarls (especially through a big city) and a tool like Apple Maps makes it easy to know when to take the alternate path to avoid sitting in traffic. Accidents, as they say, happen.
Shortcuts: Favorite Locations | Updating & Reordering Favorites | Adding New Favorites
To make Apple Maps more convenient, the program supports user favorites, a series of buttons that appear on the location entry screen. Tap on one and it’s pre-loaded as your destination. If it’s out of date, however, that’s problematic, and if you want to add new ones, how do you actually accomplish the task? Let’s look at both aspects. I’ll spend most of the time on an iPhone for this tutorial, but it turns out to be just as easy (or possibly even easier) to do in Apple Maps on your Mac too. If both are signed into the same iCloud account, the Favorites even automatically migrate from device to device to stay in sync too!
FAVORITE DESTINATIONS IN APPLE MAPS
When I open up Apple Maps (just called “Maps” on the iPhone) I see this:
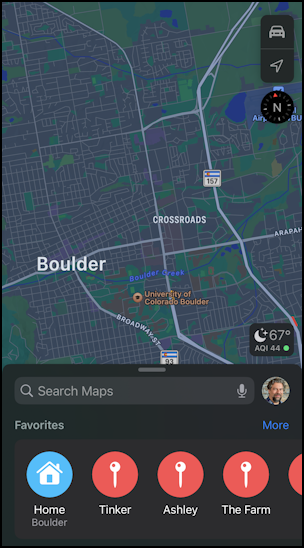
The blue and red circle icons along the bottom are the Favorites, and you can see that they support being named. By default, you’ll have a “Home” button if you designated your owner info card in Contacts and have a Home address, but the others are all added. Tap on one, like “Tinker” and it’ll load that address, ready to direct you to get to that destination along the best possible route:
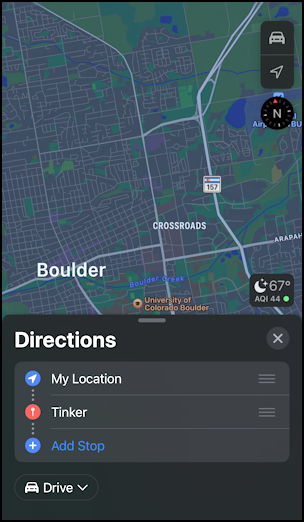
Very helpful. So how do you update these?
UPDATING AND REORDERING MAPS FAVORITES
Close the destination routing window by tapping on the “X” and look closely at the Favorites row:
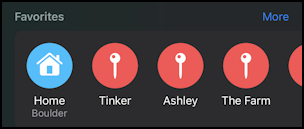
Tap on the barely visible “More” link on the top right of this area and you’ll get to a full screen view of the Favorites, including each showing its actual destination address:
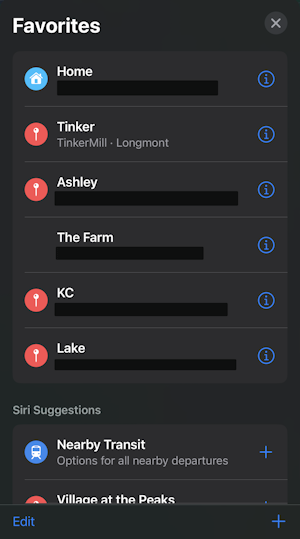
I’ve masked these addresses for obvious privacy reasons, but you get the idea.
Tap on the “i” adjacent to a specific Favorites entry and you’ll get to the info screen that offers a lot of customization options. I’ll do so for “Tinker”:
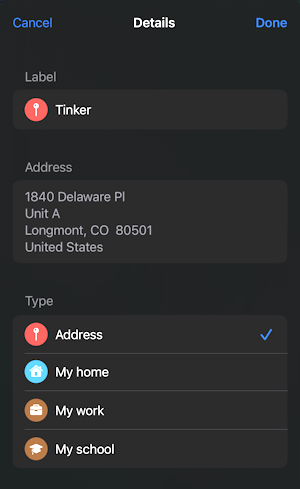
At this point you can change the Favorite icon by designating a specific address your home, work, or school, or leave it as a red “Address”, as shown. Tap in the Label field and you’ll find you can add or update the label: This was originally “TinkerMill”, the proper name of the facility at the listed address. Done? Tap “Done”.
But it’s on the previous screen that you can actually get to the screen where you can edit and reorder favorites. At the very bottom, tap on “Edit“:
![]()
This brings up a very similar list view of all your Apple Maps Favorites:
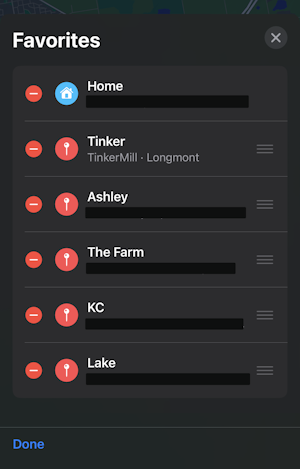
Remove a Favorite by tapping on the corresponding “-” icon, and tap and drag the three-horizontal-lines icon on the right edge to reorder your Favorites. I’ll move Ashley up above Tinker, for example:
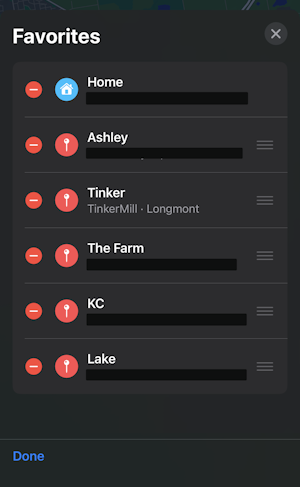
Looks good. Tap on “Done” to wrap this up. Now notice that the Favorites are indeed reordered so that Ashley is ahead of Tinker:
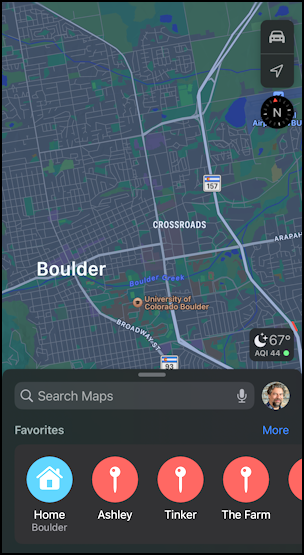
Not only that, but if I now pop over to Maps on the Mac side, those Favorites have updated too:
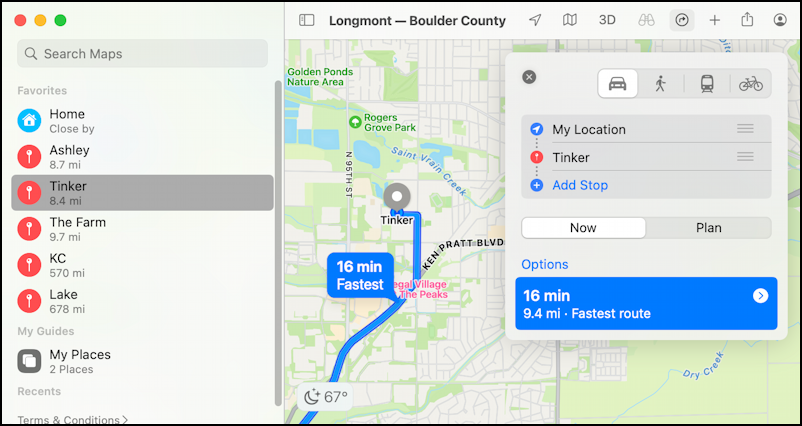
All very neat.
HOW TO ADD A NEW FAVORITE
In terms of adding new Favorites, you can do that either once you’ve entered an address into Maps (on the iPhone or Mac) by choosing “Add to Favorites”:
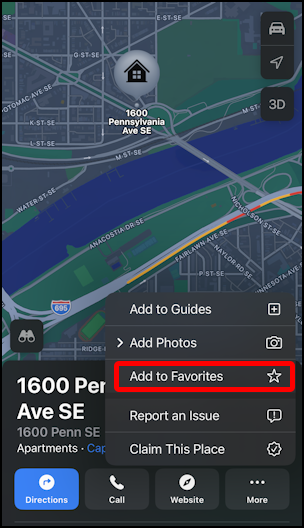
Or you can simply swipe over on the Favorites icon row to find the “+” add button:
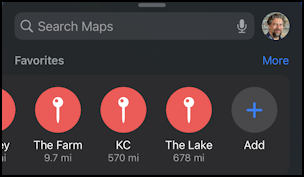
Easy, right?
Pro Tip: I’ve been writing tutorials for both the Apple iPhone and Mac since they was first released. Please check out my extensive Mac help area and iPhone help area for lots and lots of useful content.

Excellent tutorial Dave. You’ve pointed out some tricks I wasn’t aware of before.