
There are a ton of shortcuts available for Mac users working with files and folders in the Finder, but ya gotta know the secret sequences. Here’s a primer to get you started on the road to Mac Power User…
Like so many operating systems, MacOS has been slowly evolving across every update released, sometimes with big dramatic changes, other times with extraordinarily subtle ones that almost no-one realizes has changed. This is pretty typical as the development team at Apple tweaks things to add features they want in the OS along with those that meet specific user requests and those they think would make people’s lives easier. Yes, Apple started by saying it was all easy and “the computer for the rest of us” that didn’t require an enormous manual, but… time passes.
You can use your Mac without knowing any of the secret shortcuts, of course, but that’s generally going to result in you being a bit less efficient and taking a bit more time on each task. These tasks might range from making a copy of a file to packing up a bunch of files to send to a colleague. Let’s go through some of my favorites and you’ll be able to decide if you want to learn ’em too!
FINDER LIST VIEW BASICS
Let’s start with the most basic: The Finder itself. When you’re viewing the contents of a folder, you can switch between various views. My go-to is always “List View”, as shown:
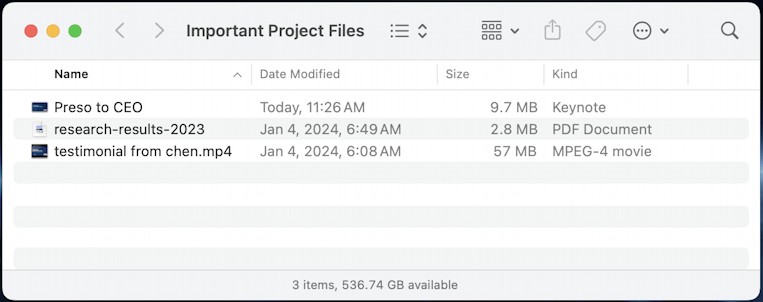
It’s incredibly subtle, but you can click on the top of any column to have that be how the contents are sorted. Click on it a second time and it’ll reverse the sort. Handy if you want to see which files have been modified most recently, for example. You can switch between views with the d0t-dash button immediately adjacent to the folder name.
Here’s a great trick to know, however: If you Command-click on the folder name (in my case “Important Project Files”) it will pop up a menu showing all of the enclosing folders right up to the hard drive itself):
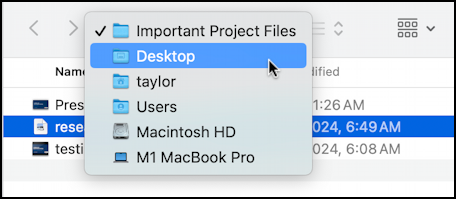
This can be a really handy way to zip around your file system.
What I also find very helpful is that you can resize the columns in list view if you need to. Simply click on the tiny vertical line dividing the column name and, with the button held down, drag left or right:
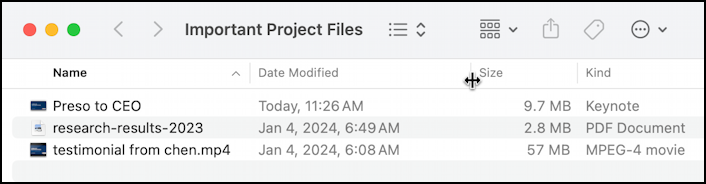
I’d category this as “useful when you need it” but probably not something you’ll use every day. It’s fun to see how Mac has some smarts so it changes the date display based on the available width too. Experiment, you’ll see what I mean.
HOW TO CREATE A ZIP ARCHIVE
Want to package up a group of files or documents into a single file you can share with others? That’s quite easy too; click, and then shift-click to select multiple files or documents simultaneously, then Command-click to bring up the context menu:
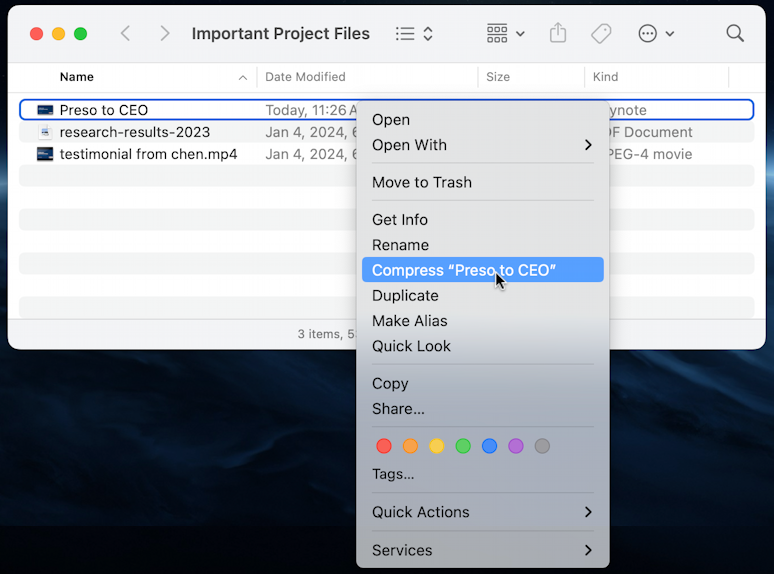
You can compress a single file, as shown, or you can have selected three, nine, even 500 files if desired. Unfortunately, MacOS doesn’t support password-protected archive files (though it should!) but it’s still a smart way to organize content you might upload or share.
Look closely at the context menu above. See the “Share…” option a bit lower down than “Compress”? Choose it and you’ll find it’s a breeze to share a document with friends or colleagues:
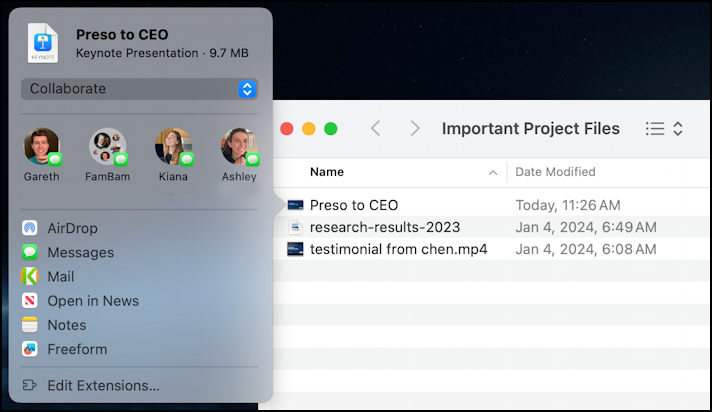
I don’t use this a lot, but it is handy to know that all of these options are a single click away. Not only that, but if you check where it shows “Collaborate” you’ll find that you can simultaneously edit a document with colleagues from this spot if you’ve got everything set up properly.
BASIC FILE MANIPULATION
You can use this Command-click menu to duplicate files, etc, but that’s so 1990. Instead, hold down the Option key while clicking and dragging a file:
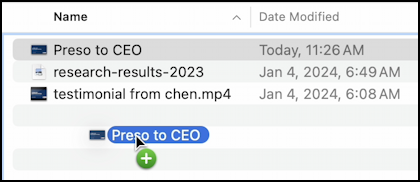
The green plus sign only shows up if you have Option key pressed; otherwise it’s a “move” and won’t accomplish anything if you’re in the same folder. Duplicate it, however, and it’ll create a copy of the file and append a version number to the name:
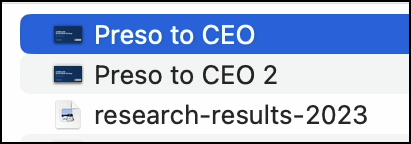
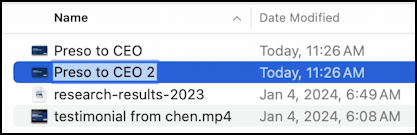
To rename the new file you can Command-click > Rename, but… again, there’s a shortcut: slow-double click the filename. If you fast double click (the usual gesture) it’ll open the file, but if you click once, wait a tick, then click a second time on the filename itself, it’ll turn light blue and let you change it:
After a short period of time, you’ll find these gestures become second nature!
BONUS: THE FINDER ••• MENU
One more thing to know before I wrap up: If you click on the ••• button on the top right of the Finder window, you’ll find that it reveals a menu with lots of great options (including many that overlap with the earlier context menu):
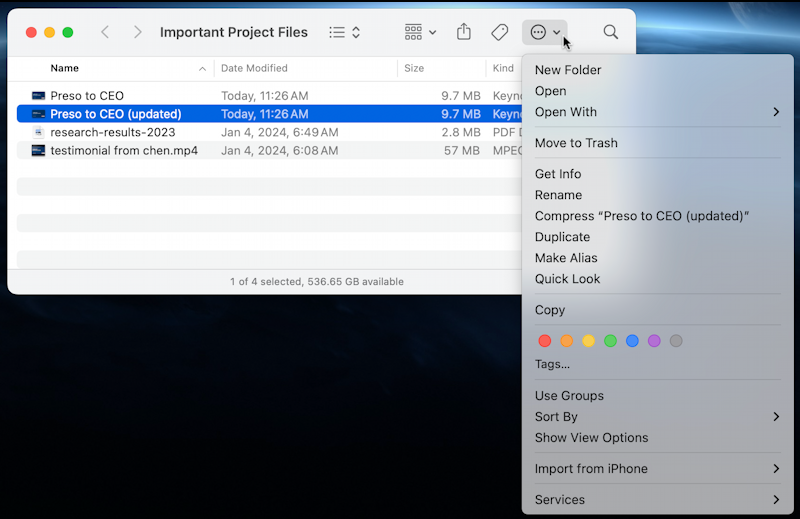
There are some interesting features to explore here – including “New Folder” at the very top, but I’ll just tantalize you with the one near the bottom:
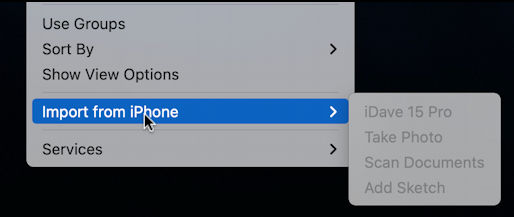
Yes, your Mac knows about your phone. This is one worth exploring further, and Apple has you covered with Other Ways to Share.
Hope this was helpful! If you have questions about secret tips and shortcuts with other aspects of MacOS, leave ’em in the comments!
Pro Tip: I’ve been writing about MacOS since the first release and have hundreds of helpful tutorials here on the site. Please check out my Mac help library for lots more useful content while you’re here!
Thanks Dave, these are some of my favourite Finder shortcuts, which I’ve used for so long I don’t even think of them as “tricks”! Everyone should know them.
One thing I gotta mention though… shouldn’t the various references to “Command-click” actually be “Control-click”?
Anyway – thanks again!