One of the coolest new features in MacOS 15 Sequoia, coupled with iOS 18, is iPhone Mirroring. If you have an iPhone and a Mac, you can now see the phone’s screen on your computer. Here’s how to get it set up…
While there are some inevitable bugs that creep in, it’s always fun to get new versions of the Apple operating systems across devices. What new features are added? What apps and programs have different interface elements or amazing new capabilities? What’s completely new? 2024’s no different with the simultaneous release of MacOS 15.0 Sequoia and iOS 18.0. Lots of new stuff to appreciate!
Of course, the big underlying change with these new operating systems is the system-wide preparation for Apple Intelligence, but that’s not quite landed. Maybe in a month or two (certainly by the end of 2024). In the interim, I’m seeing all sorts of nice improvements throughout my many updated Apple devices. By far, though, my favorite new feature is iPhone Mirroring.
It’s a bit of a chore to get it all set up, but once you do, access to your iPhone’s apps, notifications, and more, are just a single click away from your Mac desktop. Yes, while it’s running, notifications that would normally show up only on your iPhone will appear on your Mac too. Very helpful for home security systems!
Shortcuts: Setup Basics | Connect to iPhone | Using iPhone Mirroring
Before we start, know that your Mac and iPhone both need to be logged in to the same iCloud account, on the same Wi-Fi network, and both need to have Bluetooth enabled.
SETTING UP IPHONE MIRRORING
To proceed, you’ll need to update your Mac system to MacOS 15.0 and your iPhone to iOS 18.0. I expect that at some point this feature might extend to iPads too, but for now, it’s iPhones and Mac systems only. All updated? Excellent.
Launch iPhone Mirroring, which has probably shown up in your Dock. If it’s not there, you’ll find it in Applications. Since it’s not set up, the app will give you some introductory information instead:
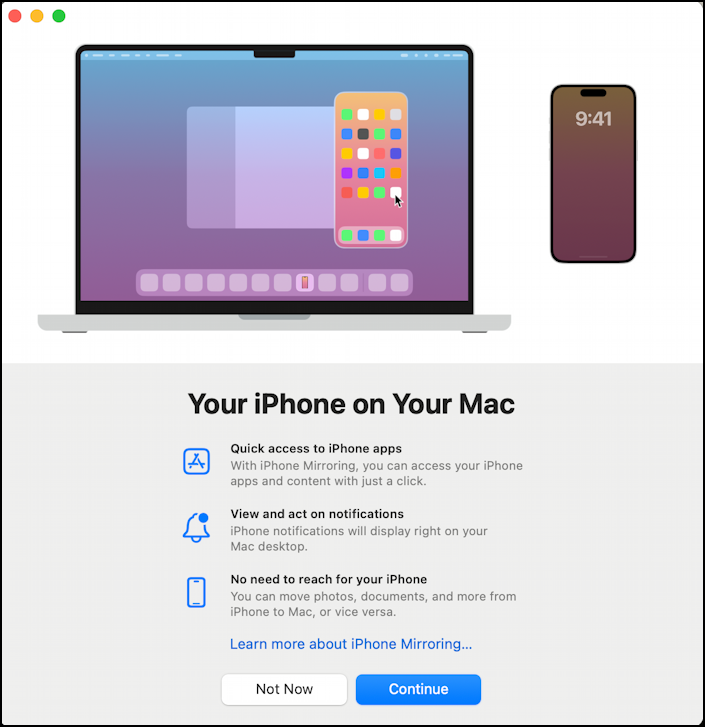
As highlighted, it offers Quick access to iPhone apps, allows you to View and act on notifications, and means that you have no need to reach for your iPhone. Super handy, right? Let’s get this set up. Proceed by grabbing your iPhone and clicking on the blue “Continue” button.
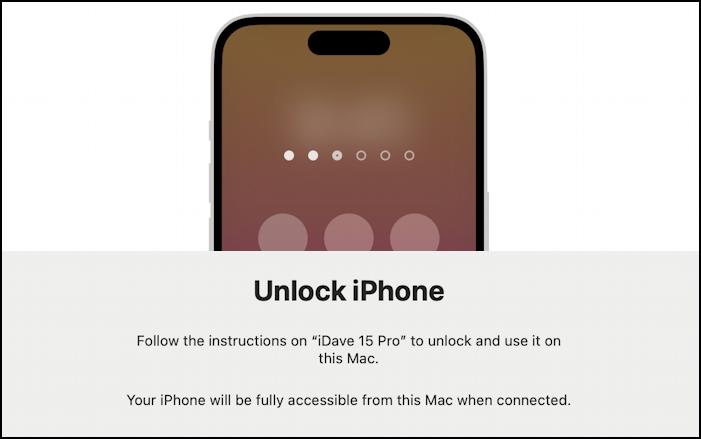
As shown, you’ll want to unlock your iPhone (you need to confirm you want to use it for this purpose). Once the app sees you’ve done that, it will proceed to…
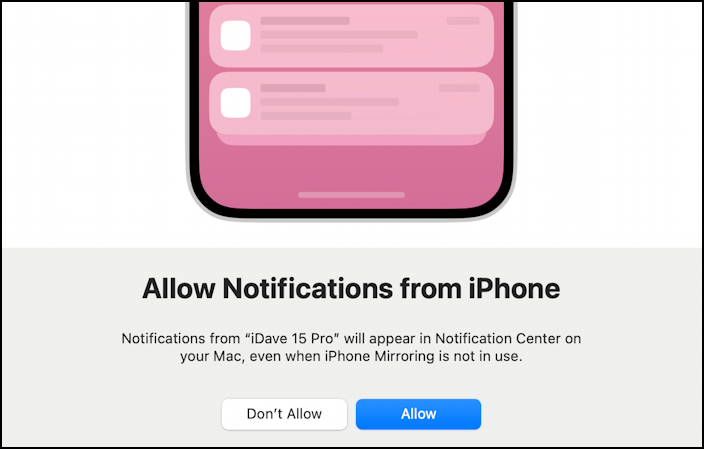
This is the good stuff; allow iPhone notifications to appear on your Mac. Tap on “Allow“. If you’d prefer to silo your notifications, however, you can choose “Don’t Allow” and proceed anyway. Either way, you’re ready to go!
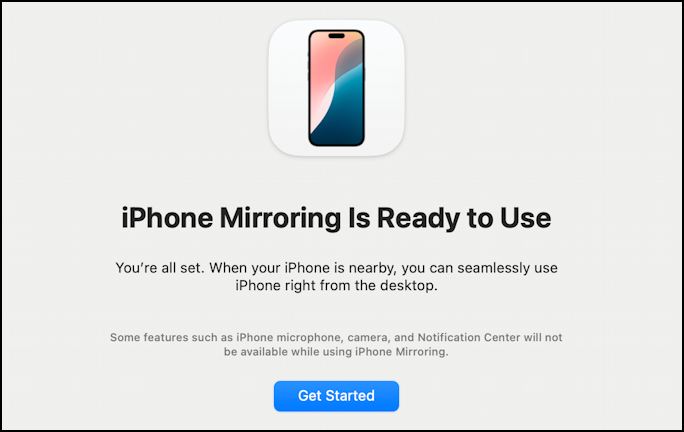
Ready? Well, let’s see how this works…
CONNECT TO YOUR IPHONE VIA IPHONE MIRRORING
Apple is (appropriately) concerned with security, so we’ll need to set that up as part of this first launch. The default is to always prompt for validation before the connection. This info, of course, is on the Mac screen:
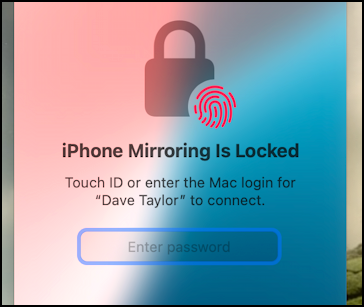
This is where biometrics are great; I just tap on the fingerprint sensor on my MacBook Pro and it’s ready to try and actually connect…
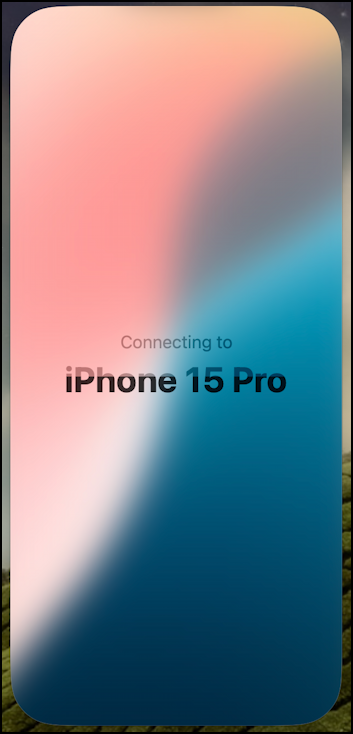
This is pretty exciting, right? Well, not so much if it indicates that it cannot connect. There are a couple of reasons this might occur, but the most common is that the iPhone and Mac aren’t on the same wireless network. As a reminder, they need to be on the same wi-fi network, both need to have Bluetooth enabled, and both need to be logged in to the same iCloud account.
It’s also not obvious, but your iPhone needs to be locked for mirroring to work. As soon as you unlock it, iPhone Mirroring will actually disconnect. It makes sense once you start using it.
If it’s all working properly, you’ll see this instead:
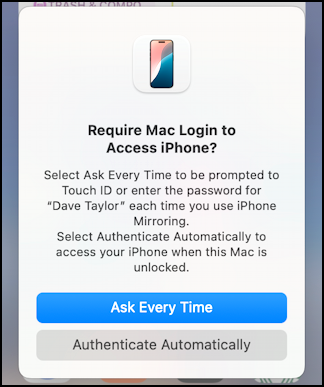
I am very security conscious, so I chose “Ask Every Time”. You can also change this setting in the iPhone Mirroring app preferences, if you change your mind.
MIRRORING ENABLED! WOOT!
Finally, you should see your iPhone screen on your Mac display!
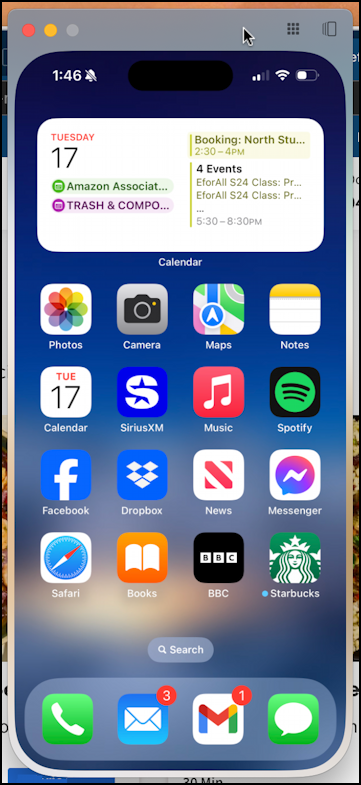
Very cool, right? You can swipe by using a two-finger gesture on your MacBook trackpad, launch programs, even play games. I can quick peek at Apple Sports, for example:
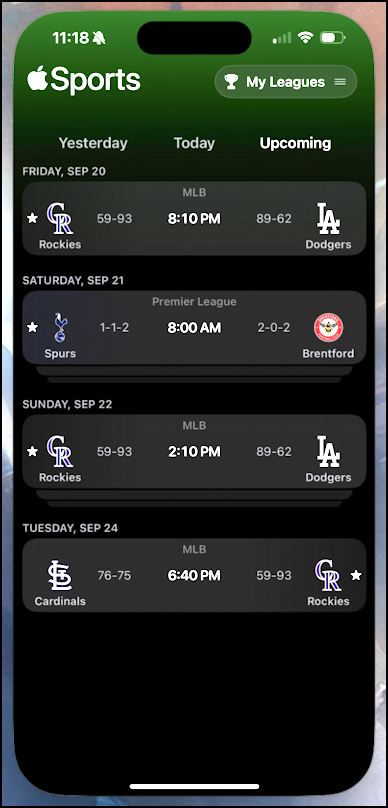
Look closely at the last two images. The latter one just shows the iPhone screen, with no frame or edge. To get a frame, slowly move the cursor to just above the top of the window. A grey frame appears that has the usual three maximize, minimize, close colored buttons, but it also has two additional controls:

The 3×3 grid gets you back to the home screen if you’re running an app (the equivalent of a swipe up from the bottom on the iPhone) and the rectangle with shadow lines gets you to the running apps view on the iPhone. The latter might not be as useful, but the former’s critical to be able to successfully navigate everything.
Oh, and while iPhone Mirroring is running, here’s what you’ll see on your iPhone lock screen:

That’s it. Super useful, it’s already become a favorite app of mine within 24 hours of my upgrade! I hope it’s just as helpful for you too.
Pro Tip: I’ve been writing tutorials for the Apple iPhone and the Mac since they were first released. Please check out my extensive iPhone help area and Mac help area for oodles of useful content.
