Ever worry that someone else might hack their way into your Zoom account and impersonate you on meetings and webinars? Then you really need to turn on two-factor authentication for your Zoom account. Here’s how…
Zoom has come a long way in the four years since we entered the pandemic lockdown and everyone turned to video call technology for social interaction. In the early days, people would crash meetings and some ne’er-do-wells would join webinars and be maximally disruptive. Zoom very quickly added quite a lot of security and privacy features and institutions also learned how to work with the software so that the changes of these incidents went way, way down. Nowadays I rarely hear of any problems with Zoom calls or events.
However, as with any other online service account, it’s smart to set up the best possible security for your Zoom account. Start with a really good password – get into the habit of at least a dozen letters long, a mix of upper and lowercase, a digit or two, and some punctuation. Dictionary words with the vowels replaced by digits, so-called l33tspeak, really aren’t secure, even if you add your zipcode as a suffix. If you used shared devices, always log out of Zoom when you’re done with your event, and make sure that there’s no password manager surreptitiously saving a copy of your account credentials.
But the real win is with enabling what’s known in the industry as two-factor authentication. The idea’s simple: To log in, you’d need both the account and password pair and an additional verification code that can only be generated by an app on your phone. If someone manages to pilfer your password, they still can’t get in. Definitely better security, and Zoom supports 2-factor (2FA) for all user accounts, free or premium.
ENABLE 2-FACTOR AUTHENTICATION ON ZOOM
To start, you’ll need to go to the Zoom Website – you can’t access these settings in the app – which you can do by going to https://zoom.us/ Once there, log in as normal and go to your Profile:
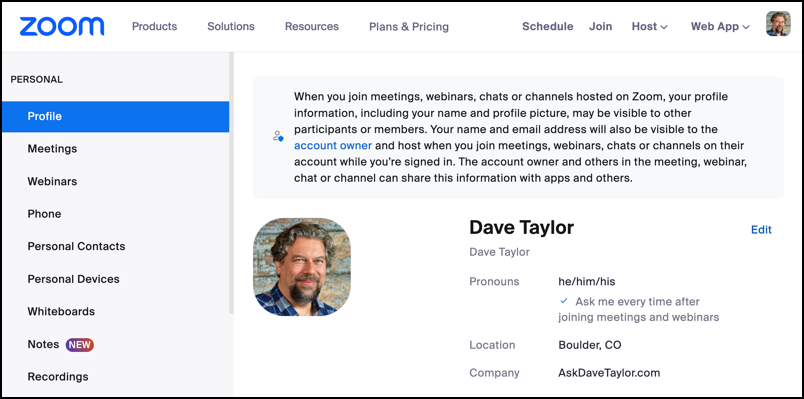
Scroll down to the section labeled “Sign In“…
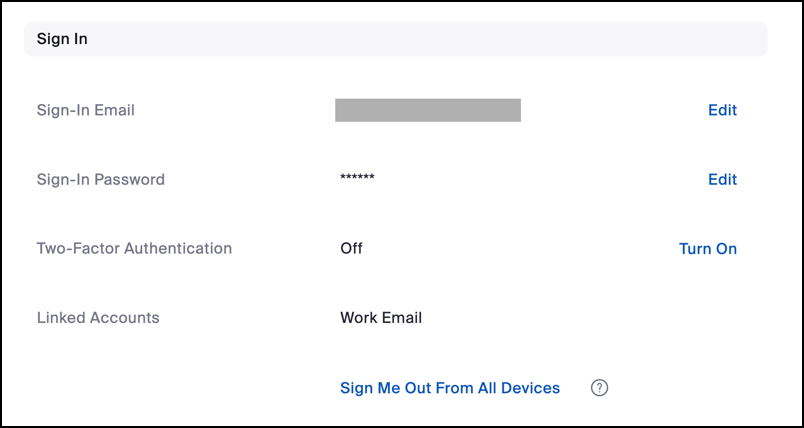
You can see the entry “Two-Factor Authentication”. It’s currently Off for my account, but a click on “Turn On” will begin the process of enabling this important security feature. Zoom will prompt you for your account password (which it will do several times during this process, so be ready to type it in again):

Enter your password correctly and you’re ready to actually start setting things up. You’ll stay on the same screen for this initial step but the links have changed:

As a first step, click on “View Codes“, then download a copy of your backup recovery codes and save them in a safe place. This way if you ever lose your phone or something glitches you have a second way to recover access. I’ve used these in the past and they’ve saved my proverbial bacon, so trust me on this. Download those codes and save them.
Once you’ve done that, click on “Set Up” to proceed. You’ll be shown a QR Code to scan in your chosen Authentication application on your phone:

With this shown on screen (minus the smiley face, of course), it’s time to grab your smartphone.
ADD ZOOM TO YOUR AUTHENTICATION APP
There are a surprising number of authentication apps available for both iPhones and Android phones, including solid utilities from Google and Microsoft. I prefer one called Authy because it’s simple and has a straightforward user interface. You can grab a copy if you need: Authy for iPhone | Authy for Android. Launch the app, then click on the “+” to add a new 2FA site:

Now you can simply tap the “Scan QR Code” button and point the phone’s camera at the QR code on your computer screen! It scans in a second or two and you’ll be prompted to customize the entry as desired:
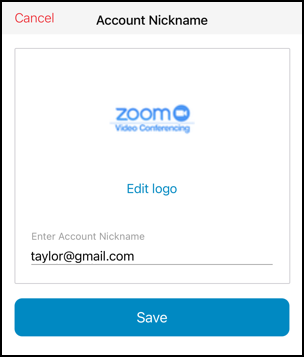
Looks good. A tap on “Save” and it’s ready to generate a new 2-factor authentication code every 30 seconds in sync with the Zoom site itself:
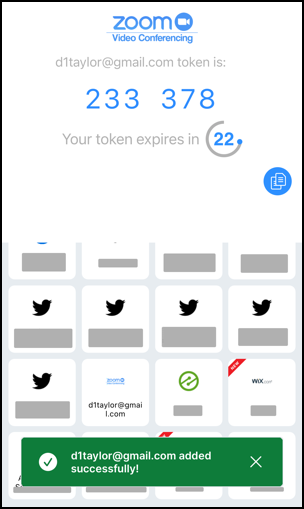
There’s no security risk with me sharing this code, of course, because in 22 seconds it’s going to be obsolete and stop working. Gotta love these 2-factor authentication systems!
BACK ON THE COMPUTER
Once you have successfully scanned the QR code on the computer, click the blue “Next” button and Zoom will prompt you to enter your new authorization code:
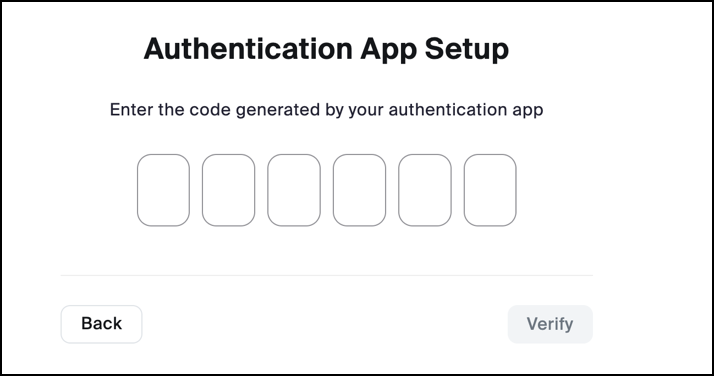
Enter it correctly and you’ll be all set up and ready to proceed with your account secured:

That’s it. You can test it by logging out of Zoom in your Web browser, and then logging in again. Once you’ve entered your password as usual, it now prompts for the authentication code too, which you can get by simply launching the app on your phone. More secure = better. Well done.
Pro Tip: I’ve been writing about how to get things done online forever. Please check out my extensive Zoom help area while you’re here! I promise it’ll help make you more productive with this useful tool.
