
You’ve heard people talk about the importance of good backups (myself included!) and about backing up your computer to “the cloud”, but if you’re not a tech expert, getting started can seem daunting. So here’s a step-by-step tutorial on getting a Win10 PC backing up to iDrive, one of the best and most flexible cloud storage options on the market.
The great benefit of cloud storage is that it’s a vague concept so you don’t have to worry about cables, capacity or formatting. It’s just “space” in the cloud, right? Well, it’s really a huge array of physical hard drives in some server farm somewhere on the Internet, of course, and instead of plugging directly into a drive like with your PC it’s a wire that utilizes the Internet itself. If you have horribly slow Internet connectivity, therefore, you’ll have a really slow connection to your cloud backup system and it’ll be frustrating. And ya never want to use it on a metered connection if you can help it.
Having said that, iDrive is one of many cloud storage options that are a combination of sleek software for your Mac, Windows computer, phone, tablet, etc, and a secure server that archives your data and lets you recover older versions of files at any time. Infected by a virus or hit with ransomware? Just grab a clean version off your cloud backup system. Easy. Accidentally deleted your presentation to the big boss? If you have it configured properly, cloud backup software can be doing incremental backups (e.g., just files changed or new since the previous incremental backup) even hourly. Saved by lunch!
To get started with iDrive – which I use on my computers and have hooked up to back up my children’s laptops too – simply go to www.idrive.com:
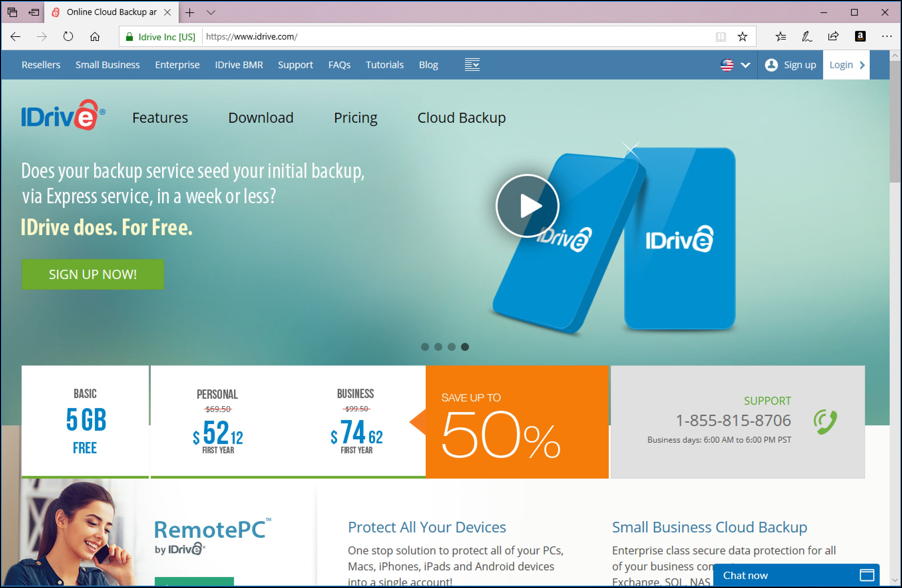
Your best bet is to sign up for an account through your Web browser. As you can see, 5GB of storage is free, and a personal 2TB (that’s 2000GB) account is $52.12/year (which works out to a paltry $1/week, a cheap price to ensure the long term survival of your data, photos, documents, music, movies, etc). After the first year promo pricing it’s $1.33/day.
Signed up and ready to go? Excellent. Now click on the “Download” link in the middle of the page…

As you can see, it supports quite a lot of different options, but for this we’re going to just install the full Windows client. That’s accessed by clicking on the blue “Windows” button. You’ll see this:

Click on “Run” and it’ll download the slim 25MB app then launch the installer. This is a pretty typical installer so you’ll likely be able to click through without much hassle:
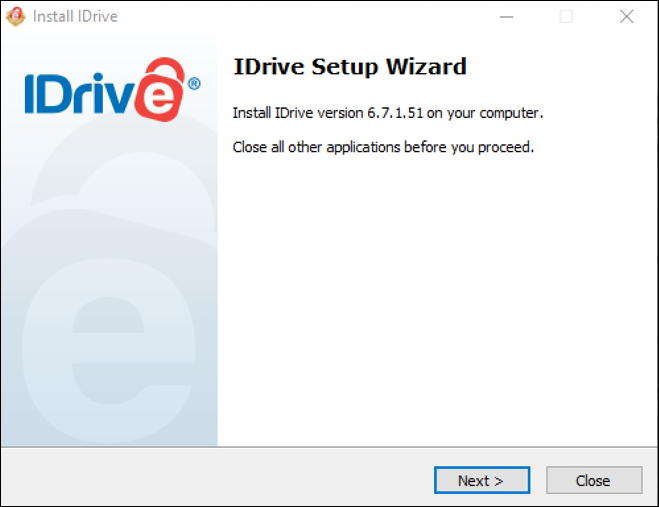
As is typical, your first download was for the installer. Then that’ll download a second program that’s the actual app for iDrive:
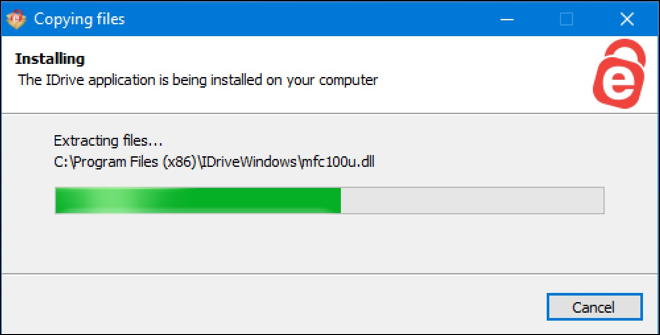
Doesn’t take long at all to get it all installed and ready to go. At that point the app will launch and give you the opportunity to log in with your shiny new iDrive account credentials:
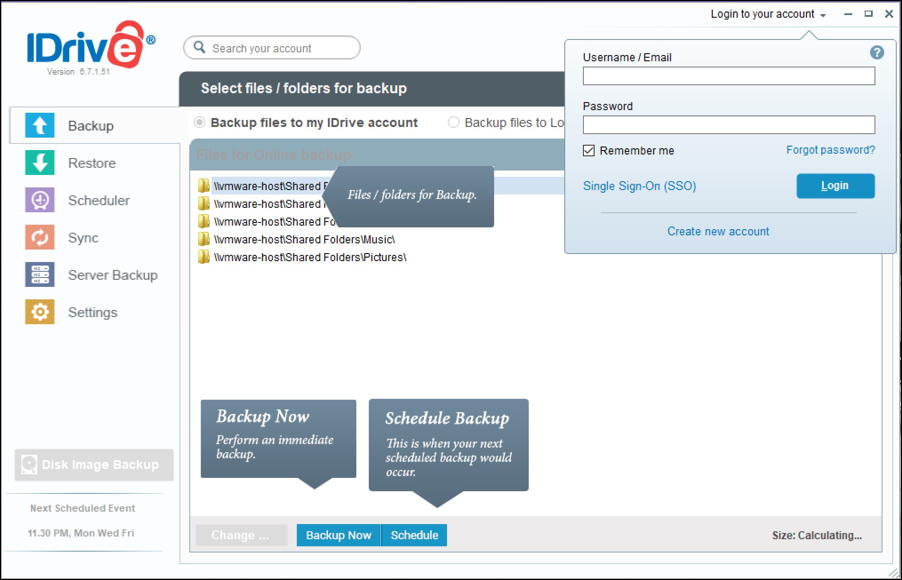
Once you’ve logged in you’ll see all the folders suggested for the default online backup. Basically it’s every folder that would have your personal information on it with a typical Windows configuration:
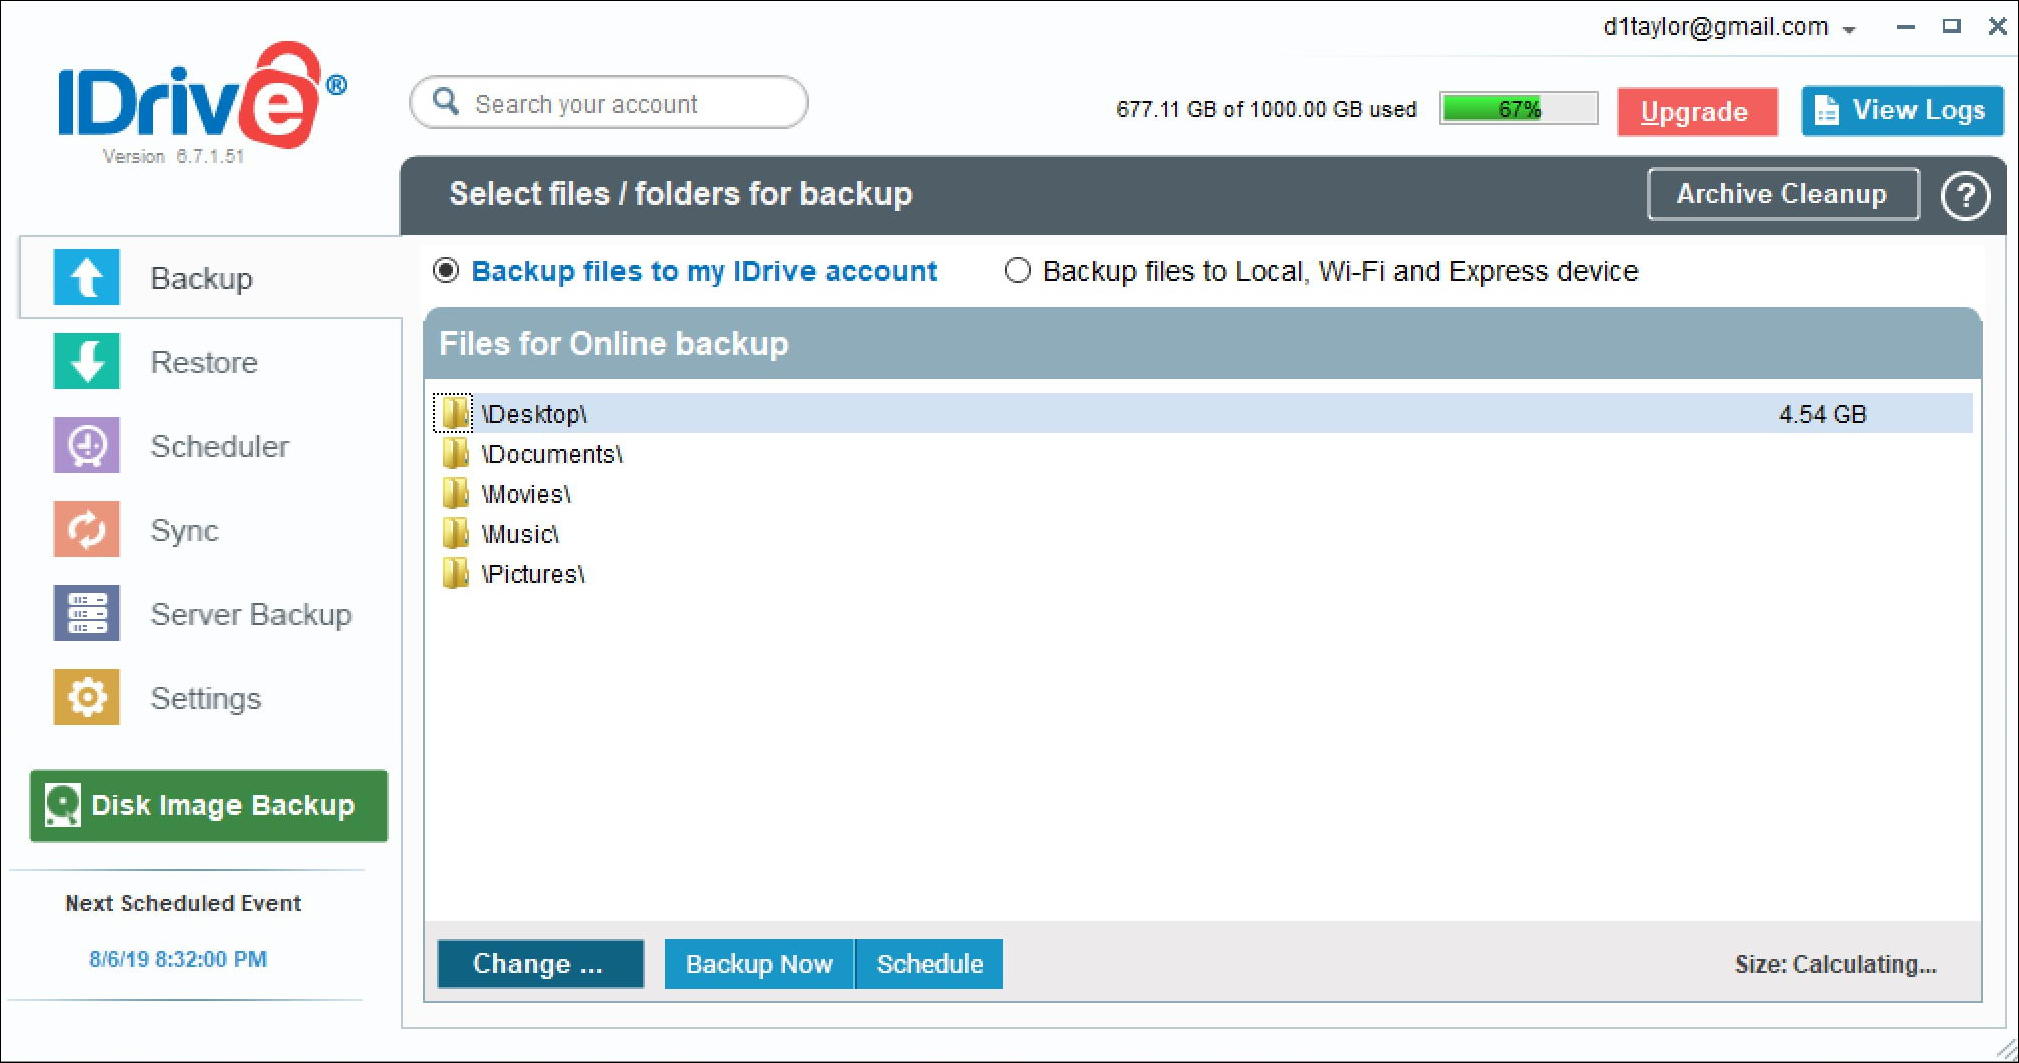
You can fine tune which of the folders should be backed up – and add new ones, of course – by clicking on “Change…“.
A click on that and here’s what I see:
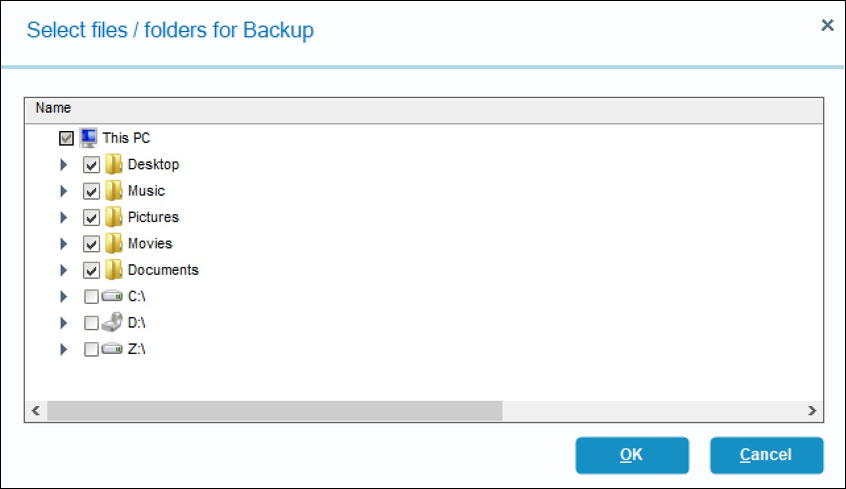
Mostly you want to be careful with entire drives. Yes, you can back up all of C: but does that make sense? Probably not.
I also skip backing up my Movies folder since there’s never anything therein that I need backed up. Uncheck and it’s all set.
Now go back and choose “Settings” to make sure it’s all set up for your preferences:
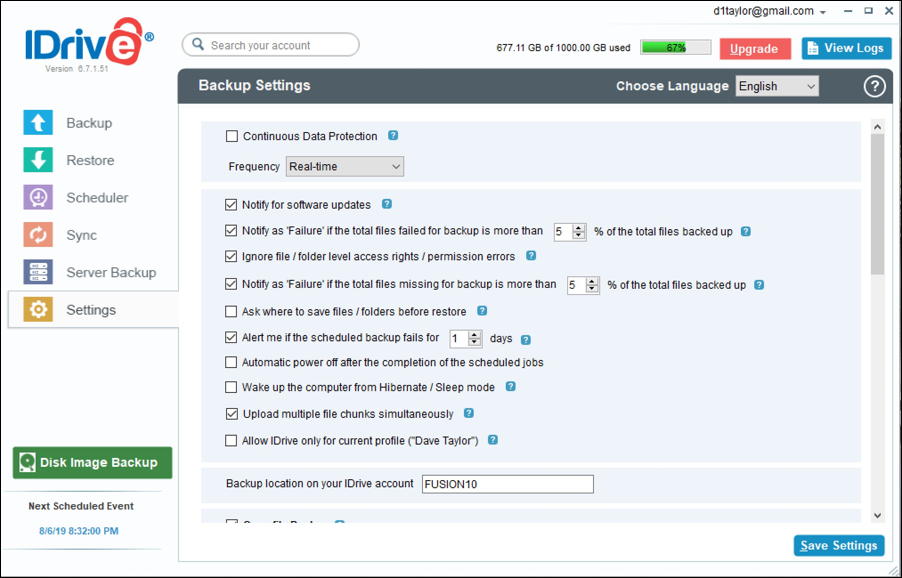
You can minimize the impact of the backups on your computer with a schedule (use Scheduler on the left side) but you can also adjust how much bandwidth and CPU it uses here in the settings too. For example, “Upload multiple file chunks simultaneously” can have a significant impact on bandwidth use.
I have it disabled but you should also think carefully whether you want to enable Continuous Data Protection: Set that up in “real-time” mode and as you create new files or edit files they’ll be invisibly backed up to the iDrive server automatically.
Almost done. Go back to “Backup” then click on “Backup Now“. Then get a cup of tea, it’s going to take a while:

The first backup is always slow and painful: it can take days the first time through. That’s one reason that iDrive offers you the ability to utilize a physical drive for that first backup. If you have hundreds of gigabytes, you can imagine how slow that’ll be using your existing Internet connection. Or just have patience, it’ll eventually get everything copied.
Anyway, that’s it. We’ve gone from download to first cloud backup. Not too hard at all, really, and once it’s all set up you never have to think about it again, which is fantastic.
Disclosure: I work with iDrive and they have a special offer for AskDaveTaylor readers too. I link to it in this article but if you want, you can also just go to idrive.com and skip my special affiliate link.