
Dave, I’d like to try out the new “recall” feature in windows 11 to see if I can more easily remember what I was doing days earlier. How do I get it all set up and running?
For such a simple idea, it’s surprising how much grief Microsoft has received from users about its new AI-powered Recall feature! When first introduced, people saw it as a massive invasion of privacy with its intention of taking constant snapshots of your screen for later analysis. It’s been rethought and reimagined a couple of times subsequently, and the version that’s available for Windows Copilot+ PCs is pretty slick, with lots of guardrails to retain user privacy.
That’s the first, and perhaps most important, aspect to the service: You must be running a Copilot+ PC, which means that it needs to have a Neural Processing Unit (NPU) in addition to a graphics processor (GPU) and CPU chip. If you can see it as an option in your Settings in Win11, however, then you’re good: Non-Copilot Plus PCs hide the additional AI goodness from view.
Because an endless parade of screenshots of your computer is an obvious security problem even without an Internet connection (what happens if you lose your computer?!) there’s another step required: Encryption. Let’s look more closely…
PRECURSOR: ENCRYPT YOUR DRIVE
The early years of computing had every file and folder laid out in a simple disk format on the storage device. Plug it into a different computer and it was easily explored, allowing every file to be opened and examined. Lose your USB flash drive or have someone grab your external storage drive, and that’s an obvious problem. If they disassemble your computer or otherwise access its main drive as an external device (as can be done with both Mac and PC) and they can peruse your filesystem at will. Including that folder storing hundreds of Recall screenshots.
As a consequence, Microsoft won’t let you enable Recall until you enable encryption. It’s a smart idea anyway, scrambling everything on your drive so that if someone tries to plug it in and read it, they’ll get gobbledygook instead of the crown jewels. On a modern PC, there’s performance to spare and you’ll never even notice it’s enabled.
Start by going to Settings > Privacy & Security. You should see this:
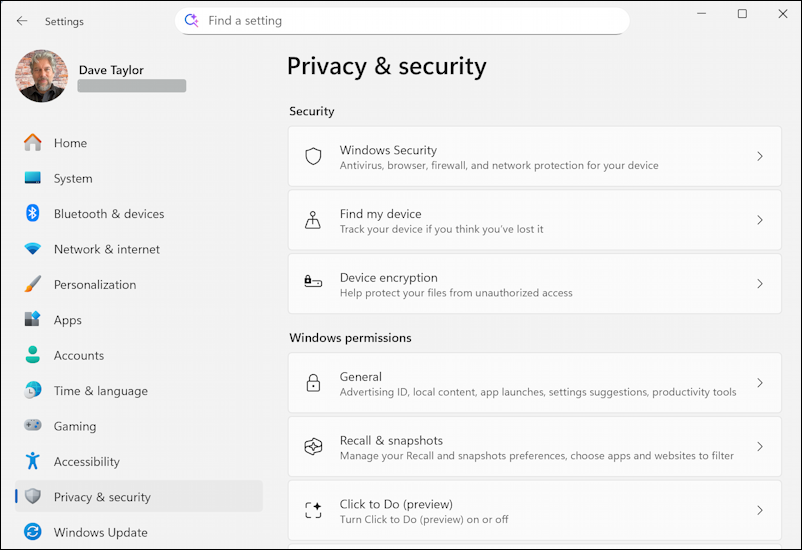
Look closely at your options: If you don’t see “Recall & snapshots” it’s because Windows doesn’t think you have a Copilot+ PC. You can still enable device encryption, however, but you won’t be able to experiment with Recall.
A click on “Device encryption” and…
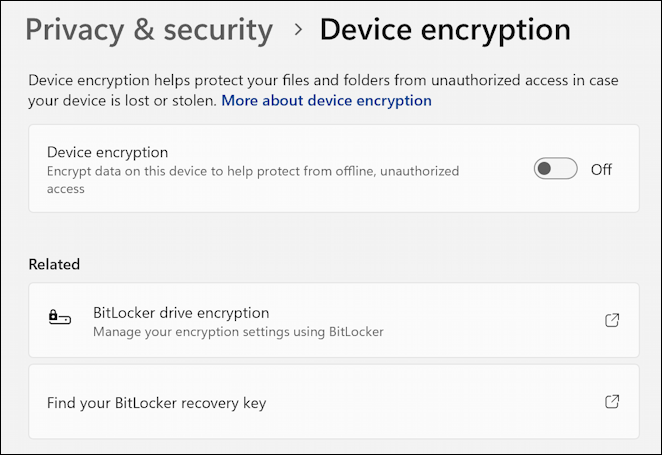
Before you go further, it’s not a bad idea to click on “More about device encryption“, which will reveal the following explanation from Team Redmond:
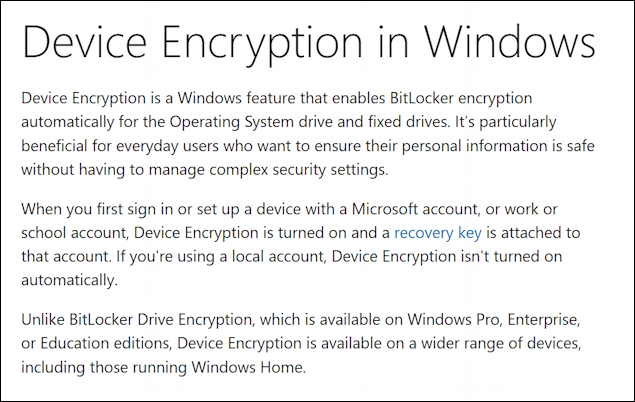
Note here that BitLocker Encryption isn’t available for Windows Home, but regular device encryption is. Straightforward enough. Ready to proceed? Click to turn “Device encryption” to ON. It’ll confirm your identity, then show this:
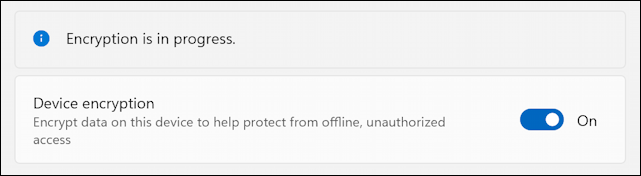
On my zippy Acer Copilot+ PC it took about twenty minutes to encrypt everything on the drive, indicated by the “in progress” message vanishing.
SETTING UP MICROSOFT RECALL
Once the “in progress” message vanishes, your drive’s encrypted and you’re done with that step of the process. Now it’s time to launch Recall. It has quite a different interface, one that’s quite intriguing:
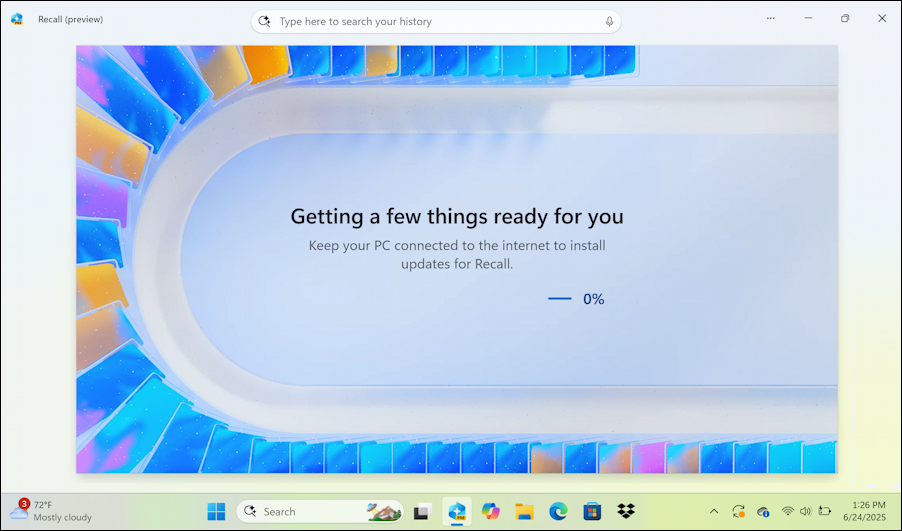
One thing Microsoft forgot with this process is to check battery level: My battery was below 10%, which I realized with a bit of alarm. I’m sure you don’t want your computer to power down in the middle of this process. Once plugged in, enable Recall and you’ll see “Getting a few things ready for you”.
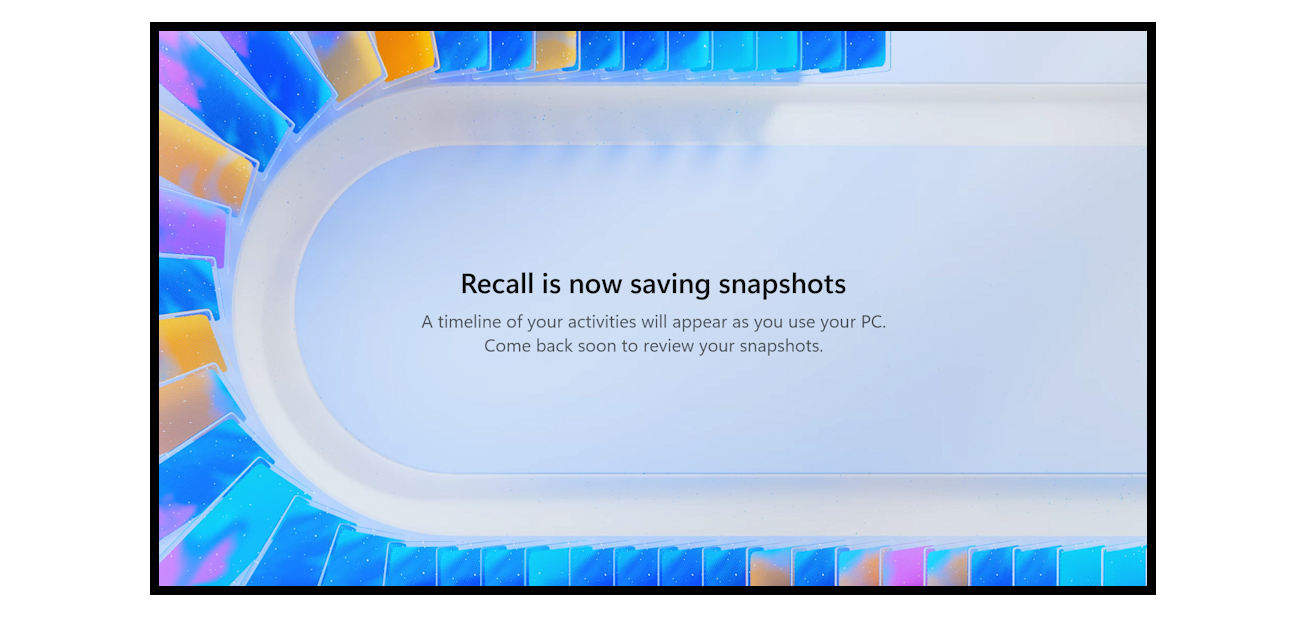
It’ll only take a minute or two and you’ll be shown this:
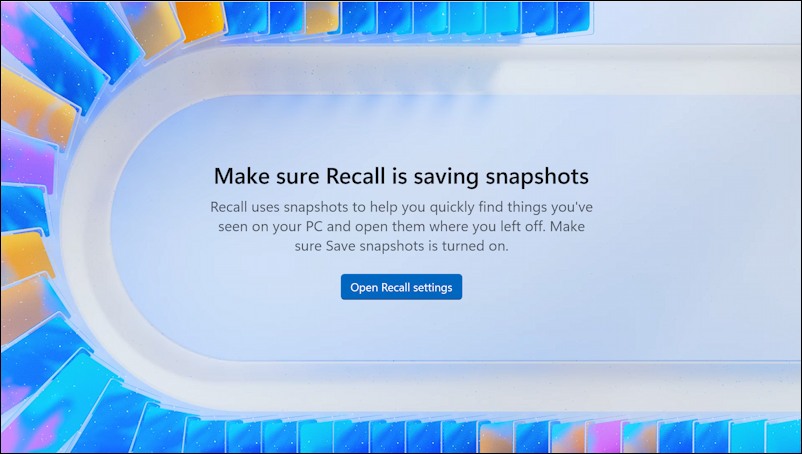
As it indicates, if you aren’t saving snapshots of your screen, it’s not going to be able to work. This is solved by clicking on “Open Recall settings“.
MICROSOFT RECALL SETTINGS
We jump back into Settings > Privacy & security again, this time in “Recall & snapshots“:
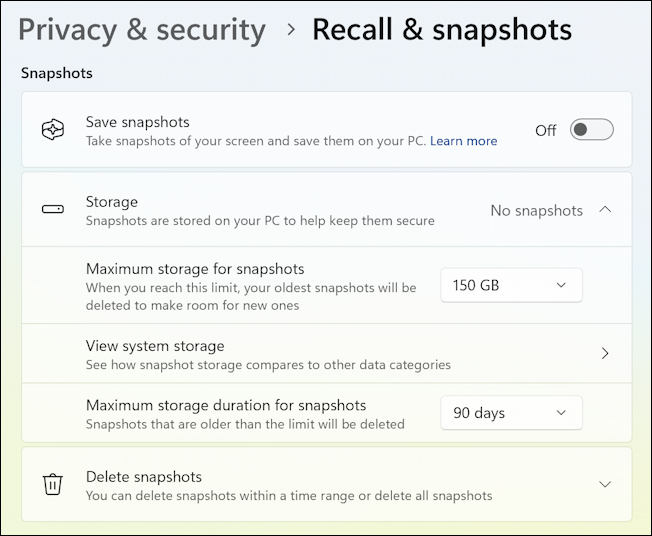
You’ll want to read through and contemplate each of these settings after you’ve changed “Save snapshots” to “ON”. In particular, how far back do you want it to remember your activities?
Scroll down too, as there are some even more important settings below:
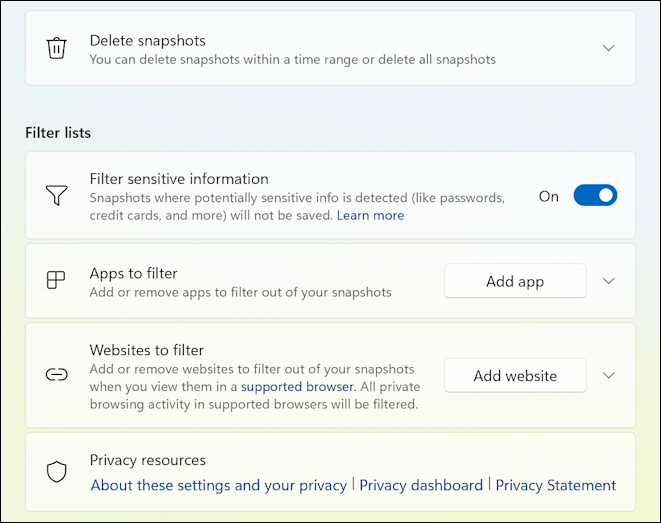
One thing that Microsoft added to make Recall more privacy aware is the ability for you to filter out apps you don’t want screenshot captured (like a banking app) and Websites that if you visit won’t be captured and analyzed (perhaps online therapy or checking with your doctor on a medical issue). Remember those and utilize them to create a privacy buffer around your own computer use.
That’s it. Recall’s working. Give it a few days, then go into the app and try searching your usage history to see what it can do. Report back here in the Comments with your results!
Pro Tip: I’ve been using and writing about the Microsoft online universe for quite a few years. Please do check out my Windows 11 help area while you’re visiting to find hundreds of other useful tutorials! Thanks.