
I love the idea of wave-to-pay and as a proud owner of a new Apple iPhone 6, I’m ready to set things up. But I don’t know how. Help!
When you did the initial setup of your iPhone 6 — or iPhone 6 Plus, of course — one of the steps should have been for you to set up Apple Pay with a credit card, but if you’re like me, you skipped that part and might well have forgotten about it. As with any step in the setup process, you can always go back later and tweak things to make ’em work right.
Apple Pay is surprisingly easy to set up because someone was working overtime when they wrote the credit card photo scanning feature and it does an amazingly good job of reading what’s on the front of a standard credit card and converting that to the necessary numeric data, saving you a lot of tapping in long digit sequences.
To start out, go into ‘Settings’:
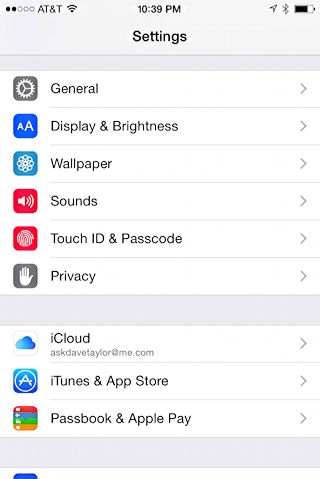
You can see the option just below iTunes: Passbook and Apple Pay. Turns out that the seemingly moribund Passbook app that’s been part of iOS for a while now suddenly has an important task — it’s how you actually use Apple Pay once it’s set up!
Tap on that option…
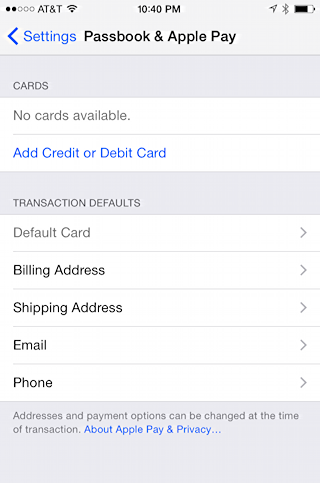
Since you have no card set up yet, yours will look the same as the above.
Tap on “Add Credit or Debit Card” and realize that not every bank supports Apple Pay yet. You’ll see what I mean.
Anyway, here’s the next step:

Nice bit of info about the service. Let’s proceed, so tap “Add a new Credit or Debit Card”.

Tap on the camera icon and point your phone at your credit card. Really!
Here’s what it’ll look like (appropriately blurred to avoid everyone using my credit card):

After just a second or two, it should identify and analyze the image, then populate all the fields on the form.
If you’re unlucky, you’ll then see this error, as I did when I tried a card tied to my Paypal account:

So sad.
Hopefully you have another option, because when you scan a card that is supported, you quickly go here:

Lots of terms and conditions, or T&C’s as we call ’em in the business.
If you agree, tap on “Agree” to proceed. If you don’t, well, then Apple Pay isn’t for you. No worries!
Time to validate the card:

Here’s where you’d see that it’s scanned and figured out the card number and expiration date. The security code, or CCV, is on the back, however, so you’ll need to enter that manually. Easy enough!
Hopefully it verifies and is Apple Pay compatible, in which case you’ll be asked:
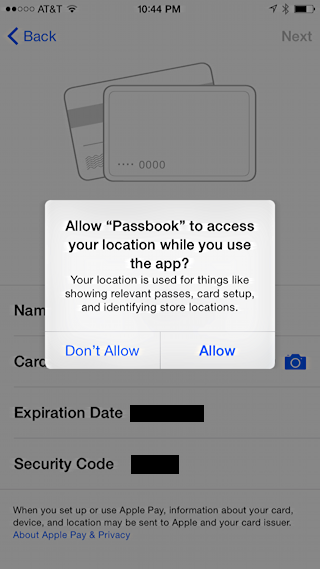
Yeah, you wanna say “Allow”.
Almost done. Now you’ll be here:
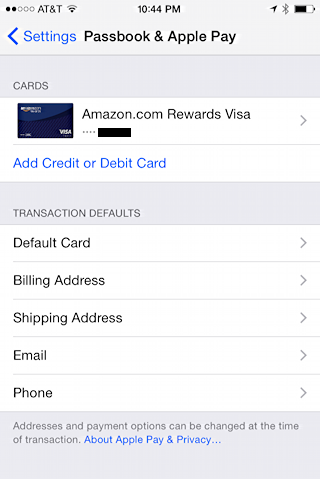
At this point you should double check that the billing, shipping, and email addresses are correct, along with your phone number. If you are going to enter more than one credit card or debit card, you can also pick which should be your default card.
Apple Pay is also working behind the scenes to validate the card and ensure it’s fully Apple Pay compatible. After a few moments, the display will change to confirm your information and you’re done!
Good to go buy more stuff! 🙂
And how do you do that? With the Passbook app. Here’s how my card shows up now:

Sweet. Now let’s just see how many merchants will adopt this new technology!