
I’ve been recording my children singing and have a bunch of MP3 files. Now I want to isolate the actual song and save just that, not everything else around it. How can I save a selected mp3 audio file on my computer?
Recordings of your children singing, laughing, telling you about their dreams and aspirations is a great idea and is going to be a wonderful keepsake! Unfortunately they’re not used to being in a recording studio where you play or sing immediately after the sound engineer cues you, so yeah, there’s going to be plenty of audio recording of goofing off, arguing, silence while they’re reading a book or otherwise not engaged, etc.
Fortunately there’s an excellent audio editing program that’s free and works on both Mac and Windows computers: Audacity. This is just a great program and I even used it to prep and edit the audio files when I recorded the audio book version of Twitter Power 3.0, so it’s a pro-level tool too! You can grab a copy for free here: Download Audacity.
Once it’s on your computer, simply open up your MP3 audio file with the program and it’ll show you a rather complicated Window like this:
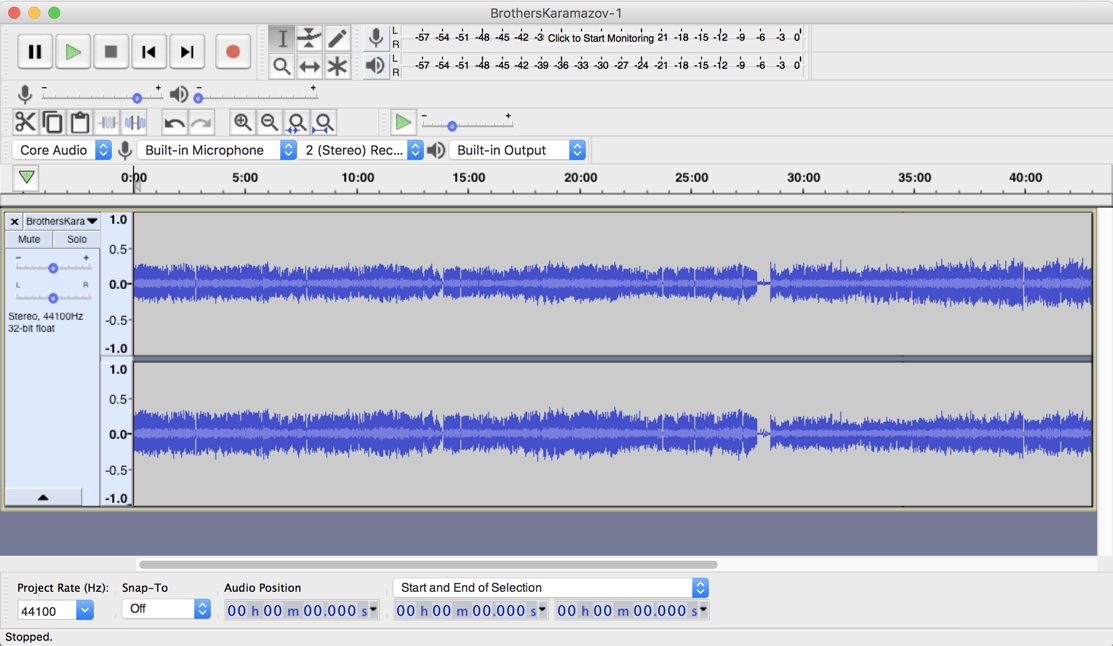
It’s a pretty complex program and there are a lot of toolbars along the top. For what you’re doing, however, you can safely ignore just about all of it. The important thing is that you are seeing waveforms in the main area: If you see just one, your recording’s mono, but two indicates that it’s in stereo, as shown. Audacity can convert mono to stereo, but that’s something to check out in the help area of the app! It’s easy.
For our task, however, let’s have a quick peek to see how long the entire recording is. That’s done by simply swiping or click-dragging the mouse right to left. In my case, it’s an hour of audio:

Can you see along the top it shows 1:00:00? That’s one hour, on the dot!
I’ll go back to the first portion and click-and-drag within the waveform window to grab the first 30 minutes or so of my source material. Your audio selection is probably going to be a smidge shorter than that, however. 🙂

With that selected, turn your attention to the Audacity File menu, as shown:
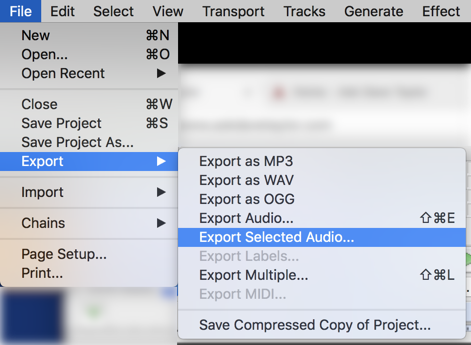
You’ll want File > Export > Export Selected Audio… which pops up the following window full of choices and settings:
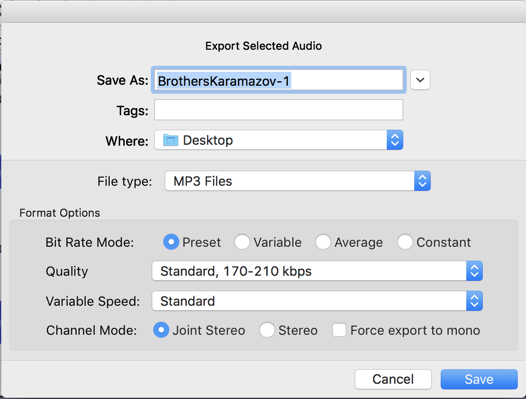
You can see that it grabbed the source filename from the original – but you can change that if you want! – and you can specify where you want the file saved. There are a lot of format options that I recommend you leave untouched, and if MP3 isn’t your thing, well, there are oodles of other audio formats which Audacity can produce too:

Honestly, I have no idea what most of these are, but the default of MP3 is perfect so I’ll leave it as that. A quick double-check on filename and save location and click on the blue “Save” button to proceed.
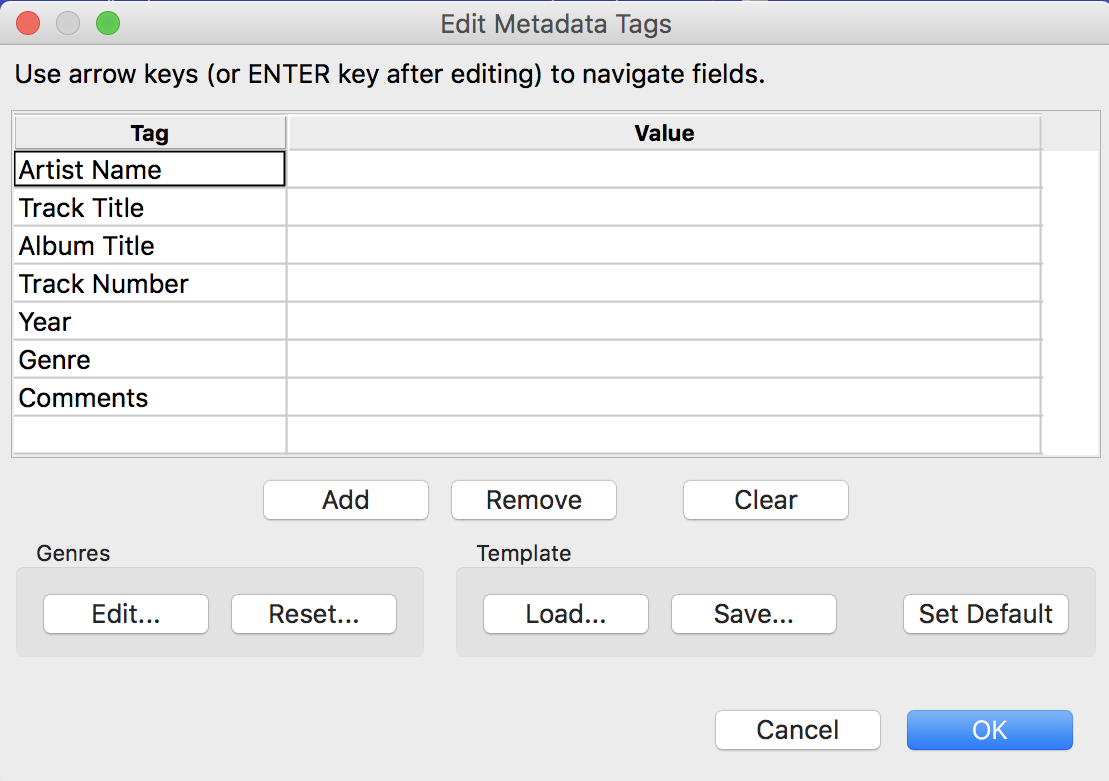
Mp3 audio format supports a variety of tags embedded in the audio file, so you might add the name of the child or children who are singing, a date, location, etc. Or leave it blank. Either way, when you’re ready to proceed, click on the blue “OK” button and…

That’s it. When it’s done you’ll have a new MP3 file on your desktop, ready to share and enjoy. Note that Audacity lets you fix a wide variety of audio errors too, including if it’s too soft, too loud or has gaps in it.