
I’ve just started using virtual machines with VMware Fusion on my Mac system and it’s really cool. Now I want to dabble in Linux, specifically Fedora, the free distribution of Red Hat Linux. Is it compatible? How do I get started?
That’s an interesting choice for Linux distributions: a lot of people who explore Linux are finding that Ubuntu or Mint are the best choices for a first Linux distro because they’re designed to be more user friendly and are easier to work with right out of the box. For a corporate environment, however, Red Hat and its free cousin Fedora are a clear winner and latest stats I’ve read suggest that Red Hat accounts for an impressive 68% of corporate Linux installs.
Instead of being a simple ISO image you can download, Fedora also has a confusing Fedora Media Writer. Once you’ve chosen exactly what configuration you want and waited for the download, however, you do end up with a .ISO disk image ready to install. Before you go further, do ensure that you also have the very latest version of VMware Fusion too. Easier to deal with it before than after. 🙂
Once you have the ISO ready to go (and it’s big. When I went through these steps the download file was 1.63GB) fire up VMware Fusion and choose File > New to create a new virtual machine. Here’s what you’ll see:

Lots of options, but you can ignore them all: Just drag and drop the ISO disk image onto the top section labelled “install from disc or image” and it immediately scans it and figures out what to do next.
Here’s the result of the drag and drop:

You can also see the name of the ISO image I’m using, that includes version ID: Fedora-Workstation-Live-x86_64-27-1.6.iso. Workstation is the version of Fedora (versus server), 64 = 64bit and 27.1.6 is the specific release number. Not too confusing, and immediately below it you can see that VMware Fusion has correctly identified it as Fedora 64-bit too.
Not much more to do, believe it or not. Just click “Continue” on the lower right.
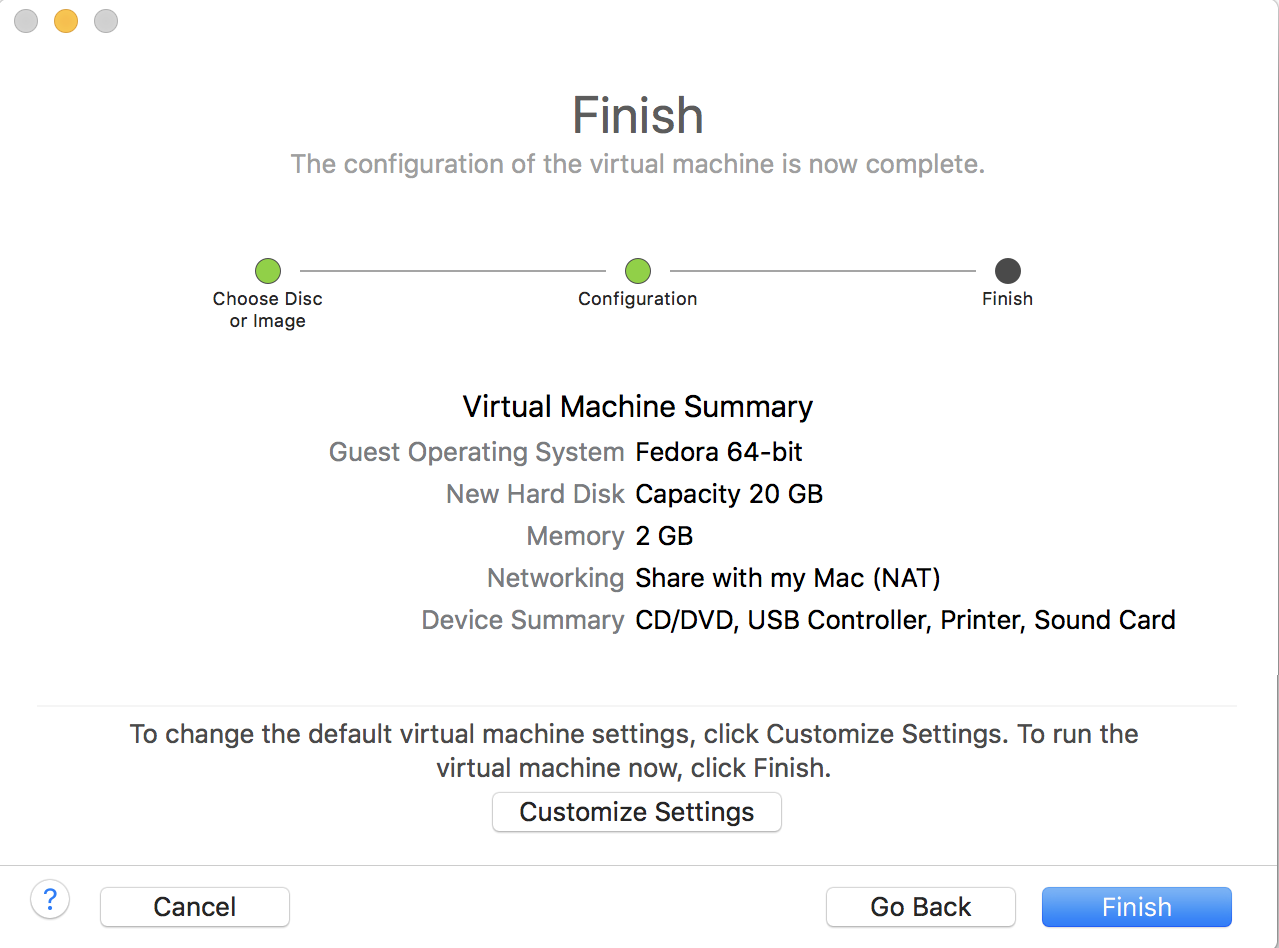
The default setup and configuration that VMware choses is pretty darn good, with a 20GB virtual disk, 2GB of RAM being made available and sharing the Mac’s network connection, optical drive (if you have one), USB peripherals, printer and sound card. If you want to tweak this – perhaps adding additional RAM for performance reasons – click on “Customize Settings” but if that looks good, you can move forward by choosing “Finish” on the lower right…
One more step, and it’s an easy one: Name your new virtual machine.
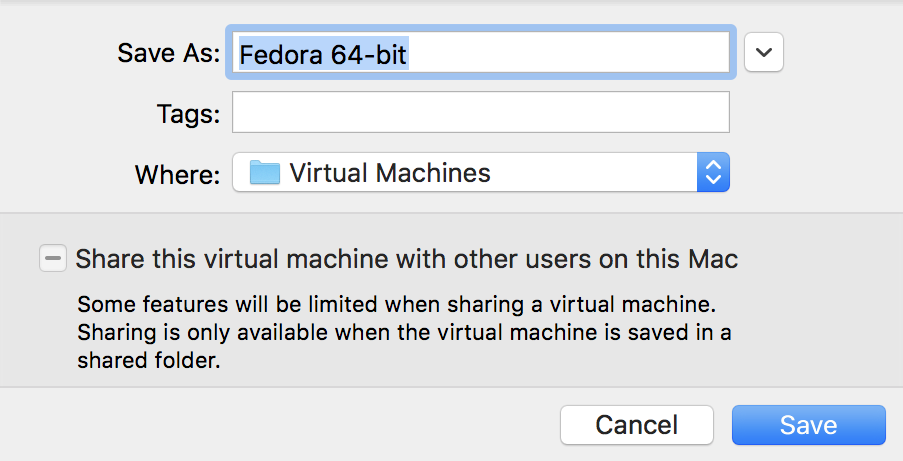
Finally, get the machine turning by choosing “Save” once you’ve named this new VM. The virtual machine boots up and you’re ready to start the actual install:
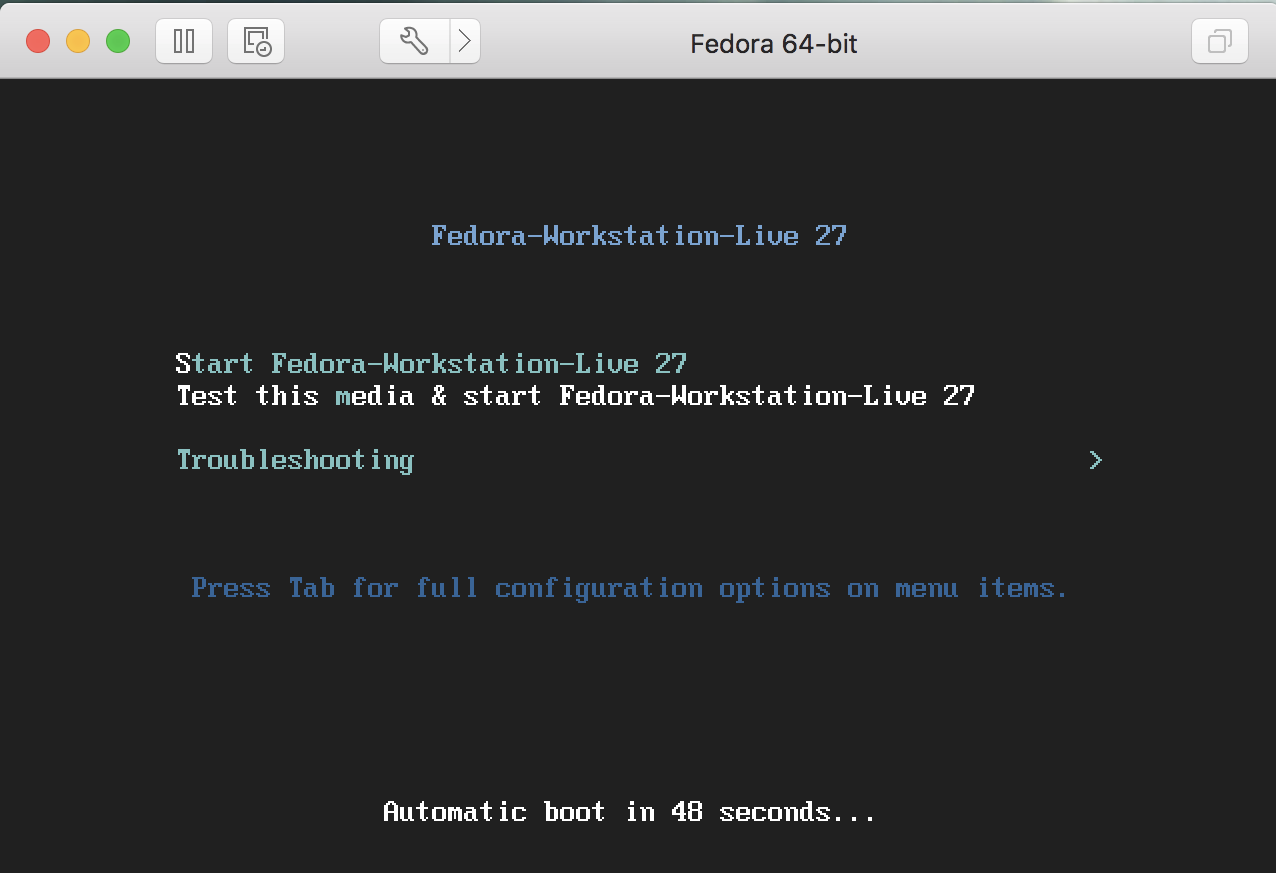
Not sure what to do? Just wait, after about a minute it’ll automatically start the installation process…
There’s lots that goes streaming past, including plenty of boot time errors, but you can ignore it all. Just wait. After a bit Fedora will actually boot up and launch the desktop manager. Then it’ll ask if you want to just try Fedora without an install or actually install it into the virtual partition:
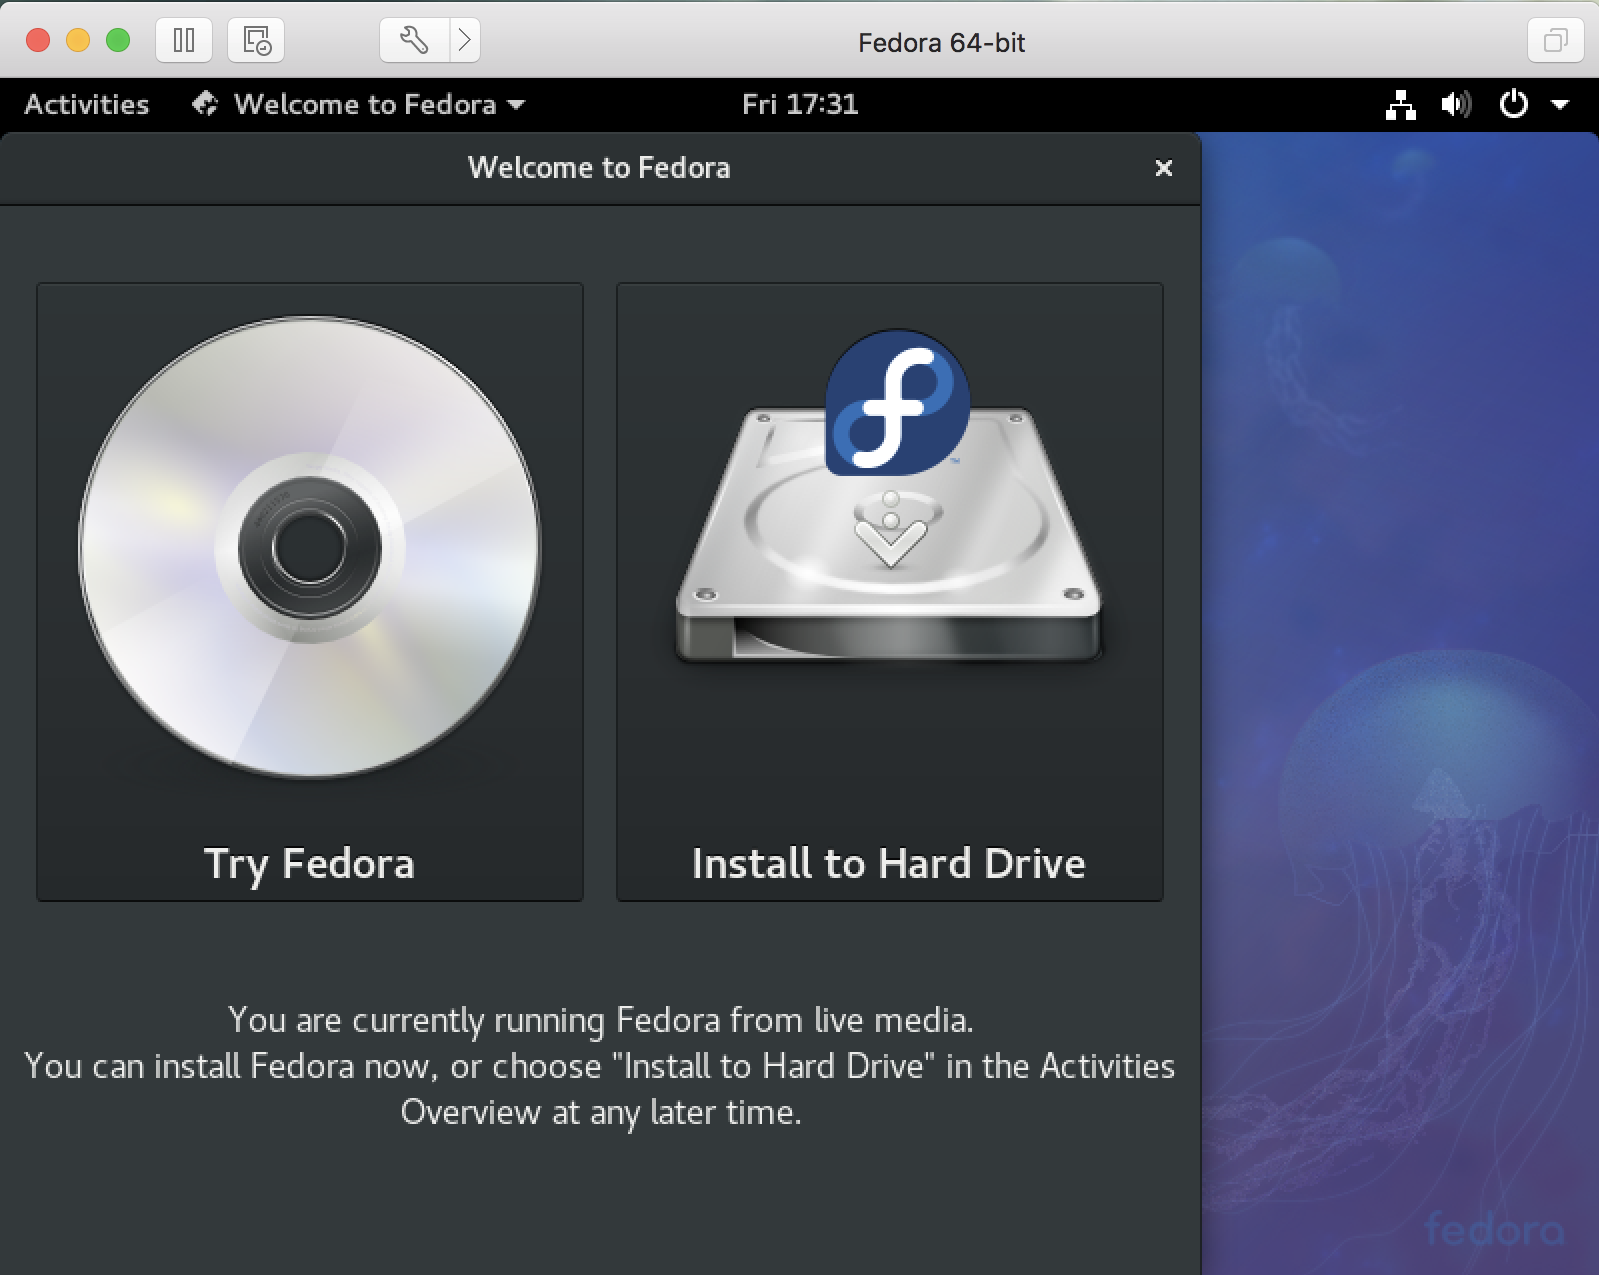
Since you are working with VMware Fusion, choose “Install to Hard Drive” to proceed.
Now you’ll see a series of options for language, keyboard, etc, starting with this:

The most important step is to set up some accounts. Pick a complex root password and set up at least one user account.
Both are easily done:

Just about done. Give it a few more minutes and finally you’ll see this delightful message:

And that’s it. Done. Fedora Linux is now installed into the virtual machine you’ve set up in VMware Fusion on your Mac system. All that’s left is to boot it up and log in!

That’s it. Now have fun learning Linux, and if you want a book to help out, may I suggest my book Teach Yourself Unix & Linux in 24 Hours? You can grab a copy straight from Amazon. I also have a lot of Linux help on this site too that’s worth exploring.