
I’m just starting out with a review site in WordPress and heard back from a friend that my images are too big in my posts and that they should link to the products too. How do I fix all that up in WordPress?
Getting started with WordPress is pretty easy since the composition window (in “classic” mode, at least) looks quite a bit like an email composition window. Highlight a word, click the ‘B’ button, and it’s bold. Highlight another word, click “Link” and you can enter the associated URL. Press Return or Enter twice and you have a blank link between paragraphs. Generally speaking, the hard part about composing content in WordPress is, well, the content, not the formatting.
Still, images are a different creature, not the least of which is that with auto-resizing too many of us have become used to working with enormous photos from our phones without actually resizing them to be appropriate for a Web page or blog post. This slows down the user experience and costs you visibility in search engines, a double impact, so it’s definitely worth seeking to fix the problem. Easiest? Save different copies of images specifically to upload and resize those to 1000px in either dimension or smaller.
Shortcuts: Resize Image | Image Details Window | Link Image to URL
This doesn’t mean you won’t want to fine-tune and adjust the size of an image relative to the content around it, but at least you will avoid the overly-enormous images that slow down lots of sites. WordPress, however, has ya covered with both the subtle, aesthetic resizes and the image linking you seek.
RESIZE AN IMAGE WITHIN WORDPRESS
There are a lot of different ways you can work with an image once you’ve uploaded it. I have an article I wrote about the 2022 Honda Passport Trailsport, for example, that includes a Honda logo that, on second look, is probably bigger than needed:
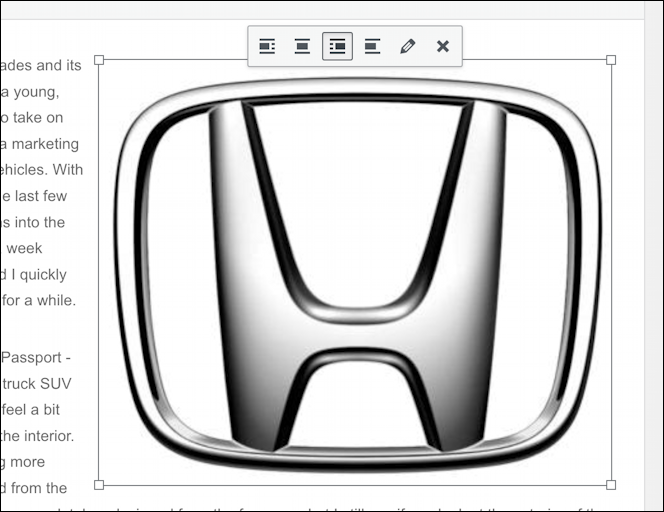
To resize it, I’ll switch to the Edit mode (usually from the “Edit Post” link on the top author toolbar), which shows approximately the same layout, but editable. Click on an image and two things happen: A positioning toolbar appears, and the image gets a frame with resize “handles”:
Click and drag on any of the resize corners and it’s quite easy to make the graphic, photo, or image bigger or smaller…
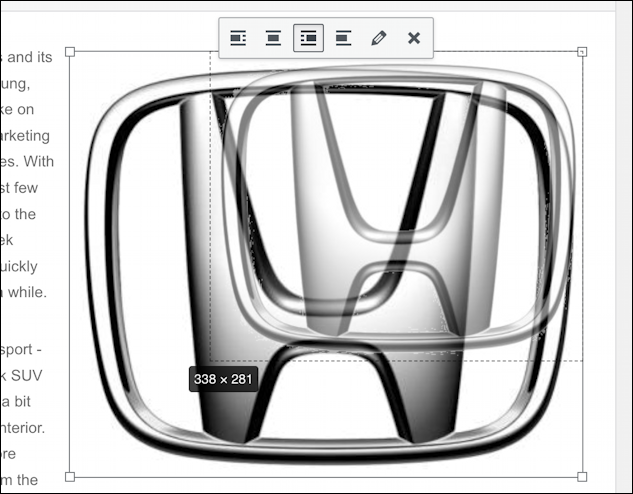
A bit confusing during the resize, but once you release the mouse button it reflows the text so you can see what’s going on and click-and-drag again if you want to tweak it further. I do find that the mockup within the editor isn’t quite the same as the final published page, so I also find that I “Publish”, view, and go back to the editor to get things just so at times…
The toolbar is worth a closer look too; the first four choices allow you to change the relative alignment of the image and its surrounding text, known as the ‘flow’ of the content. This can be a fun way to mix up your content’s appearance so try left and right wrap to see how they appear.
Click on the pencil icon on that bar, however, and a completely new image window appears.
THE IMAGE DETAILS WINDOW
You’ll be moved to the Image Details window and it’s got quite a few options and settings:
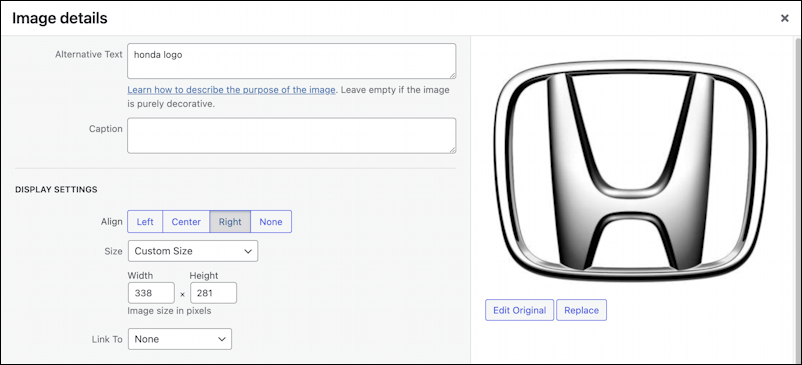
This is where you can add alternative text (always a good idea, even if it’s a rudimentary description of the image, as shown), add a caption (which will typically be formatted neatly under the image, depending on your theme) and adjust the display settings. The display settings are what we want to access!
Let’s say that you’ve uploaded a number of images that aren’t quite the same size, but you want them all displayed at exactly 300 pixels width. You can click-and-drag to try and get the live display to show a width of 300, but it’s much easier to adjust it in this window:
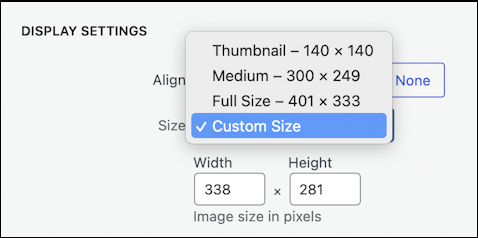
Have a peek at the Full Size dimensions, because if they’re really large, it’s time to resize the original image and upload a smaller version; no Web site needs 3000px or larger images!
You can also type in a specific width and have the height tweaked to match, or vice versa:
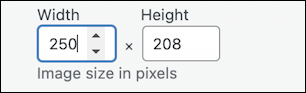
In this instance, by specifying 250px as the width, WordPress has automatically calculated that the proportional height would be 208px. Easy, right? That shows you all the options for resizing your image on the page in WordPress.
LINKING AN IMAGE TO A SPECIFIED URL
Now, what about having your image be clickable so that people can jump to a specific Web page or URL? That’s also accessible on this screen with the “Link To” menu. Click on it and there are four options shown:
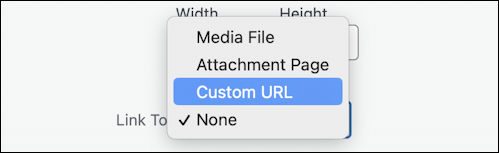
The default is for an image not to link to anything, or “None”, but you can have a small version of an image link to a full-size version (“Media File”), have it link to a specified page (“Attachment Page”), or any URL you’d like to utilize, by choosing “Custom URL“.
Choose that and a text field appears, allowing you to specify the URL in question:

I recommend you open another tab and test the URL or even copy it out of the Address Bar to ensure you get it exactly right; one missed character and the link will be broken for every user. I also strongly encourage you to only use “https://” links, even though the default display shows “http://”.

Save this change, update the page, and your graphic, photo, or image now links to the URL in question.
Want to have the link open a new tab or page rather than replace the current page? You can do that with one of the settings the “Advanced Settings” area of the page:

You can see the checkbox in the middle of these different CSS and style options: “Open link in a new tab“. Check that box, save and republish, and it now has the behavior you prefer.
Wondering about the HTML powering it all? Here’s our new Honda logo code, as automatically generated by WordPress:
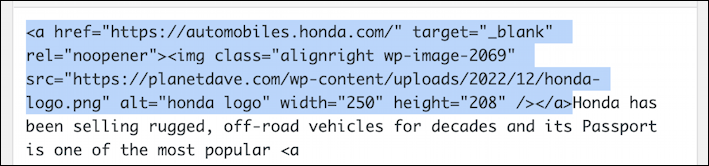
Notice the target=”_blank” that the checkbox has produced and various CSS classes, along with the alt attribute. Not too difficult once you know where to look for the various options!
Pro Tip: I’ve been running and writing about WordPress for many years. Please check out my extensive WordPress help area here on the site for more tutorials and guides while you’re visiting!