
I spend a lot of time making short videos with my iPhone 5 and uploading them to YouTube. I’d like to have them automatically also appear on Facebook and Google Plus, but when I use the Apple iPhone camera app and upload the video, I then have to log in to YouTube and manually share the videos. Tedious, to say the least. Is there a better option? I have heard that YouTube has a “Capture” iOS app?
Until I tried it myself a few days ago, I would have said that the best option is the Apple solution and that you’d just have to log in manually, like it or not. That’s no longer true, however, and you’re correct to identify the YouTube Capture app as a superior alternative. In fact, it’s so superior that I can’t imagine ever using Apple’s native upload capability again. It’s that much better!
Before you can use it, however, you need to download and install it. Then configure things. And that’s a bit of a task, though fortunately only once.
Let’s have a look, shall we? You’ll also get to see my rather out of focus test video I shot from the top of the storied Westin Bonaventure hotel in Los Angeles.
First off, here’s the starting screen. It already looks kinda cool:
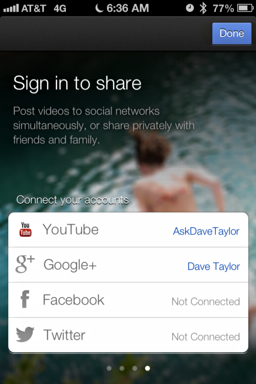
More importantly, it shows the social networks that the app understands: YouTube, Google+, Facebook and Twitter. That’s handy!
Notice also that it’s pulled some of the account configuration information off my iPhone configuration – enough for Google Plus and YouTube – but Facebook and Twitter, well, those we’ll have to set up separately.
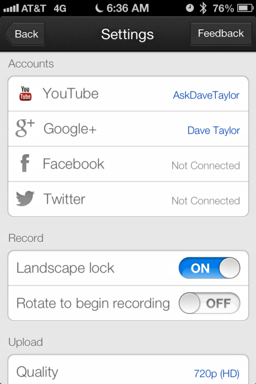
Easily done, your next stop is Settings…
Let’s start by tapping on “Facebook” to configure that account. As you’d hope, the system confirms you want to give it access to your account:
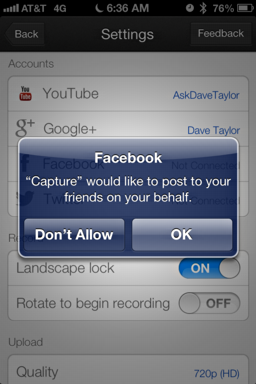
That works. Tap on “OK” to proceed and it’ll grab your login credentials from your iOS configuration.
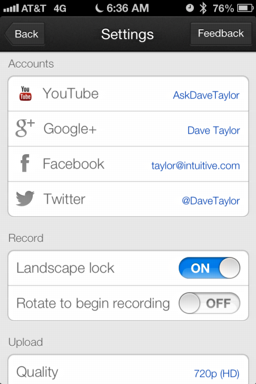
Then tap on Twitter and you’ll go through the same basic steps. Done?
Now it looks like this:
Great. Now let’s record a short video! Here’s the view from the Bonaventure, with all the Capture controls, on a rainy morning (a rarity in LA!)
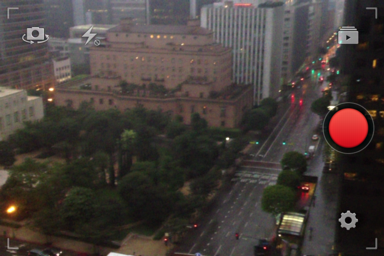
There are a variety of controls, but the most important? Of course, it’s the red button, to start / stop the recording!
Tap on it, record a few seconds — or longer — and you’re ready to try the upload capability:
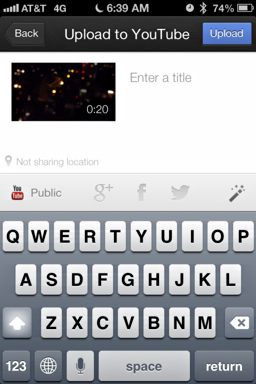
First step is to give your video a title. I’d suggest thinking carefully about this because your title is a primary method through which people find your videos on the great zoo that is YouTube. My dramatic contribution? You can see it below:
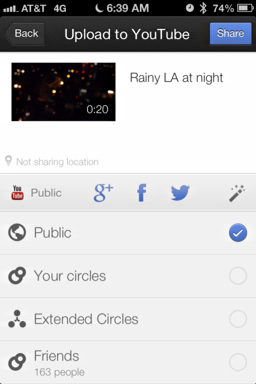
Also in the example, notice I’ve selected YouTube public access and tapped on the Facebook, Twitter and Google Plus shortcuts. Indeed, when I tap on the lattermost, for example, I see all the different circles from which I can pick visibility for its posting of this YouTube video on G+.
Ready? Tap on “Share” on the top right.
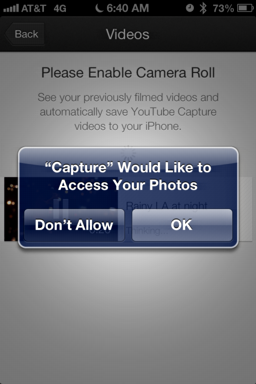
Now the first time out you’ll need to allow the Capture app to access your Camera Roll, so it can give you the ability to share older videos:
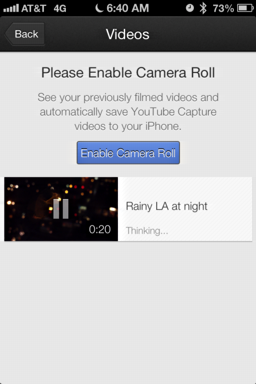
Tap on “Enable Camera Roll” and confirm it…
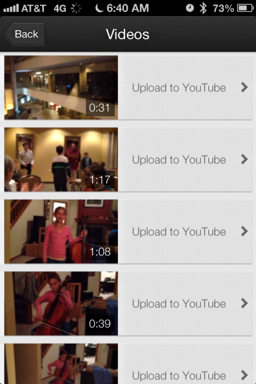
Next thing you know, it’ll be showing you all the videos it found on your iPhone, offering one-tap upload:
Finally, the video I shot will upload, though it can be a bit confusing unless you realize that upload takes a while. As you can see below, I’ve only uploaded 44% of the footage, and until it’s completely uploaded, it won’t show up anywhere or be cross-linked from the social media sites:

Once the video does upload, not only does it show up on YouTube itself, but it automatically appears on whatever other sites you’ve specified.
Like this example, on Google Plus:

Or this example, on YouTube itself:

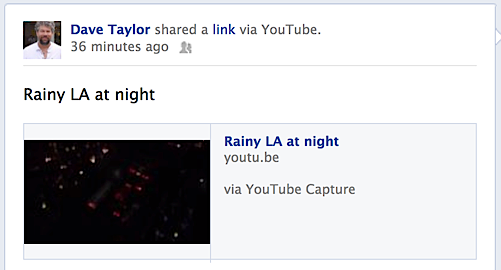
Or, finally, the link that everyone who subscribes to your updates or is a friend will see on Facebook:
That’s the scoop. As you have heard, YouTube Capture is really a great solution and once you get everything configured, it’s rather amazingly simple to work with. I recommend you check it out!
Oh, and if you want to watch my scintillating video, go here: Rainy LA at Night.