
I need to be able to test some software within a Linux environment and decided on Ubuntu Linux. But I want to run it within VMWare Fusion on my Mac system. Is that possible?
Both VMWare Fusion and Parallels are quite capable of running Ubuntu Linux or just about any other Linux distro and since Linux isn’t as resource intensive as Microsoft Windows, the virtual machines tend to run quite snappy regardless of configuration. Which isn’t to say that you can’t use Boot Camp to create a dual boot Mac system too if you really want the best performance: You just reboot and pick which OS to run each time, easy enough.
Further, since you’ve already identified VMWare Fusion as your virtualization platform of choice for your MacOS X system, you’ll be glad to know that it can recognize and streamline the Linux install process. Let me show you, step by step, as I recently needed to create a new VM for Ubuntu 16.x.
To start, grab an “ISO” (one disk) distro of Ubuntu Linux from their Web site. You’ll be presented with a number of options:
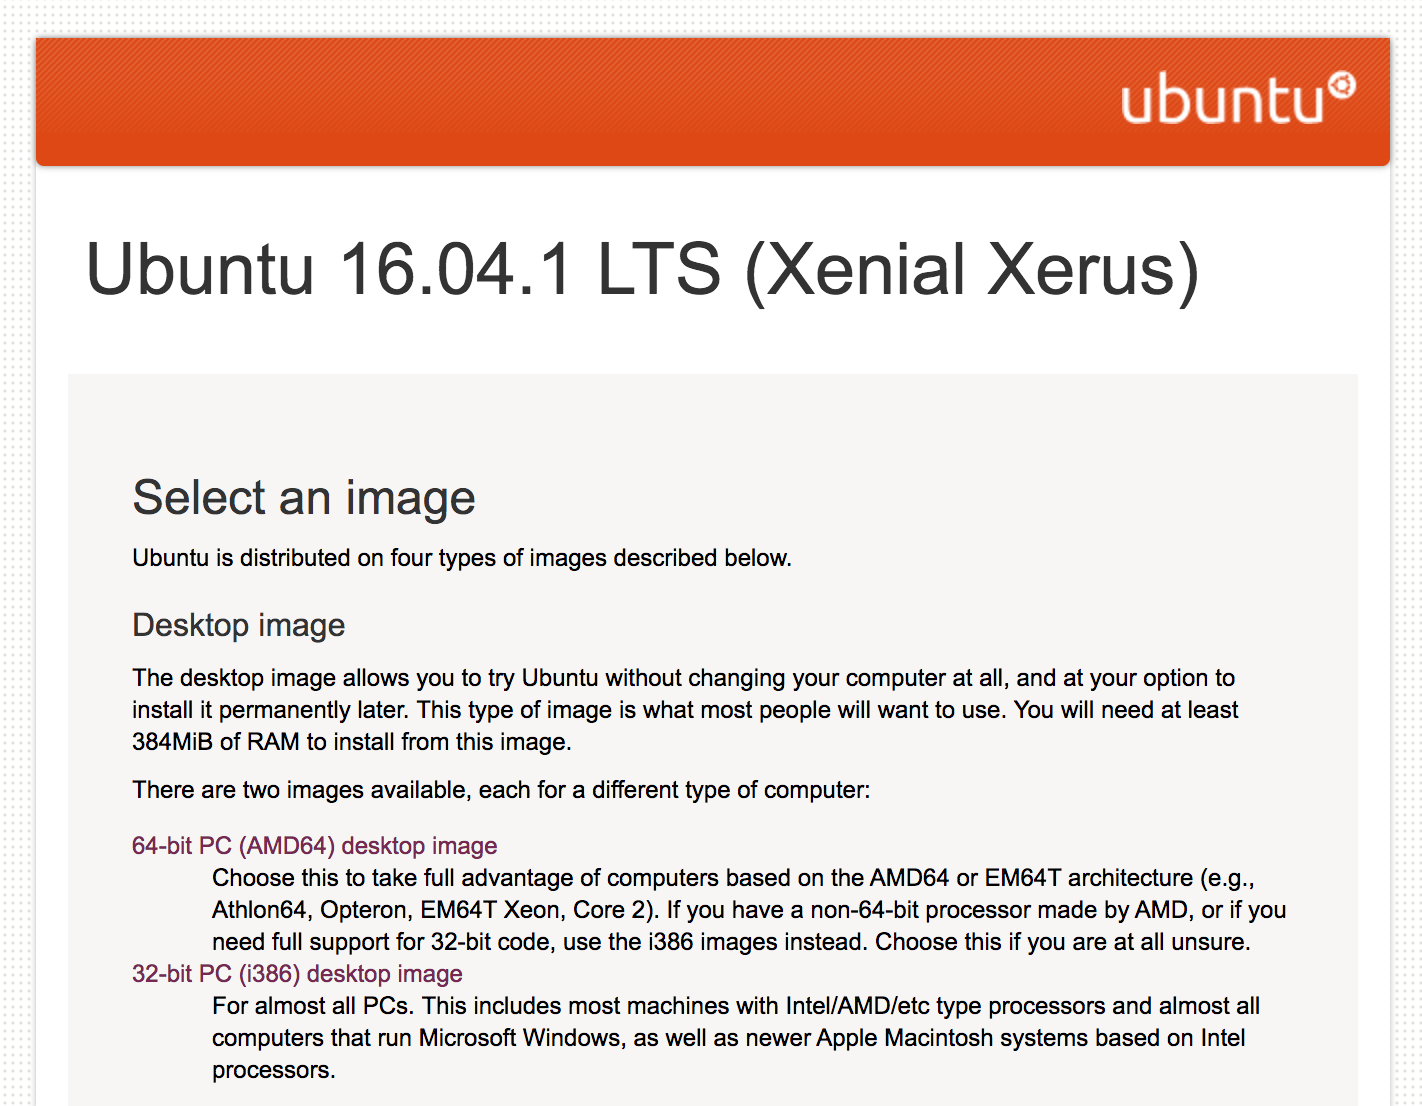
Ubuntu makes six distributions available, and it’s confusing which is which. The only real question you need to ask is 32-bit or 64-bit, and the answer for the vast majority of people, whether running in a VM or otherwise, is 32-bit. The main difference is that 64-bit lets you access more than 4GB of RAM.
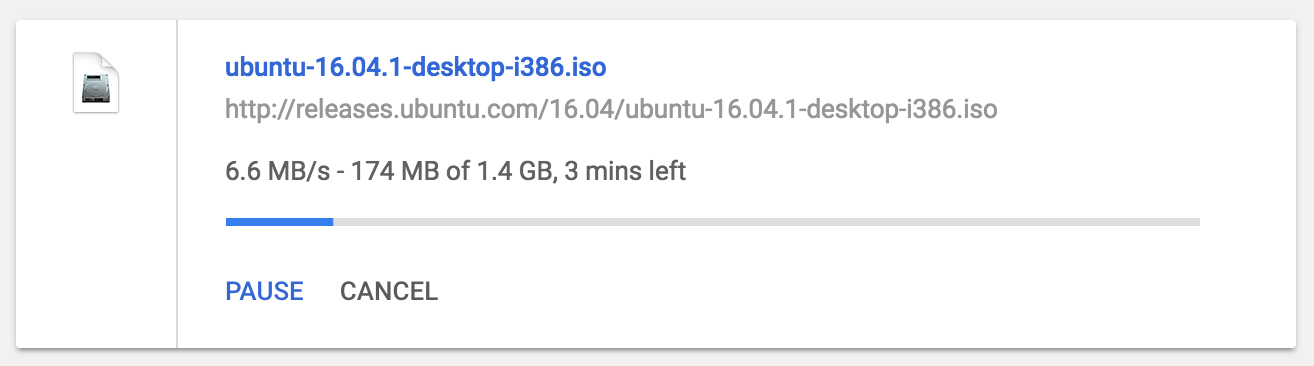
I chose 32-bit PC (386) desktop image and clicked. It’s a decent size file at 1.5GB, so I recommend you find a fast connection before you begin the process:
Once it’s downloaded, you’ll have a file with an unusual icon, an “ISO” (which name comes from the ISO 9660 standard for DVD images):
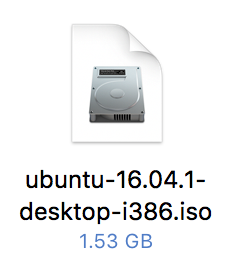
You’re done with that part of the process.
Now switch to VMWare Fusion and launch the program. You’ll want to choose File > New to get this window to pop up:
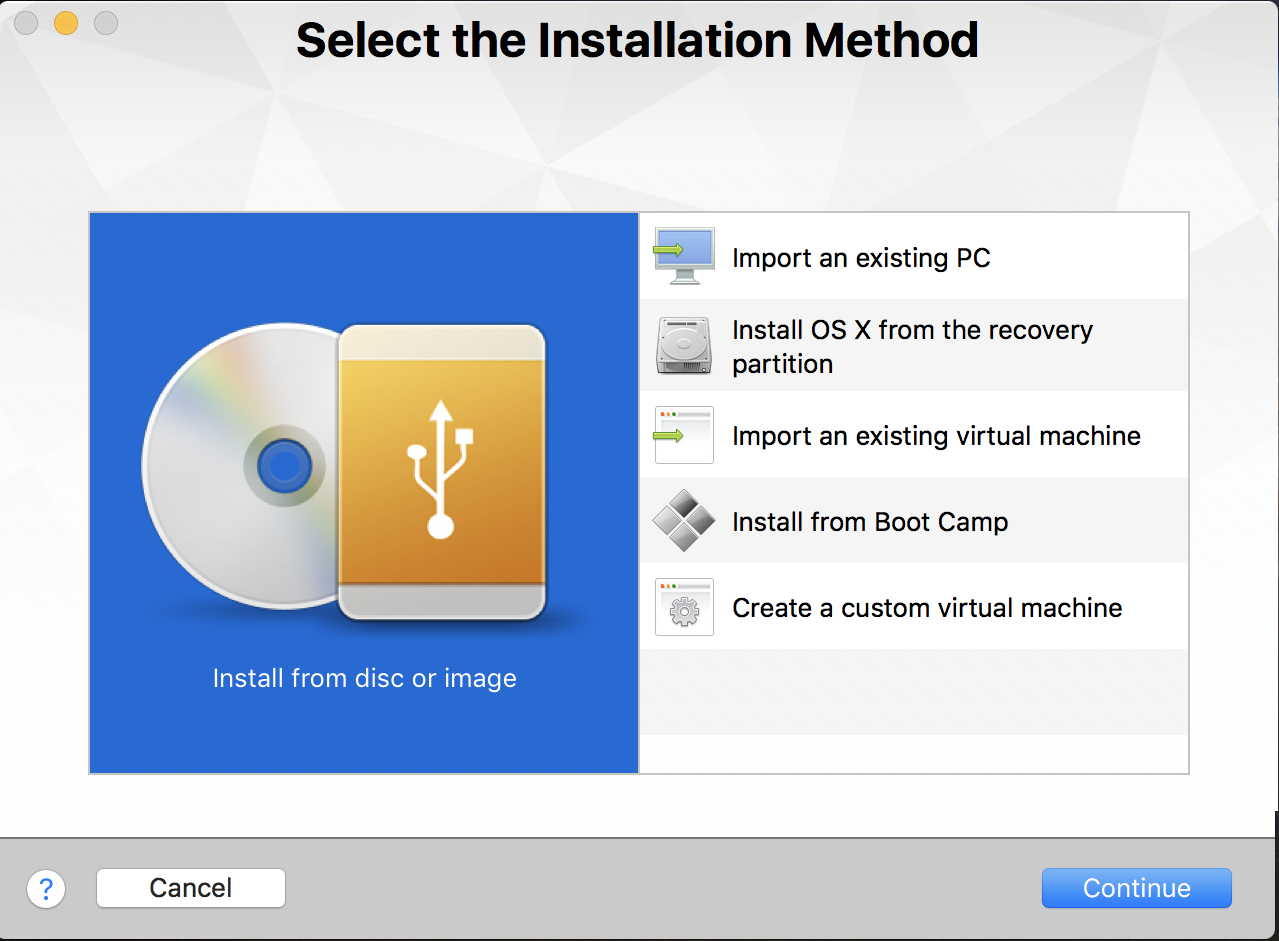
Lots of options, but you just downloaded that ISO image of Ubuntu Linux, so you can use the default (shown on the left) of “Install from disc or image” by simply clicking Continue.
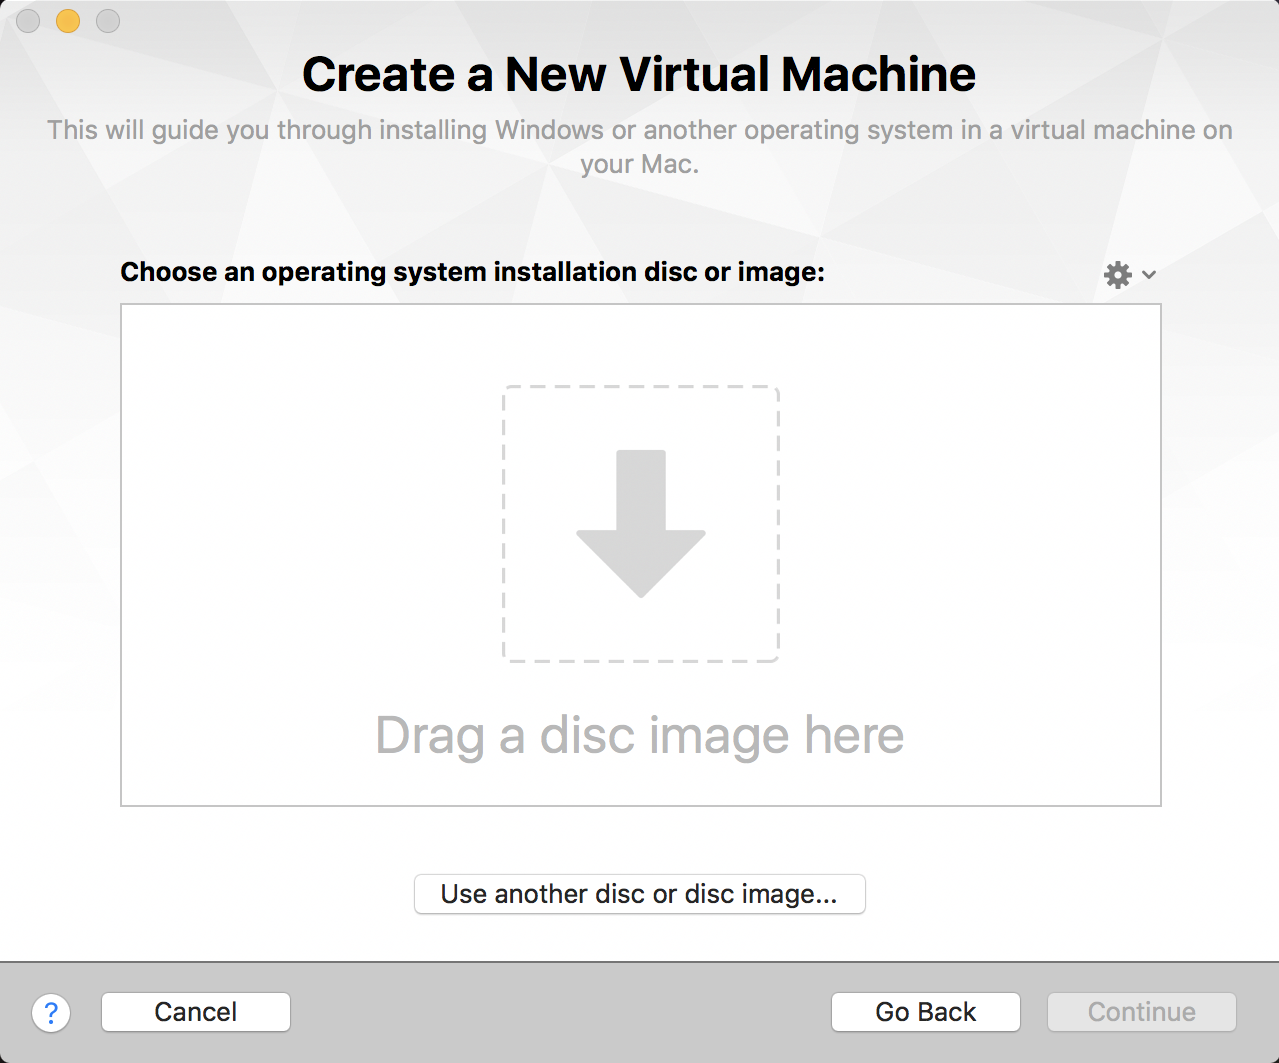
Drag and drop. Now you can see why it’s handy to know where the icon for the ISO file is on your file system. Simply drag it into this window and it’ll automatically go to the next step:
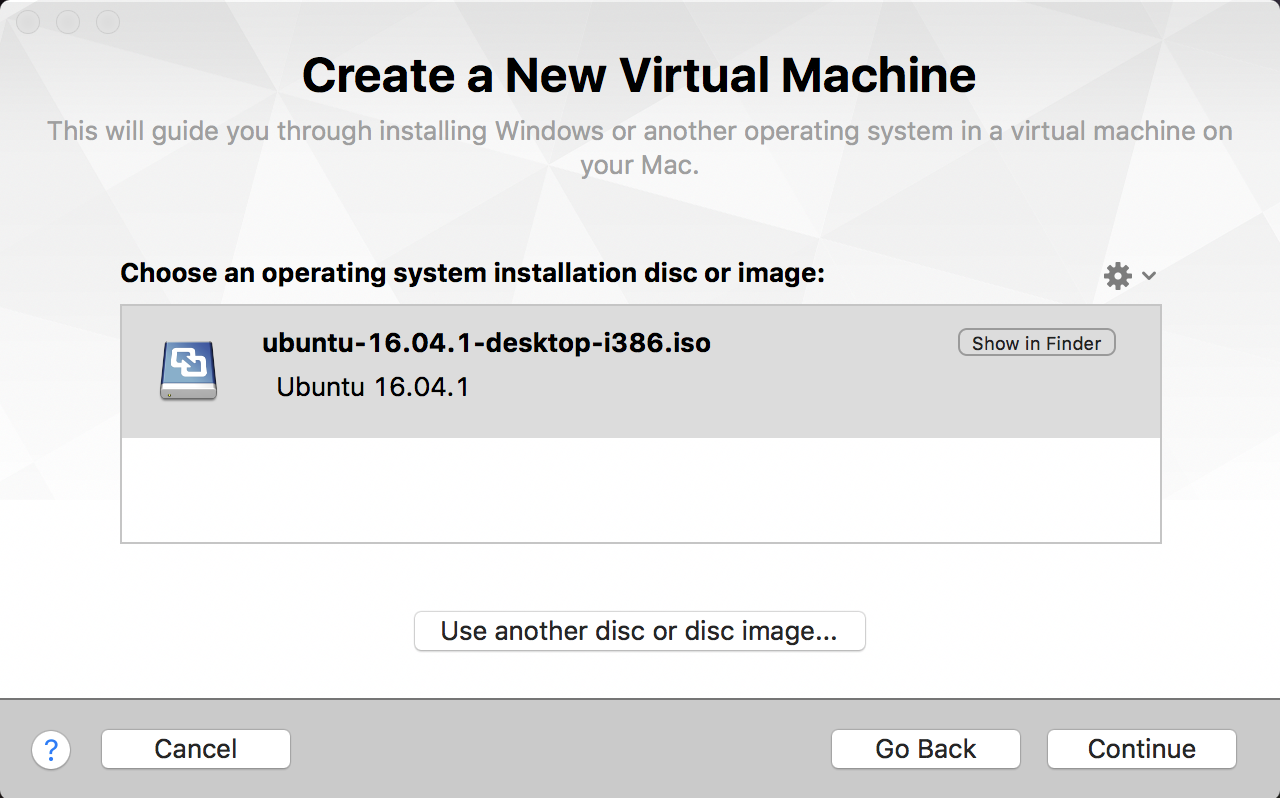
Looks good. Click on Continue to proceed and you’ll see what I mean about the process being streamlined by the VMWare team:
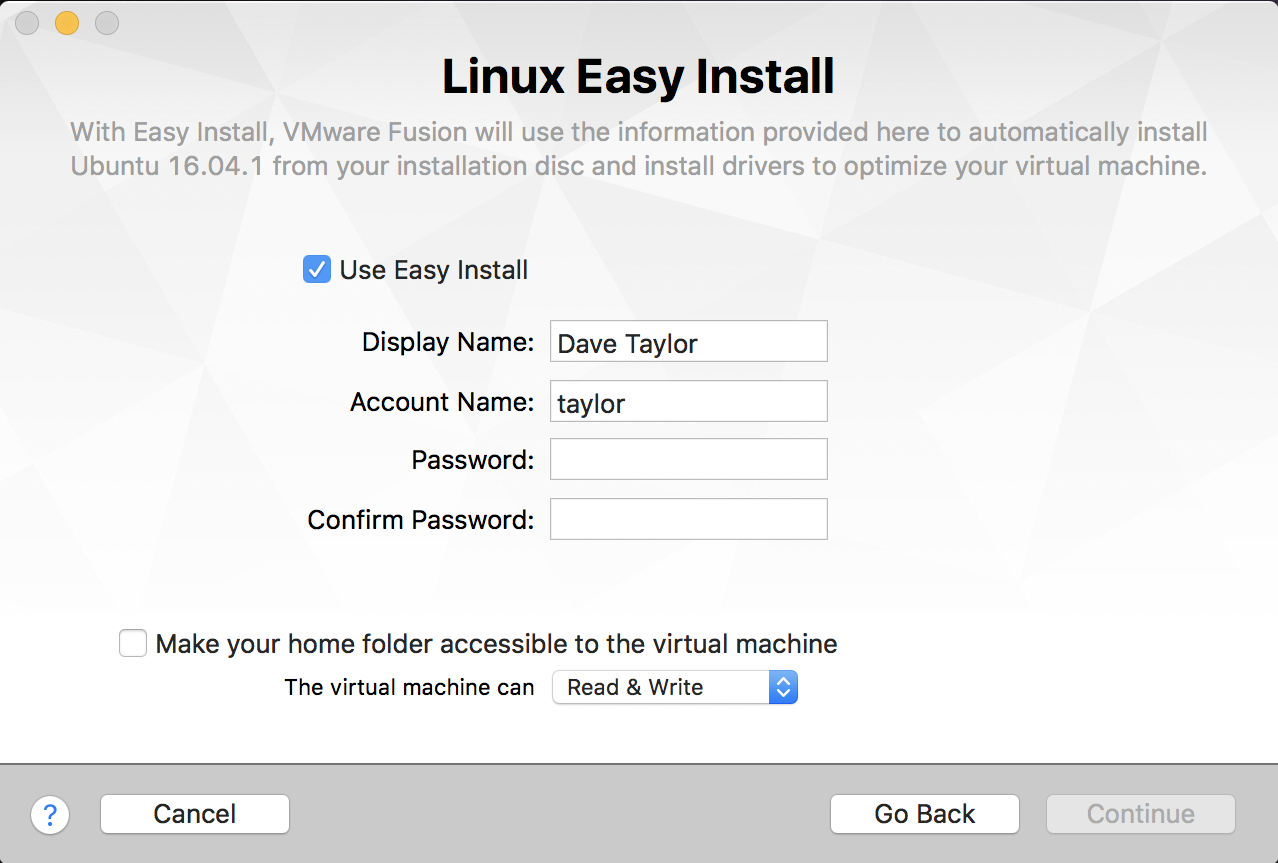
Set up your default admin account for Linux, add a password, and then decide whether you want to risk cross-pollution by having your virtual machine able to write to your real Mac file system, or whether it should be “sandboxed” in its own discrete world. That’s the checkbox adjacent to “Make your home folder accessible to the virtual machine”. I recommend that you allow the virtual machine just read-only privileges, even though Linux is pretty darn clear of viruses and other malware threats.
Click Continue…
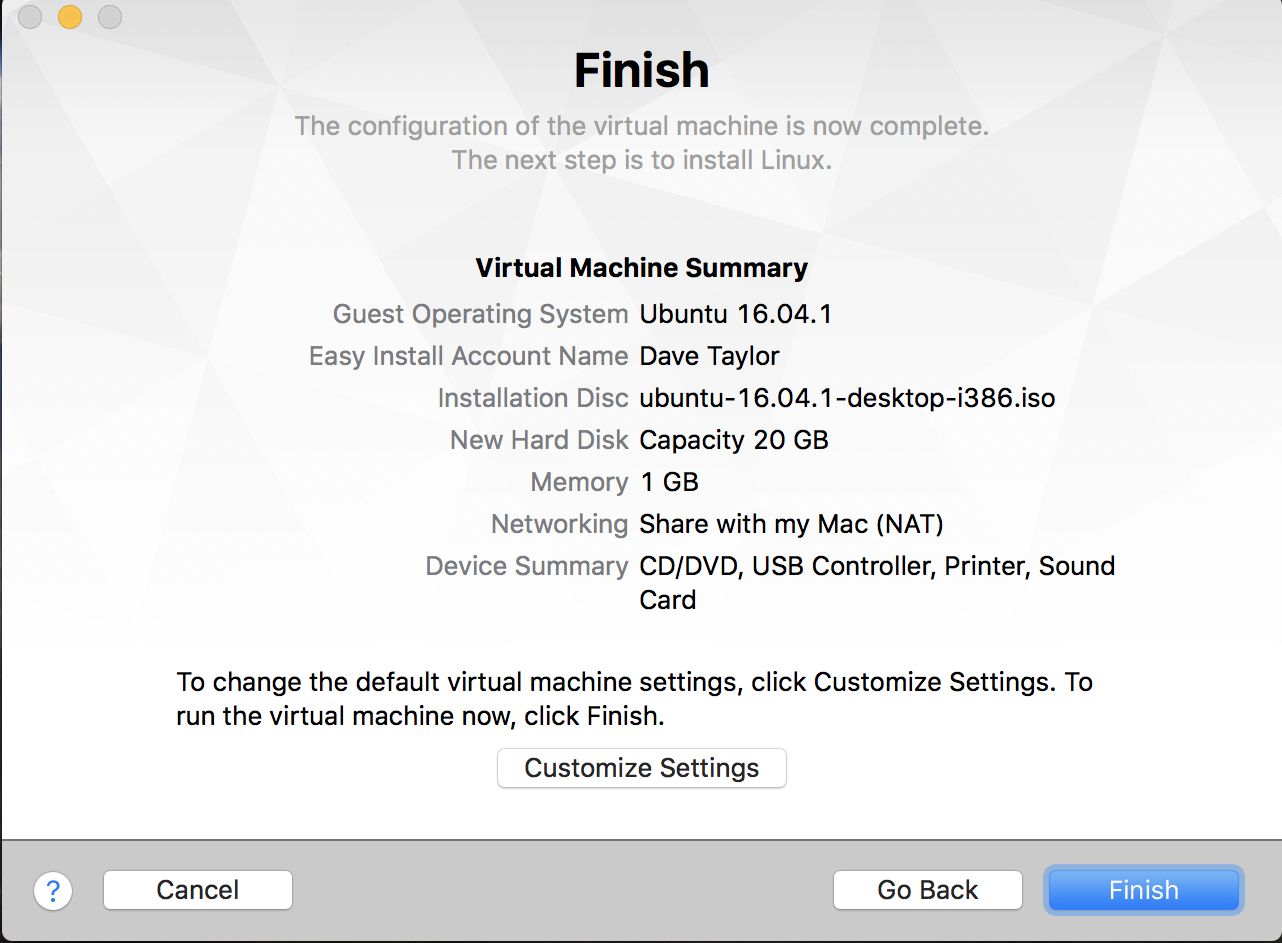
All looks good and notice that it’s only configured to run with 1GB of RAM (remember the 4GB cutoff for 32-bit vs. 64-bit). That’s fine for now, but once it’s all installed you can jack up the memory if you want. Also note that it’ll have access to the USB, printers, sound, and more.
Let’s do it! Click on Finish to run the installation process.
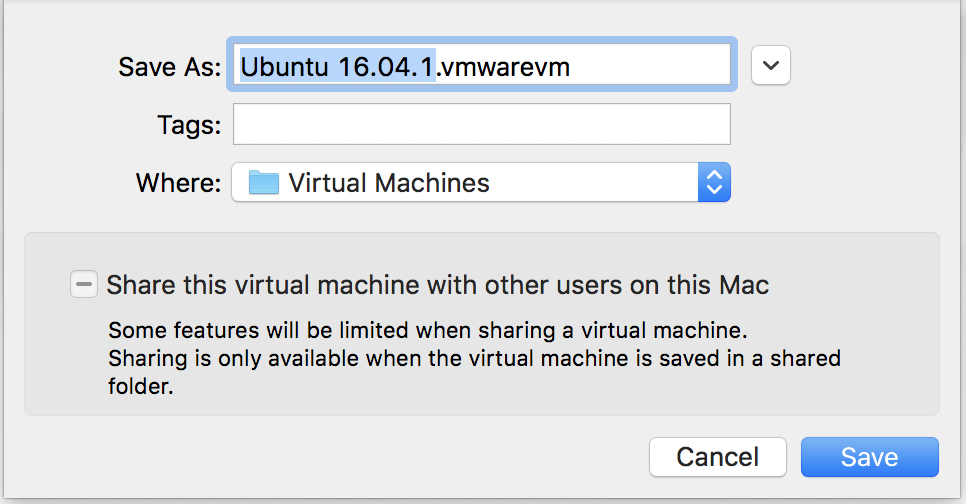
You can name and locate it as you desire, but I usually have the OS name as the VM name for simplicity.
Looks good? Got enough disk space to create this virtual machine? Then click Save and it’s off to the races. Well, it’s more of a marathon, as it’ll take a while from this point… Eventually, though, the next step is that the screen is replaced with an Ubuntu logo:

A few moments further down the road and you get to what I call the nitty-gritty screen, where it shows line by line what’s being installed. In the VM world, unfortunately, the end-of-line sequence isn’t quite right, so it tends to sprawl across the screen:

This can take five to ten minutes, and I found I was stuck for a while on an error message “A start job is running for Ubuntu live CD installer”, but after a few minutes of nothing happening it seemed to have given up (or succeeded?) and moved forward.
The next thing that happened was that I was able to log in to Ubuntu Linux. Installed!
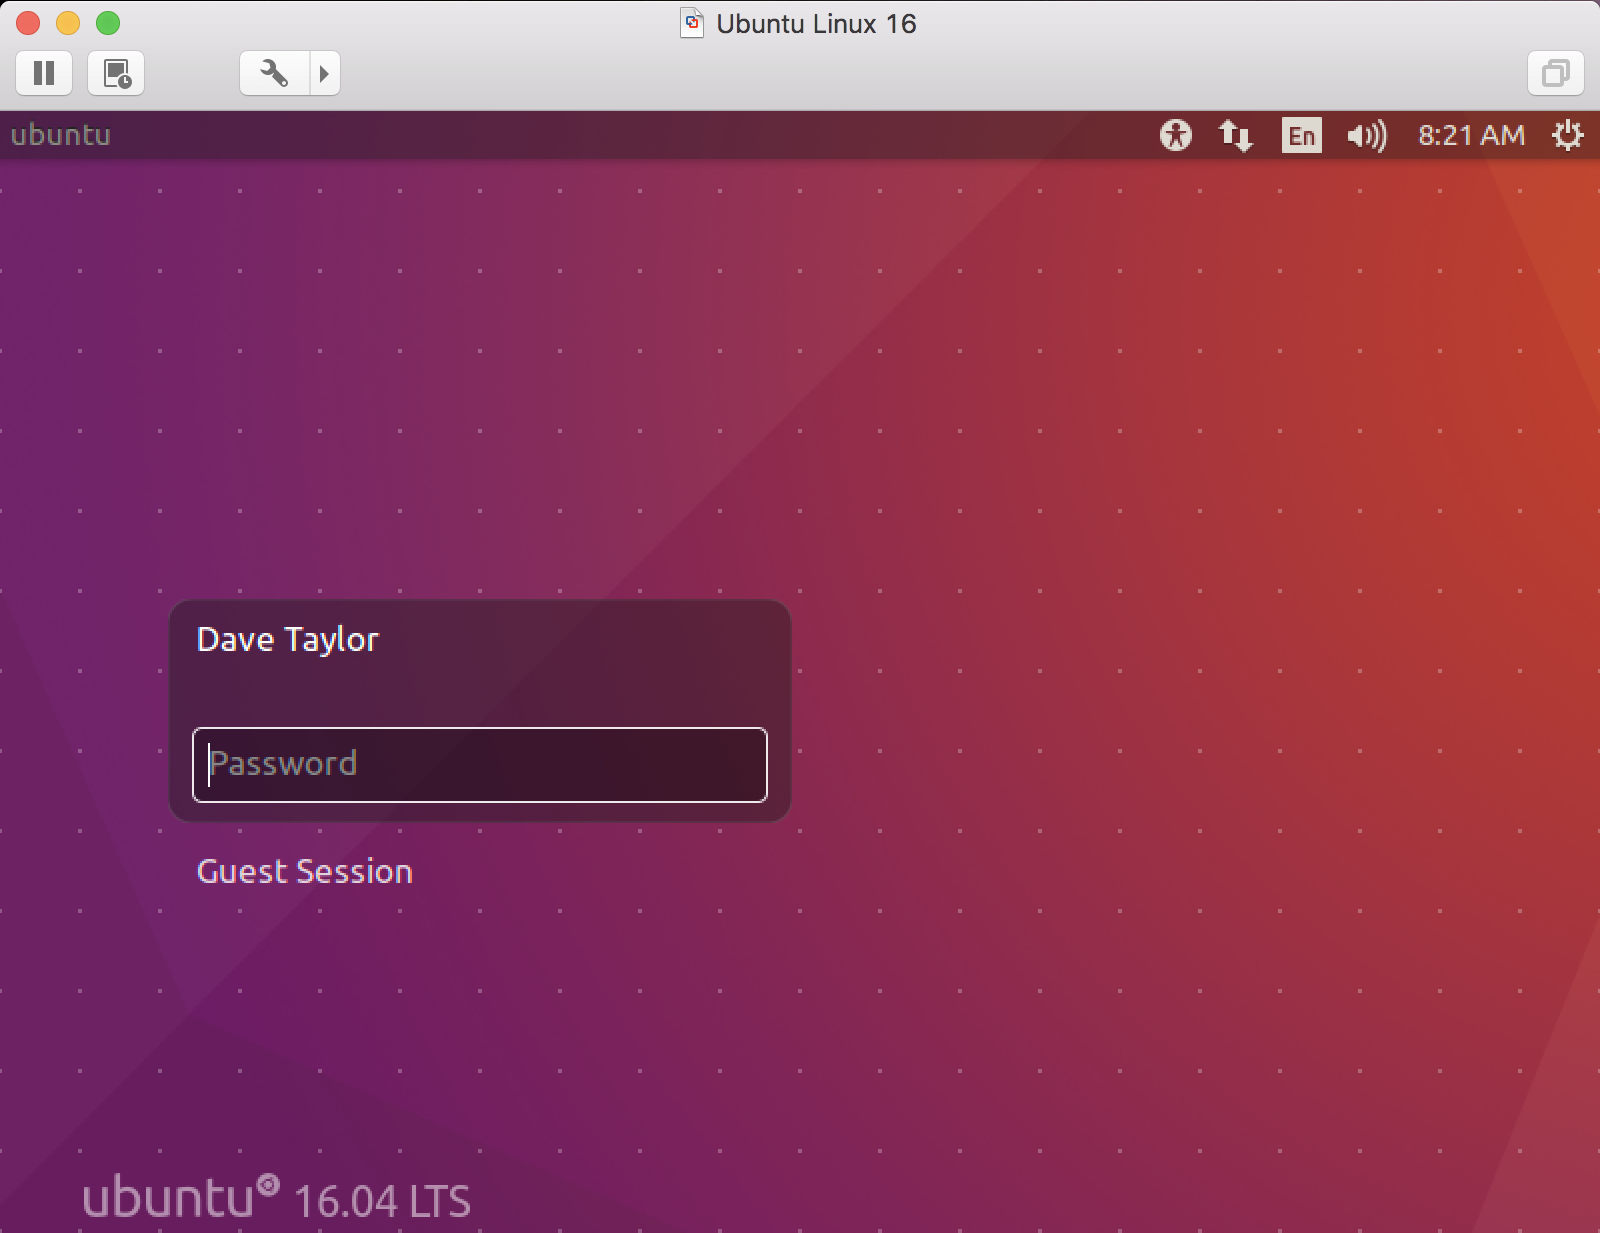
Cool! Now use the password you entered into the Linux Easy Install window and you’re up and running with Ubuntu Linux within a virtual machine through VMWare Fusion on your iMac, MacBook Pro, or similar Apple hardware!
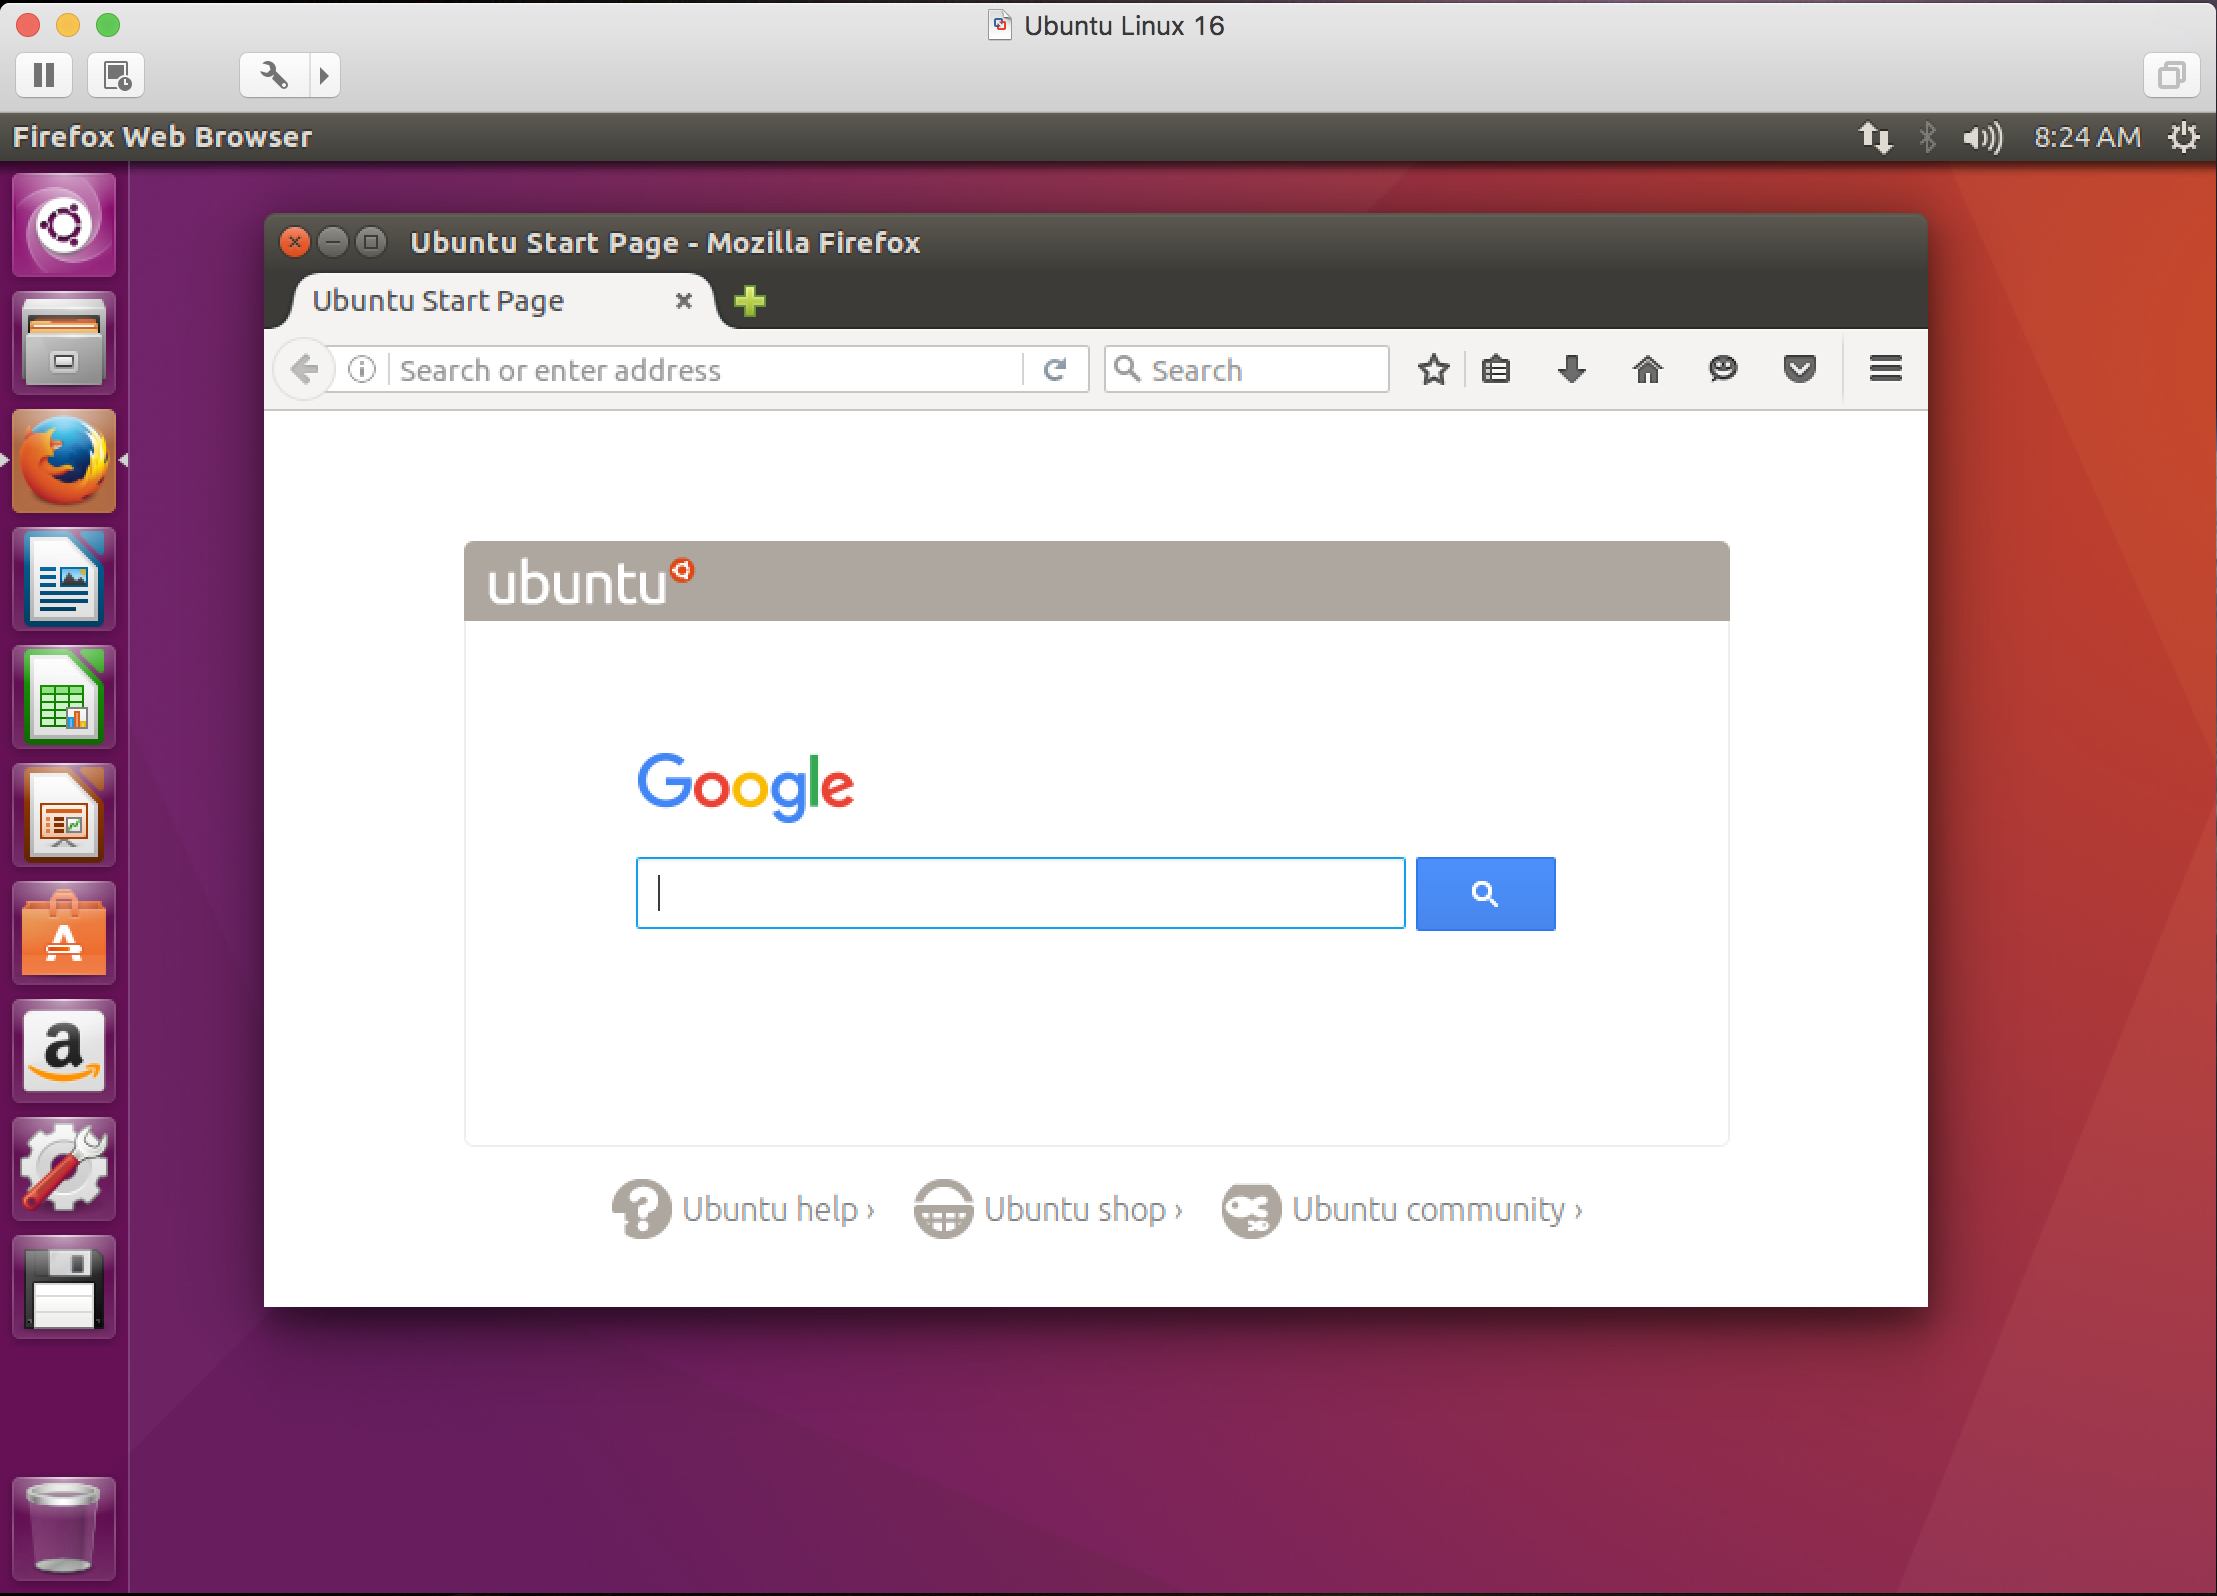
That’s all there is. If you want to change the settings on your virtual machine (allow it to access more RAM, for example), remember you need to shut down Linux completely, then you can change its settings and tweak what hardware it can access, etc. Now, good luck with your Linux adventures!
thank you, Taylor!
Good Job!
Great Job with this tutorial. I’m not too familiar with Ubuntu but have to get familiar, trying to decrypt a time machine backup disk from Backblaze made with Synology, quite the nightmare. Synology makes it easy to encrypt, PITA to decrypt. Thanks,
Dave
Thanks, this was very helpful.
This tutorial about the Ubuntu VM startup was super helpful. Thanks so much Mr. Taylor!