
I am curious about tags on my new Mac system running MacOS X 10.15 Catalina. How do I use them to help organize files and folders as Apple suggests? Do YOU use tags, Dave?
Every operating system seems to end up with features and capabilities that are mostly ignored or forgotten by users. You can imagine a team of developers creating the feature with enthusiasm, just knowing that people are going to be wowed and love it. Then it hits the wild and everyone yawns and continues using their computer in the old, classic manner. Files don’t need to live in folders, for example, you can just use a search system to find what you want. Or email? Gmail shows us that you don’t need folders when you have email search too, right? But… do you use folders on your Mac and labels to organize your email in Gmail? Yeah, me too.
Tags are one of those features that was added to MacOS X quite a while ago. The idea is simple; when you create a file or folder, identify it by project, class, purpose or client by giving it an appropriate tag. Then later you can search all files associated with that tag. As it happens I do use tags on my Mac system too, but in a slightly different way: I often am sifting through dozens or hundreds of photos to find the ones I want to use for an article or blog post. Tags let me identify the winners and then pull them out of the gallery so I can process them further and upload them as necessary. Let me show you…
First off, to apply a tag to a file, Command-Click and choose the color you prefer from the menu:
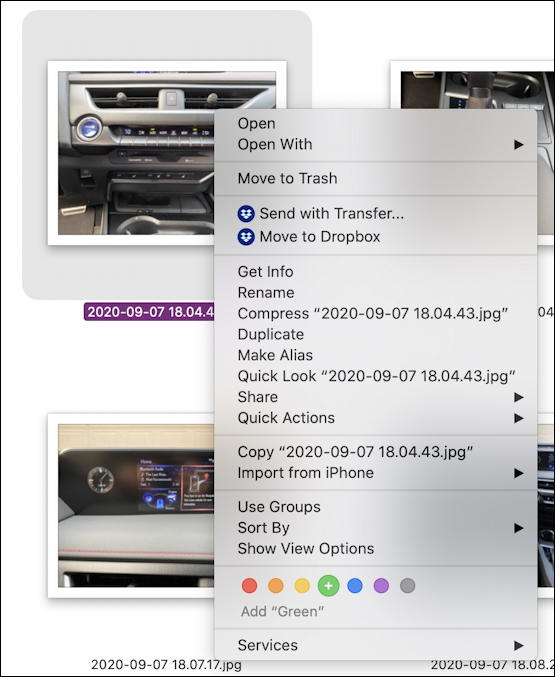
In this instance, I’m going to tag this particular photo ‘green’ to remember it’s a keeper for the subsequent article I’ll be writing about the 2020 Lexus ux 250h F Sport. This photo is of the dashboard design if you’re curious.
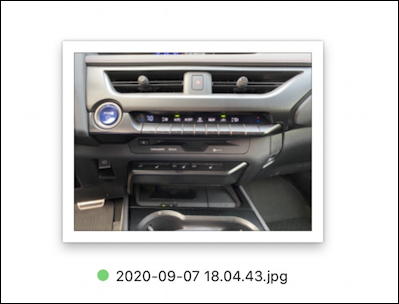
Once tagged, the photo, in icon view, includes a tiny colored circle to visibly denote it’s had a tag assigned:
Where this gets really helpful is when you switch Finder views so that you’re in list view. That’s done by choosing the second view — the three lines — from the Finder toolbar:

If you’ve never dabbled, do try all four views to see how they allow you to navigate the file system in different ways. For this task, however, list view is the winner:
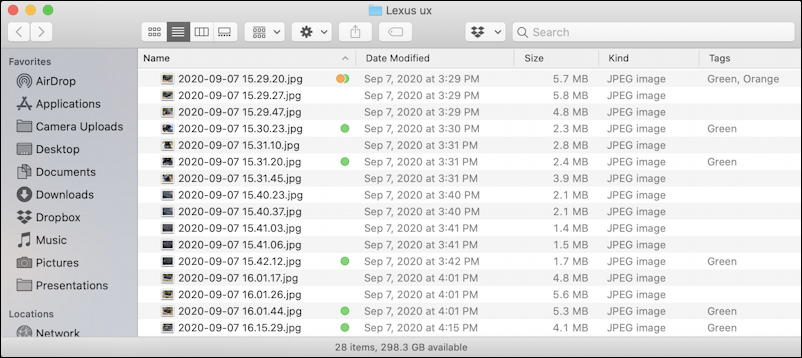
Bit of a mess, but click on the column head “Tags” and suddenly the strategy makes a whole lot of sense:
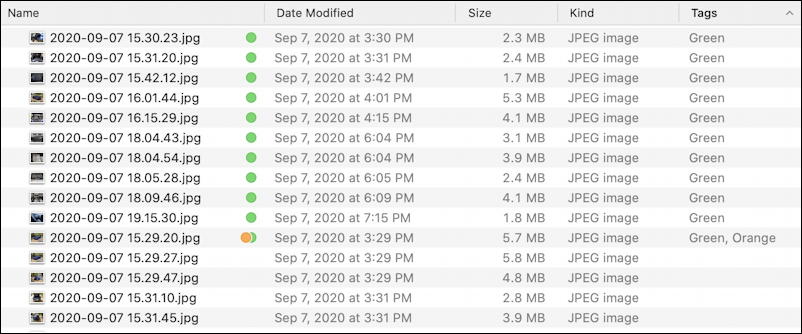
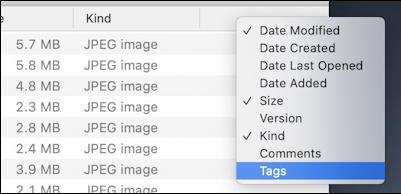
Not seeing “tags” as one of your Finder columns? No worries. Command-Click on any of the other column headers and you’ll get a menu of all the fields you can include in this list view:
Not only that, but if you go into Preferences… from the File menu in Finder, you can actually rename your tags or add new ones:
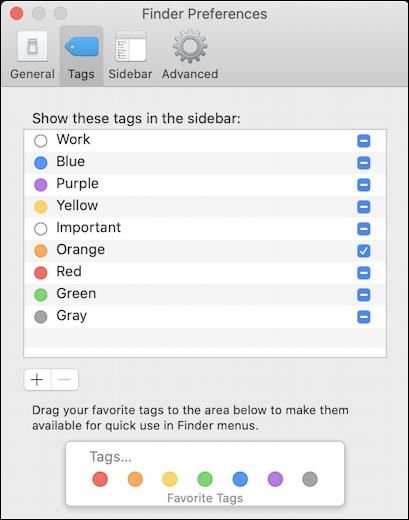
Rename by simply clicking on the current name (e.g., Orange) and typing in what you prefer. That’s it. Pretty easy to work with tags, actually, and I’m sure there are others using it in a completely different manner too. I encourage you to give it a try and see if it can help with your own file organization and workflow.
Oh, and when you want to untag a file or folder, simple choose the same tag color it already has assigned and it’ll clear that setting.
Pro Tip: I’ve been writing about the Mac operating system since the beginning. Please do check out my quite extensive Mac help area for lots and lots of tutorials while you’re visiting! Thanks.