
I hadn’t realized, but my new MacBook Pro apparently has a fingerprint sensor I can use to unlock it from sleep. Cool! How do I get that all set up?
One of the most useful features with the TouchBar added to the keyboard of MacBook Pro units sold since 2016 (well, not every MacBook Pro has a TouchBar, but most of them do, and the entire line includes them now) is the fingerprint sensor. The custom labelled buttons that change based on what program you’re running are helpful and can make you faster at your tasks, but it’s really the fingerprint sensor that’s the winner. Problem is, it’s not denoted in any way on the keyboard so if you aren’t looking for it, it’s quite easy to not notice that the tiny black square on the top right of your keyboard actually does something!
Turns out that the TouchBar is actually a tiny screen so while you might be used to it showing you function keys and similar, it’s a great way to swipe through bright, full color emoji or even “scrub” a video you’re editing in Photos or Final Cut Pro X. Heck, you can even take screen captures of the TouchBar screen [Shift + Command + 6], of all things!
To start, let’s make sure you have a TouchBar and that it has the fingerprint sensor, known in Apple parlance as part of the “Touch ID” system. The top right of your keyboard should look like this:
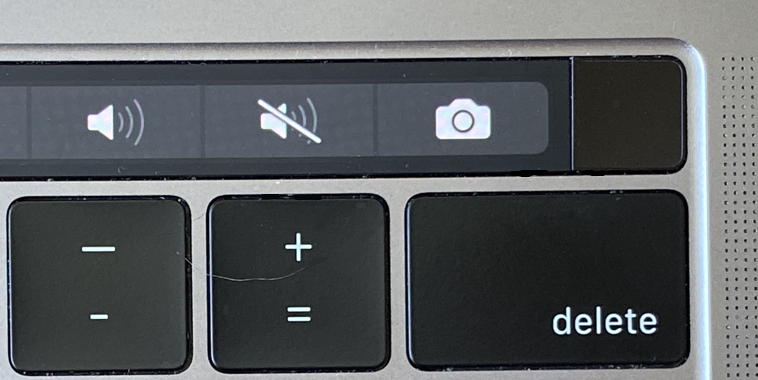
The black square to the right of the camera (capture screen) image? That’s the Touch ID sensor!
To set it up and get it working, you’ll want to go into System Preferences… You can find that on the Apple menu. In System Preferences look along the bottom to find “Touch ID”:

A click to launch it and you might well find that you actually set up the fingerprint sensor unlock when you were first setting up your computer. If so, it’ll look like this:
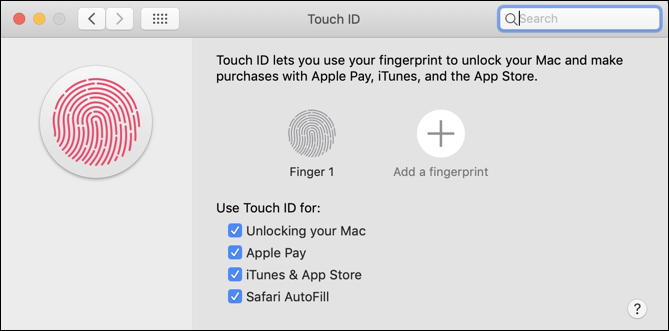
In my case, “Finger 1” is my right index finger. That’s probably a very common choice for unlock finger on the Mac, I bet!
To delete it and start from scratch with a new setup, just hover the cursor over the Finger 1 fingerprint image. An “X” shows up:
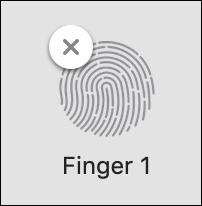
Click on the ‘x’ and it’ll confirm that you really want to remove that fingerprint information from the Touch ID system…

Once you’ve gone through those steps, you’ll be ready to start anew. The System Preferences pane will look like this:

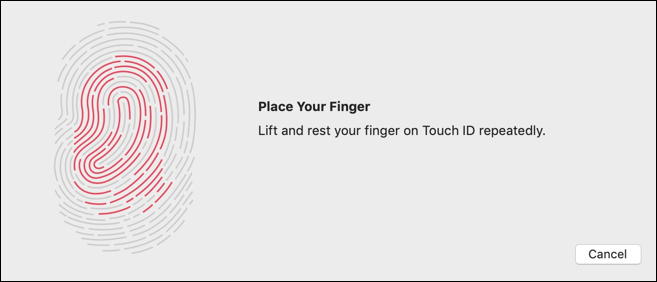
No big surprise here, click on the “+” to add your fingerprint. Then the process is kind of fun; you’ll be placing and lifting off your finger at a wide variety of angles so it can get a full scan:

You’ll need to do it a LOT of time, maybe 20 or more times (I haven’t actually counted, but you can if you want).
Almost done it’ll look like this:
Make sure you get the sides and edges of your finger or thumb too, that’s what’s missing in the image above. How do I know? The red lines are “good scan” and the grey lines are “still need data”. Eventually once you’ve tapped that sensor enough times you’ll have won! You’ll see this:
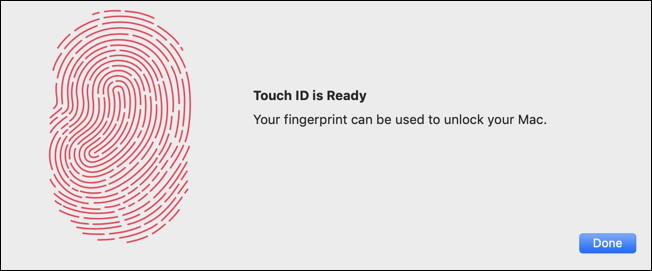
Done. Mission accomplished. Now go and unlock with abandon every time you touch that tiny sensor. 🙂
Pro Tip: I’ve been writing about the Mac for years, including lots on how to get the most out of your TouchBar. Please do check out my Mac help tutorials while you’re here. Thanks.