
How well do you have your Microsoft account set up? Good password? Backup and recovery email address? Two-factor authentication? Here’s how to have Microsoft check it all to keep your data and account info private, secure, and far away from prying eyes…
Life never used to be quite so complicated. If you wanted good account security, you’d simply pick a good password. For bonus security, you might have it set up so that only known systems could log in, back in the days when work stayed at the office and “work from home” meant you were doing something domestic, not on the world wide web! Things change, however, and nowadays not only do we have far more information in our “cloud” storage but bad guys have gotten a lot smarter and now have AI-powered ‘bots and software endlessly probing and trying to circumvent safety protocols.
If you haven’t checked your account security, in other words, it’s past time to run a quick checkup and diagnostic!
Microsoft has done a really good job with our account security, particularly given just how much information is now routinely shared between the computers we use. Web browsing history, text messages, email, files, photos, you name it and odds are that data is creeping onto the Internet whether you realize it or not. With good security that’s nothing to worry about, but seriously, how good is your password?
CHECKING SECURITY ON YOUR WINDOWS PC
Start out on your PC by searching for “privacy settings”:

Notice on the left side the related searches too, notably Camera privacy settings. Worth exploring to ensure you know what programs, apps, and games have permission to access your camera. Right now, however, let’s stay focused, so tap on “Privacy settings“. You’ll be shown a window from Settings:
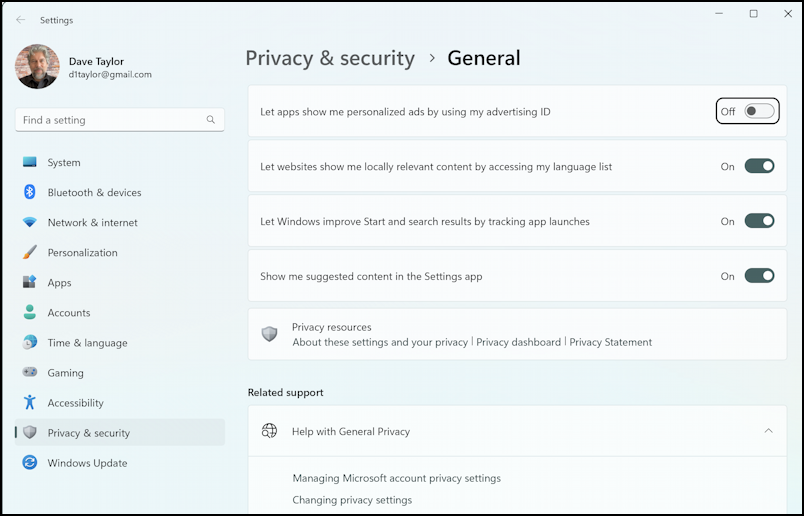
There are some settings to consider right on this screen, notably the top one (that I disabled) allowing Windows apps to personalize ads shown based on your advertising ID (user ID, really). I’m not a fan, but you might be cool with your apps knowing everything you’re doing in other apps, in your browser, etc.
To proceed, tap on “Privacy dashboard” in the “Privacy Resources” area. It’s the second option.
THE MICROSOFT PRIVACY DASHBOARD
“Privacy dashboard” is actually a Web page on the Microsoft site so if you aren’t logged in to your Microsoft Live account in your browser it’ll prompt you to log in. You can also jump directly there with this URL: account.microsoft.com/privacy [don’t trust me, type it in if you want to go directly], if you prefer:
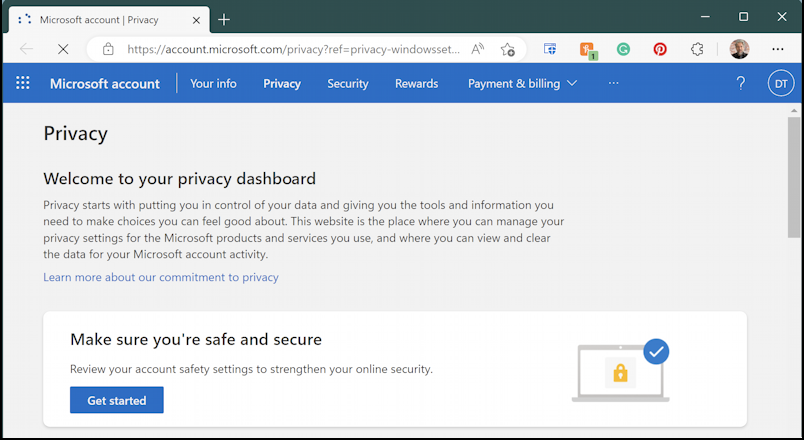
What I strongly recommend is that you run the Microsoft Privacy and Security Safety Review. Sound daunting? It’s not. In fact, it checks three things: Do you have account recovery info set, do you have two-factor authentication enabled, and are you running a secure Web browser?
Click or tap on “Get started” on this first page…
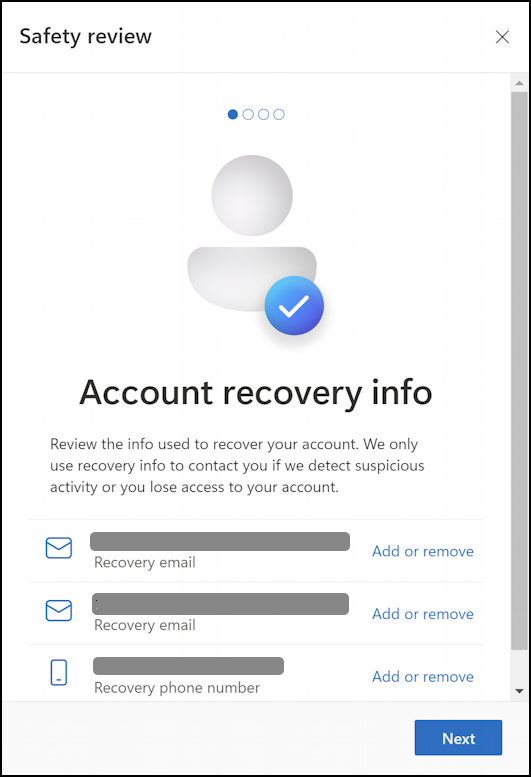
Imagine you somehow forgot your password. You wouldn’t want to lose access to your account forever, would you? Unfortunately, there aren’t really people you can call to help. Instead, Microsoft lets you set up account recovery info as shown on this screen. If you have another email address, add it. If not, add a spouse or trusted friend’s email. Same with a phone number that can receive either automated calls or text messages. I use my cellphone number.
All looks good? Click on “Next” to proceed.
This next section might be the most important of all because it’s where you can enable two-factor authentication. I’ve already done so, utilizing the Microsoft Authenticator app on my phone, as you can see:
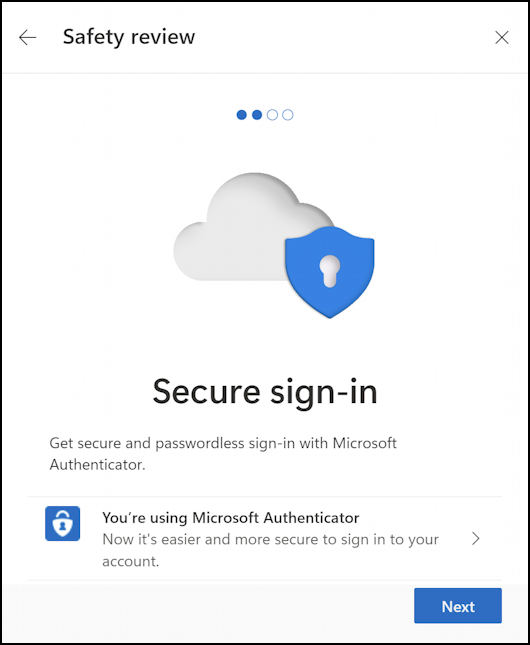
It’s really, really easy to use once set up and I strongly recommend it. With this enabled, someone could even hack your account, steal your password, enter it correctly, and they still wouldn’t be able to log in to your Microsoft account. How handy is that? If suggested on this screen, please do go through the steps to get this set up BEFORE you regret it.
The third step is related to safety while you’re browsing the Web, as becomes obvious when you again tap “Next“…
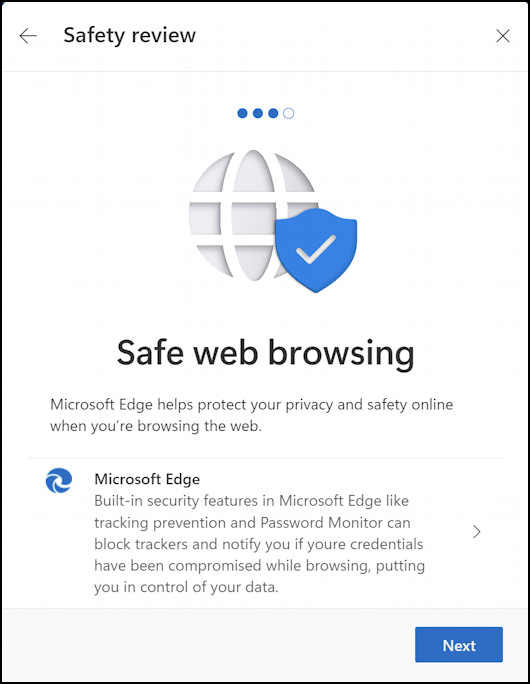
If you’re using a browser other than Microsoft Edge, it might complain, but just make sure you have that browser configured to warn about malware sites, dangerous downloads, sites that try to install extensions, etc. There are definitely other safe browsers than Edge, notably including both Chrome and Firefox.
That’s it, you’re done, as the final screen explains:

That’s the safety checkup. Make sure everything’s looking good and you’ve just taken a big step towards ensuring your personal data is safe and secure.
BONUS: MANAGE YOUR ACTIVITY DATA
While you’re on the Microsoft Account page, don’t forget to also scroll down and check out your activity data. There are some pretty interesting numbers and stats:

My location data is pretty benign, but Microsoft has saved the last 11,475 searches I’ve done. That’s… a lot. And it also has a log of over 1,941 apps and services I’ve utilized while on my PC. Fortunately, this information can be wiped clean if I want even more privacy and do not want Microsoft digging through it all to match ads, etc.
Privacy has become a tough and slippery beast to try and hold on to, but if you’re like me, you probably prefer that companies, advertisers, app developers, and the world at large do not have unfettered access to every darn thing. Now you know how to check and how to ensure that your Microsoft account is maximally secure too.
Power Tip: I’ve been writing help articles about Windows for years and have an extensive Windows 11 help library here on the site. Please check it out to find lots of additional tutorials and guides while you’re here. Thanks!