
I have a lot of screen capture videos I make in QuickTime and need to add a quick on-camera intro for our training library. I know I can record myself through the Webcam, but is there an easy way to actually merge video segments on my MacOS 11 system?
I’m really glad to hear that you have figured out just how powerful and capable QuickTime Player is on a modern Mac system. I can remember the days when Apple split that functionality into two programs, QuickTime Player, the player only, and then the paid upgrade QuickTime Pro, which offered recording and rudimentary editing capabilities. It’s much better to just have it all well integrated into a single program that’s included in MacOS X and now MacOS 11.
For those of you that don’t know, QTP, as I’ll call it, is your friend for almost any video recording work, from recording a quick audio message to capturing a movie of what’s on your screen with you narrating what you’re doing to just recording yourself talking on your Webcam. All well within its capabilities, along with the ability to then tweak the start and end points so you can chop out that few seconds of you looking for the stop button or fixing your hair with the camera “rolling”. 😉
Among its many capabilities is the ability to merge MOV video files and combine them into a new video too. There are no fancy transitions, no ‘dissolve’, nothing fancy, but if you’re just looking for a utilitarian solution to be able to merge your MOV files, that’s well within the purview of QuickTime Player on your Mac. Let’s check it out…
MERGE MOV FILES ON A MAC SYSTEM
To demonstrate, I’ve recorded three short videos on my MacBook Pro, ingeniously called “segment 1”, “segment 2” and “segment 3”. All recorded in QTP, the first and last are from my Webcam and the second is a narrated screen capture of me showing off a few features of the modern Mac Finder window:
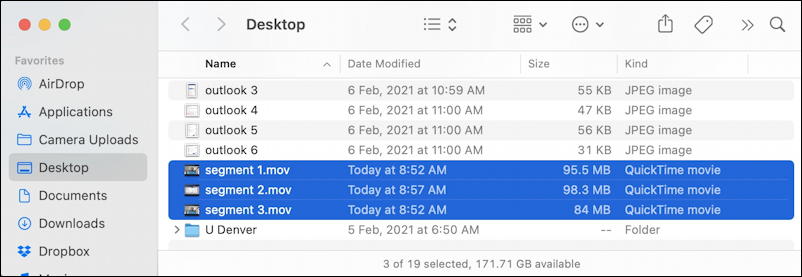
They may be short, but they’re still big files: Video files get big fast!
Before merging them I strongly recommend you trim the start and stop points on each. That’s also easily done in QuickTime Player, as it happens. I’ll open up “segment 1.mov”…
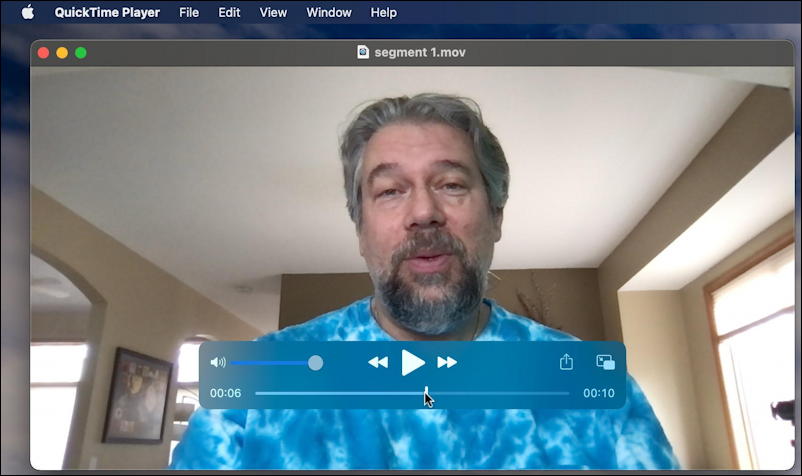
You’ve seen the player controls before, I’m sure, but choose Edit > Trim or push Command-T and you’ll move into video trimmer mode:
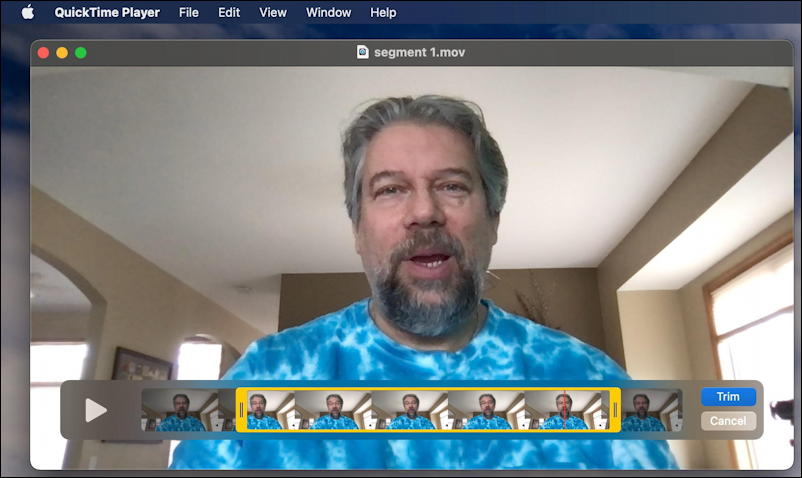
Click and drag the start and end handles to get things just so. Notice that if you click and hold, it’ll zoom in at that point so you can have more precision in selecting the correct frame to get the best possible result.
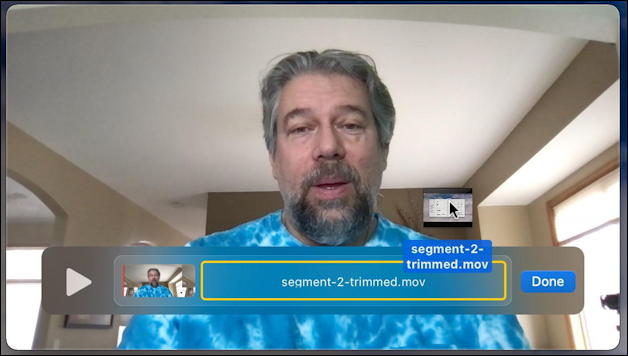
Done? Click on the blue “Trim” button on the lower right. Now you have a new, unnamed video. I’ll save all of mine using a naming scheme like “segment-1-trimmed.mov” and similar. Repeat for all your video segments, as needed.
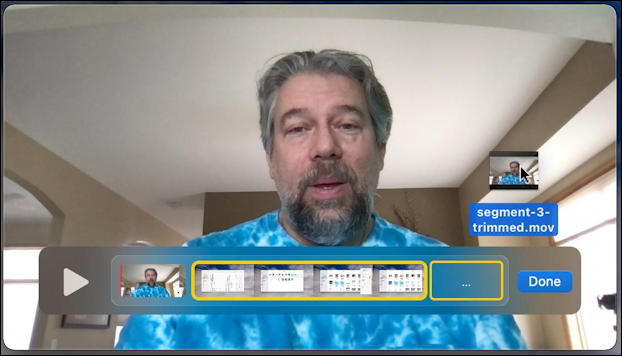
Then open up the first segment of the new merged video you want to create, and drag MOV segment two onto the player screen. It changes and this appears:
As you can see, a big, long box has opened up with the name of the file I’m dragging onto the window. Easy, really. In fact, once that’s added, I can do it again for segment 3 too…
Done. Nice. Now you can save it, but I find that QuickTime Player sometimes neglects to have the Save… feature available (a bug?) No worries. Just go to close the window with the new merged video and it’ll prompt you to save the new amalgamated video:
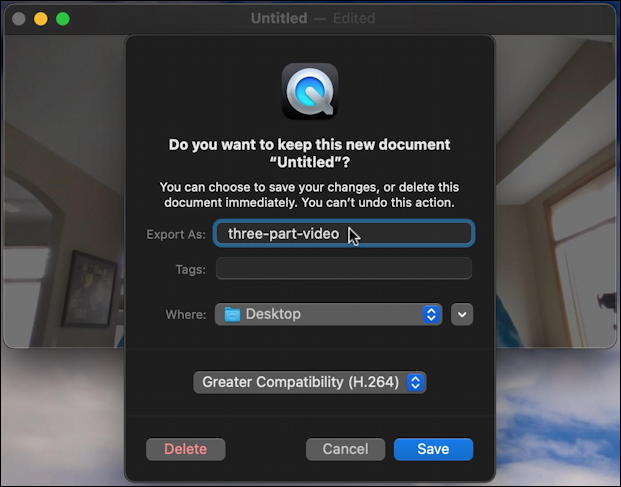
You can choose between smaller file size or greater compatibility with the saved file, I suggest choosing H.264 unless it’s going to produce a truly enormous file. This can be a slow process now because it is rendering a new video file…

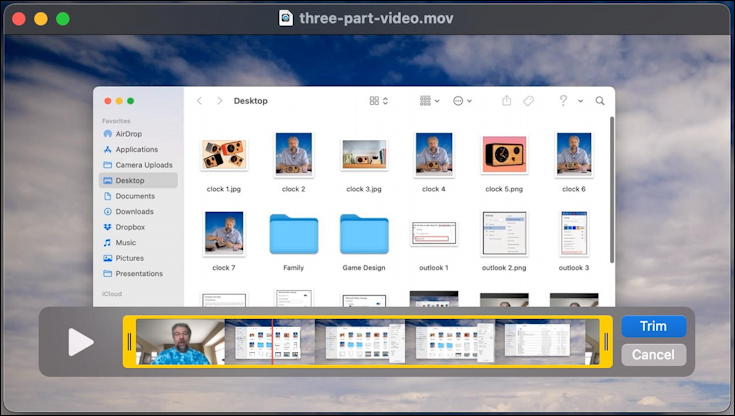
Once it’s finished the save, it’s done and you have a new merged video file. In fact, you can even TRIM that:
Curious about what I recorded for this demo? Here’s a link to the video itself if you’d like to watch: mac-video-merge-3-part-demo
That’s how it’s done. Surprisingly easy in the secret superhero app QuickTime Player. Now have at it!
Pro Tip: I’ve been writing about the Mac system since before MacOS 9. Please check out my quite extensive Mac help area for hundreds of useful tutorials and how-to guides while you’re visiting. Thanks!