Dave, I really want to use Apple Maps on my MacBook Air, but every time I open it, the program is centered in the wrong place. How do I get started using Apple Maps on my MacOS X system?
Glad to hear you’re getting into the groove with Apple Maps, it’s one of my favorite programs on my Mac, actually. From figuring out driving times to checking traffic, exploring satellite views to just mapping overseas locations to help me with world geography, it’s a great program once you get the basics of how it works. The interface, however, is a bit complicated and has buttons all over the place, along with some critical settings that are only accessible from the menu bar. Not sure what’s up with that!
To start, however, your most critical step is to ensure that you aren’t using a VPN – which masks your current location, as it’s supposed to do – and that you have enabled location services and granted maps permission to access your location info. If it’s blocked, Maps should warn you when you launch it, but do we want to rely on that? Probably not. 🙂
So let’s start out by going to System Preferences… off the Apple menu on your MacBook Air and choosing Security & Privacy. Then click on the “Privacy” tab to ensure that you have Location Services enabled and have Maps permission granted too.
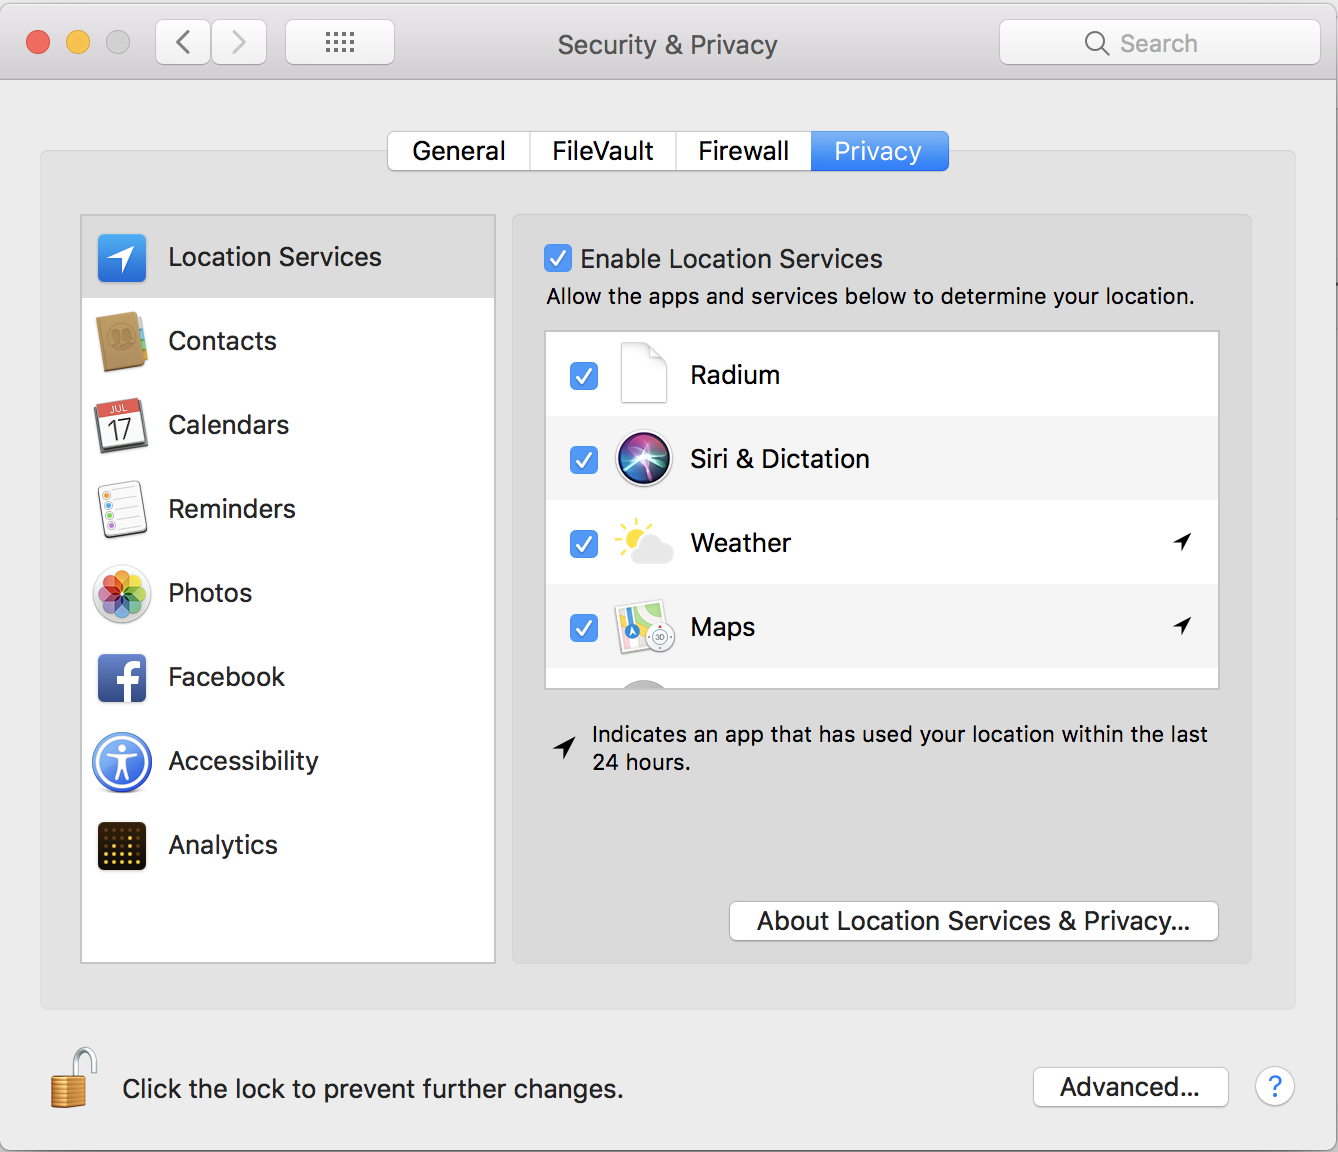
Two checkboxes to check: “Enable Location Services” and “Maps”, as shown in the screen capture.
Now, with that done, go ahead and launch the Apple Maps program. It’s quite possible you’ll see the last location you looked up, where you were last time you launched it, or similar. For me, it shows Casper, Wyoming:

I’m not currently in Casper, however, so how do I “recenter” the program to show my current location? That’s done with the tiny triangle icon (or maybe it’s an arrowhead?) just to the left of the “Search for a place or address” box. Give it a second or two and it should actually “fly over to” your current location, then fill in the graphical elements until you see yourself as a blue circle on a map of your area:
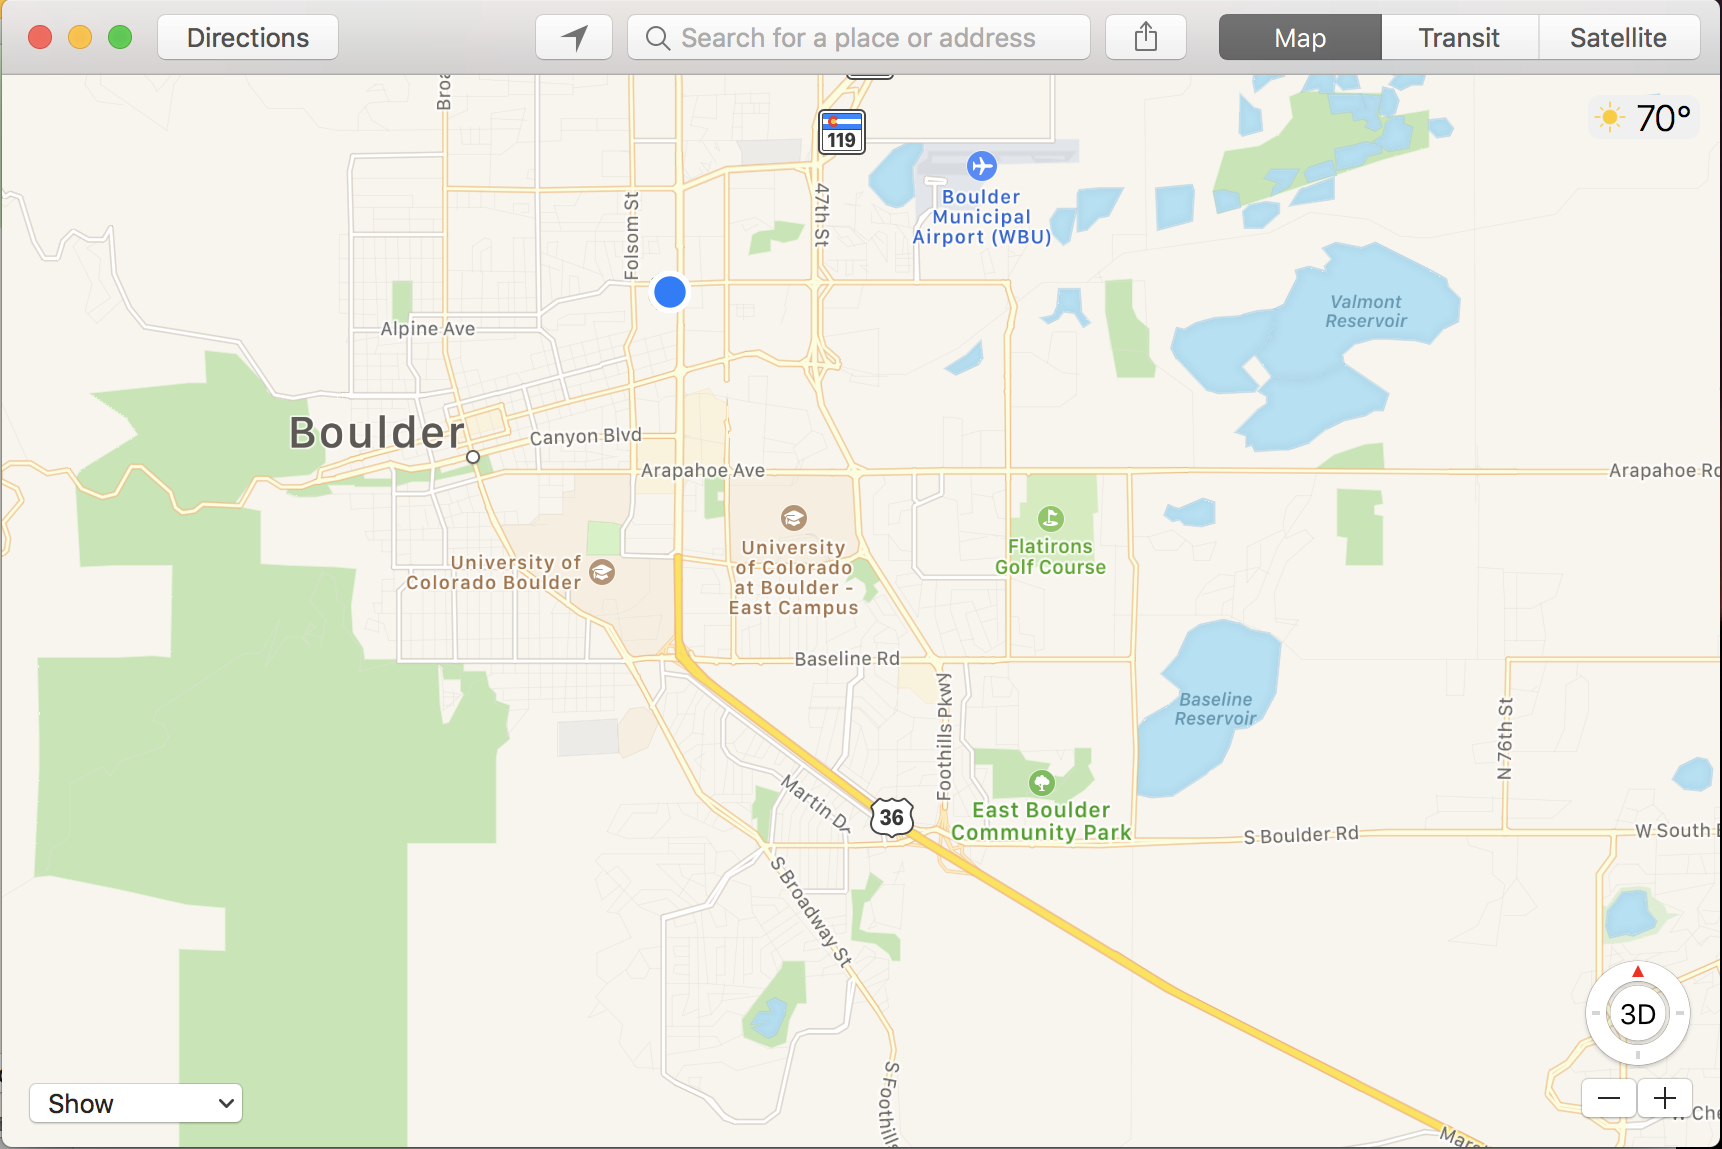
Now we’re cooking!
With that in mind, let’s have a quick tour of some of the best features and capabilities of Apple Maps, shall we?
One of my favorites is along the top: Satellite view. You can bounce between Map (which is what’s shown above), Transit (useful if you’re figuring out bus routes or similar) and Satellite. I tweaked my location slightly – and zoomed in with the “+” “-” buttons on the lower right – to highlight the University of Colorado, Boulder since it’s pretty cool from above:

Now let’s get more advanced. On the lower left is a “Show” menu. This offers two options, one of which is super useful, and the other, well, you might like, you might not. They are: 3D View and Traffic:
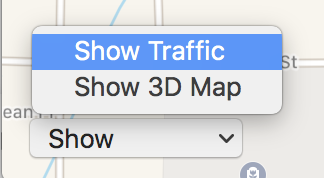
Since I drive a lot, being able to see traffic is really helpful: No traffic issues is shown either as a green route line or no info at all. Some level of traffic is orange and bumper-to-bumper is red. Like this:

A close look reveals that the red traffic indicator is on one side of the road or the other: Since we Americans drive on the right side of the road, it’s showing that southbound I-25 and eastbound 36 have traffic, but the other directions are flowing smoothly.
The above is also showing the 3D View so there’s a slight skew to the overall image, which is easily seen when you compare it to the below non-3D view of the same location:
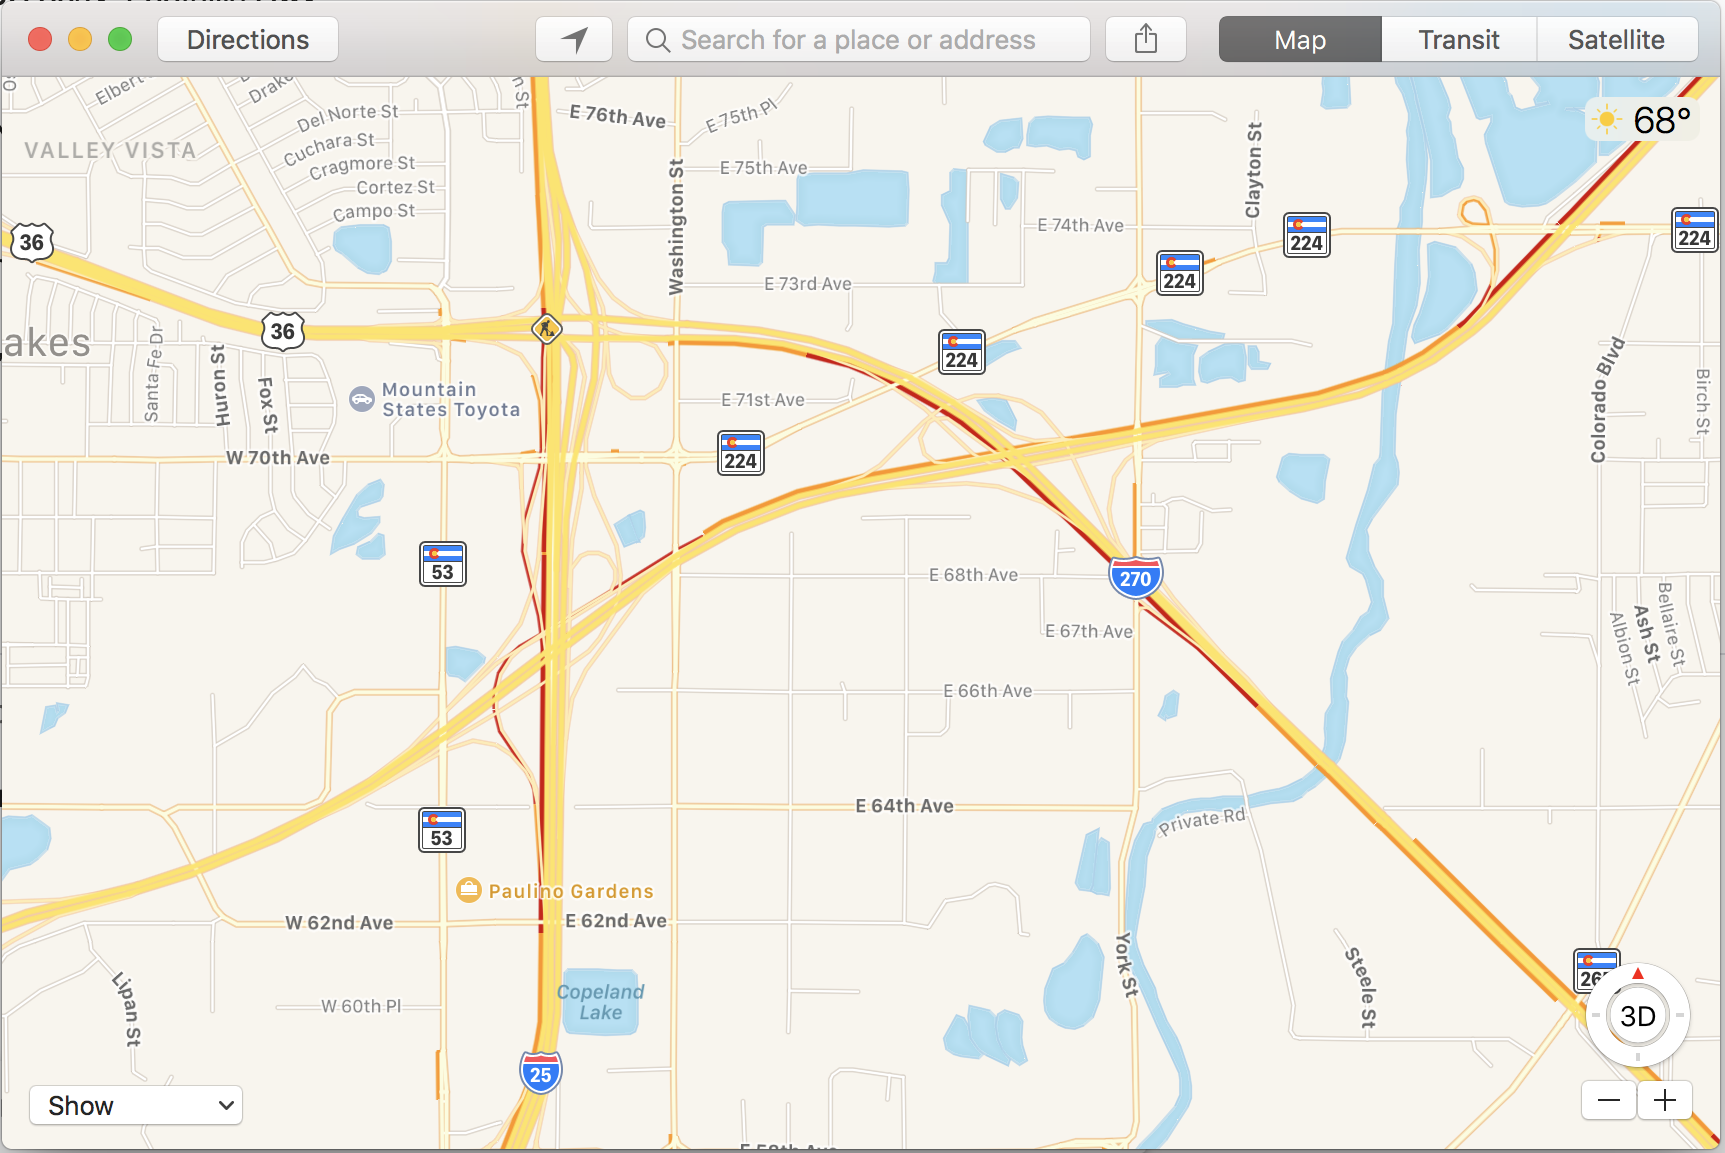
Personally I prefer the non-3D view since I find it easier to understand how things relate and what’s going on. Now you know how to switch back and forth, however, so you can find your own preference. And a tip: On the right navigation controls, a click on “3D” toggles the 3D view as a shortcut.
Another thing you can do with Apple Maps is share a location or directions, even send them to your iPhone, by clicking on the share icon just to the right of the address entry box:
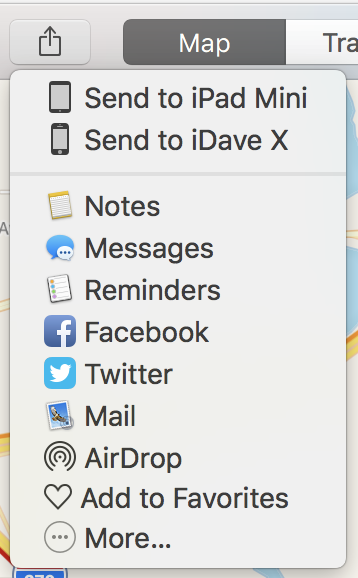
This means that one thing you can do is figure out routes or directions on your computer with its big screen, then send the result to your phone just before you jump into your car. If you have CarPlay, it’s even better, a very smart tech experience.
But wait, there’s more that Apple Maps can do for you!
Let’s figure out directions…
That’d done by clicking on the Directions button on the top left:
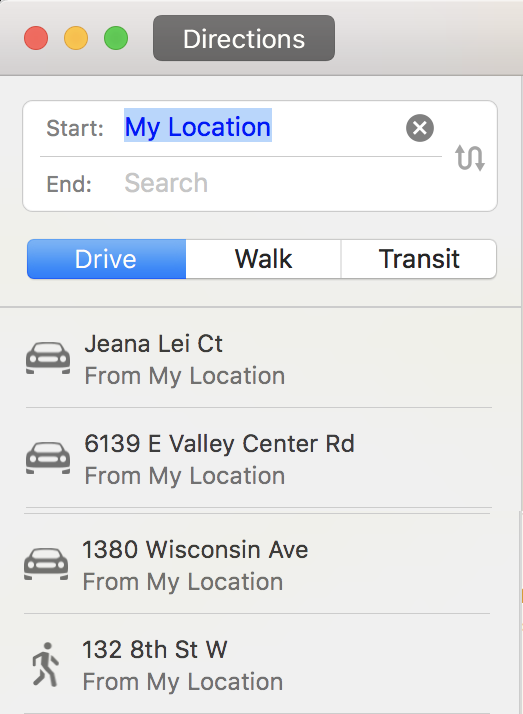
Maps keeps track of where you search, so it can offer up some suggestions. Notice that “My Location” is a handy shortcut for your current address, particularly helpful when you’re somewhere where you don’t actually know the address.
I’ll search for Disneyland in Anaheim, California. It’s easy…

A click to identify which one is actually my desired destination and it almost instantly calculates a route and shows it, and a few alternative directions as appropriate:
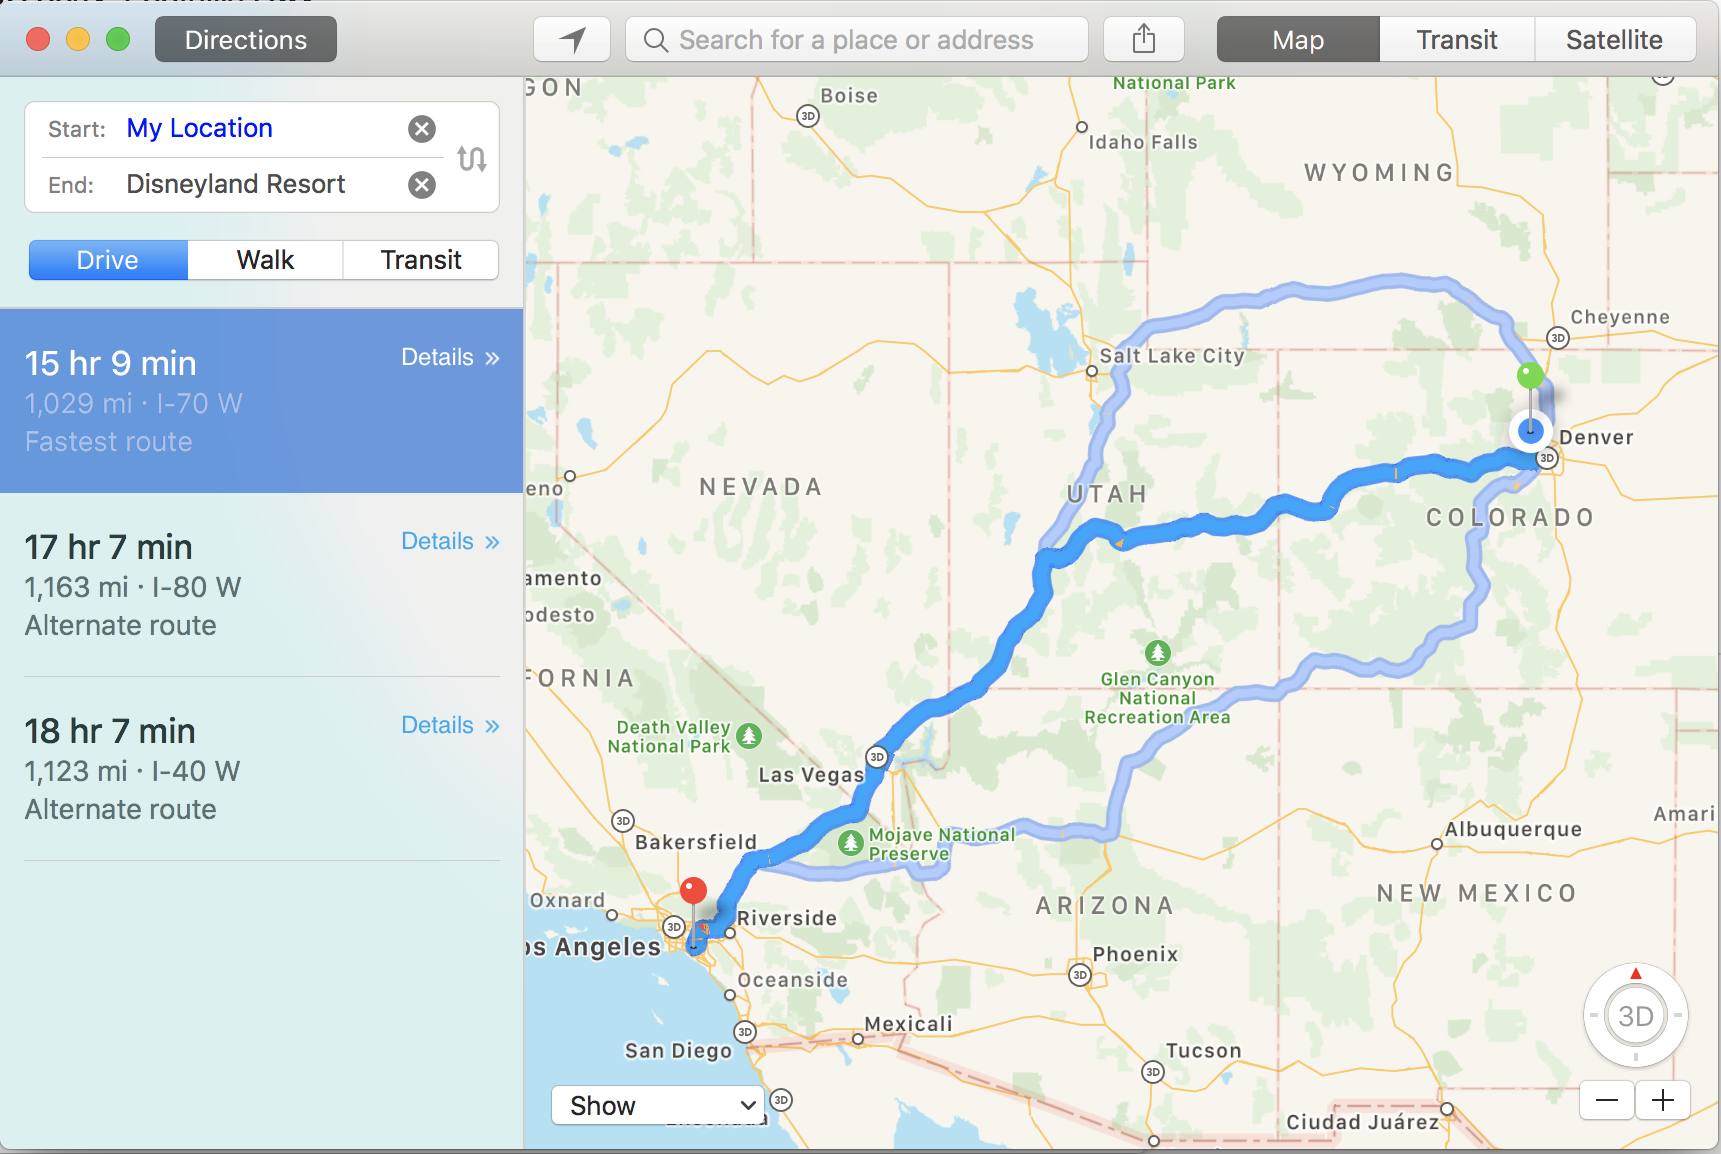
You can identify which route is which by simply clicking on the light blue alternative routes. Me, I’m always interested in the fastest, but if for some reason I wanted to go through Arizona rather than southern Utah, I might take the southern route, even if it’s a few hours – and 100 miles – longer. When you’ve selected your route, simple click on the box on the left that shows the route overview information and you’re ready to get on the road. Not only that, but you can then share that route with your iPhone or iPad through the share feature.
That’s it. That’ll get you started with Apple Maps. Where you go is, well, up to you!
Pro Tip: We have tons and tons of Mac help on the site. Please check out our extensive Mac Help Library for details.

We’re talking Apple, here. This behavior is merely the company helpfully telling you where you ought to be. 🙂