
I was watching my friend answer an email message in Gmail and noticed that when his cursor was over email messages in the index view that shortcut icons showed up for archive, delete, etc. Very handy! But when I went back to my own Gmail account, I don’t have those. How can I enable those shortcut icons?
Google’s Gmail is insanely successful with well over a billion active email accounts. That’s “billion with a b”, as they say, and it’s a bit hard to wrap your head around, that more than 10% of the population of the planet has an account set up (or, perhaps, there are a few thousand people with millions of different accounts!). For all that Gmail is so popular, however, it’s surprising how little attention has gone into the settings and configuration portion of the web-based application. MacOS and Windows keep revising their Settings areas to make them more friendly and both Android and iOS include a Settings search feature to help you find what you seek quickly on your mobile device. But Gmail? It’s the same Settings area that I first saw when receiving an invite to join the early beta so many years ago.
If you have some inside scoop on why it hasn’t been revised and revamped, even if it’s just a conspiracy theory, post it as a comment and let’s see if we can figure out what’s really going on at Gmail HQ! Meanwhile, though, what you seek is called “hover actions” and it’s something you can set in the Settings area. If you can find it.
GMAIL HOVER ACTIONS IN ACTION
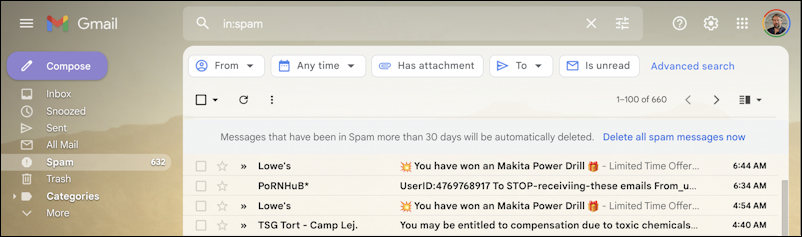
To start out, let’s make sure we’re talking about the same thing. Here’s my Gmail inbox. Well, my spam inbox, at least:
When I move my cursor over any of the emails on the list, notice what replaces the timestamp on the right:

That’s what Gmail calls “Hover Actions” and they are, left-to-right, archive, delete, mark as unread, and snooze. That last one is one of those lesser-known Gmail features too: You can set it so an email message is hidden until a specific time and date, something that can be really handy if you get work email during the weekend: Just snooze it until Monday morning. Easy.
Cool. But if you aren’t seeing those four shortcut icons show up, how do you enable it?
HOW TO ENABLE HOVER ACTIONS IN GMAIL
Start by clicking on the gear icon on the top right. If you’re running the new user interface design, you’ll see this:

If you have the original view, I’m guessing you’ll have an option to try out the new Gmail view. Either way, I admit, that window has lots more options, including some fun layout and theme options to try out, but it’s the top link we want. Click on “See all settings“, then ensure that you’re on the “General” tab along the top. Scroll down carefully until you see this:

Simply “Enable hover actions“, go to the very bottom of the screen to click “Save Changes“, and you’re all set.
WHILE WE’RE IN GMAIL SETTINGS
There are a couple of additional settings you may want to consider too while you’re in this area:
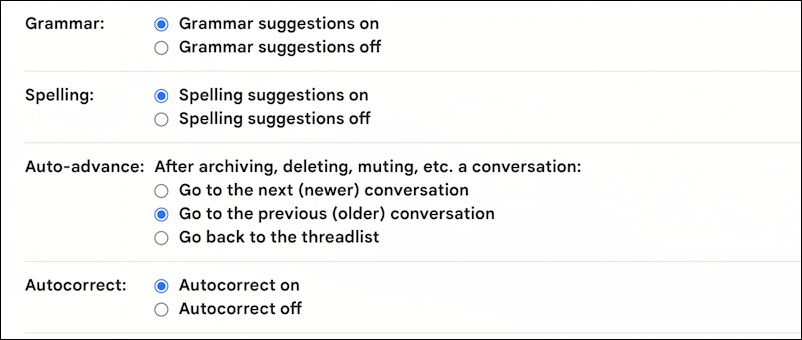
I encourage you to enable all of these, though probably Autocorrect is the most likely to cause stress since it can “correct” a misspelled word to something completely different, but grammar + spelling + autocorrect will definitely make your email messages clearer and more coherent. Auto-advance? I like that so I can spin through my email quickly, but you can tweak it as desired.
In fact, there are a lot of really useful Gmail settings to explore, hundreds of them, if you want to spend some time poking around. Good luck. The good news: You now have hover actions enabled, regardless of what else you change!
Pro Tip: I’ve written quite a bit about Gmail and Google services. Please check out my Gmail help library for lots more tutorials while you’re visiting!