
I’ve had to switch to Google Docs for my schoolwork at Uni and need to add some photos to my latest paper. How can I easily add photographs or graphics to a paper in Google Docs?
Shortcuts: ADD A PHOTO | FORMAT DOCS IMAGE | FLOW TEXT AROUND PHOTO
Over the last few years, Google has added more and more capabilities to its suite of office programs, including Slides, Sheets, and, of course, Docs. Indeed, given that Microsoft now has a fully functional version of its industry-leading Microsoft Word included in an online format as part of Office 365, it’s clear that Google needed to step up its game to stay competitive. The good news is that we consumers win, with the choice of two excellent options for basic school and office work, all without leaving your favorite Web browser.
What most people don’t realize is that the functionality goes far beyond “type and choose font”. After all, the companies that keep improving these two office suites are also the same companies that produce two of the most popular browsers in the online world. It’s no wonder that Office 365 works so well with Microsoft Explorer and Google Workspace is so tightly integrated into the Chrome experience. And this is true on Mac, PC, Linux, Android, and really any system that can bring up a web browser. So the short answer to your question of how to add photos is to just drag and drop ’em onto your document.
Well, there’s maybe a bit more to it, but fundamentally, that’s the easiest way to add photographs to your paper. Let’s look more closely…
ADD A PHOTO TO A GOOGLE DOC
I’m going to work with the public domain book Shackleton in the Antarctic by Sir Ernest Shackleton, all about his famous – and famously ill-fated – expedition to the South Pole back in 1907. The text is freely accessible at Project Gutenberg, and I’ve also saved a few related photos onto my desktop produced by Google image searches.
Here’s the first page of the document:
The top choices in the second row, starting with File, Edit, and View, look very much like a typical word processor, and the third row with all the icons makes formatting and layout surprisingly easy. You can dig your way through them to find insert image, or, as I said earlier, just drag and drop an image onto the Web browser window…
Notice as you keep the mouse button (or trackpad button) pressed down that the blue insertion line moves up and down the document to match. Move it to a spot where the image should go – as I have, above – and let go of the button. The image then appears, ready to resize and format:
What’s important to note here is the tiny pop-up insert toolbar, just below the photo. Here’s a closer look:

If you look at the relationship between the lines and the square in each icon, you can guess how each applies to the flow of the image and surrounding text. By default, the text breaks around the image, but you can have it wrap around, fully break above and below, overwrite the image (imagine a background for your document) or have the image “above” the text. The “•••” brings up a few more options. Choose to have the image in its own “block” and you can tweak the margin and choose whether the image should move with the text as it’s edited or not too:

Mostly, this is about what’s known as the flow of the document, the relationship between the image and the text. You can click and drag any of the blue squares to resize the image too, and if you’ve chosen to have it flow as part of the document (the first option) then you can format it as if it were a block of text too.
GOOGLE DOCS IMAGE FORMATTING OPTIONS
There’s more you can do, however, than just the flow and image resizing. Click on the “•••” link and a menu appears:

Choose “All image options” and a new set of options appears on the right side of the document:

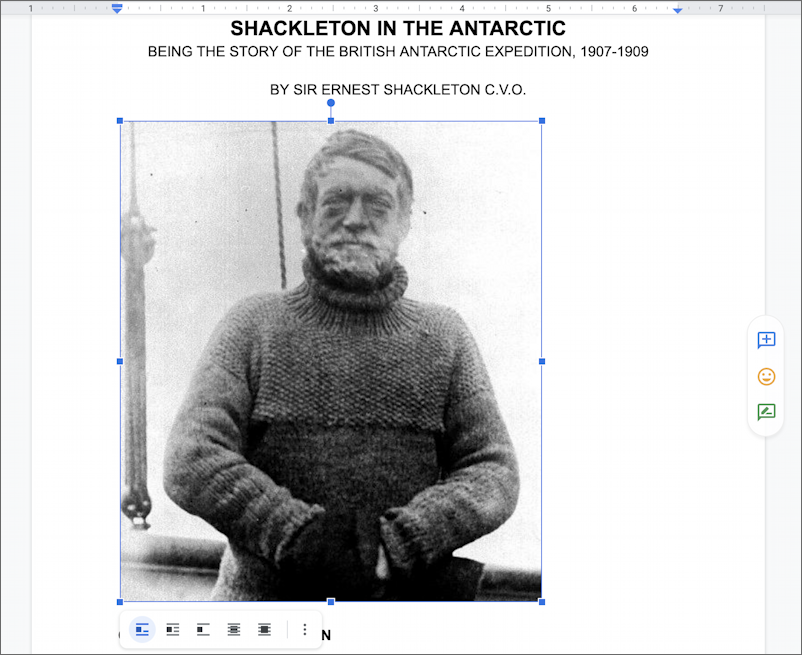
As you can see, there are a lot of options for getting the image to appear as you seek. For me, I’m going to center it and see how things look:

That looks really cool, actually. Now, what about an image with text wrapping around it?
HOW TO FLOW TEXT AROUND A PHOTO IN GOOGLE DOCS
From a formatting perspective, having text wrap around an image is a bit fancier, but it’s surprisingly not much more difficult.
First, as with the earlier image, I’m just going to drag the photo of Shackleton’s ill-fated ship Discovery in the ice onto the document, allowing it to appear full-width:
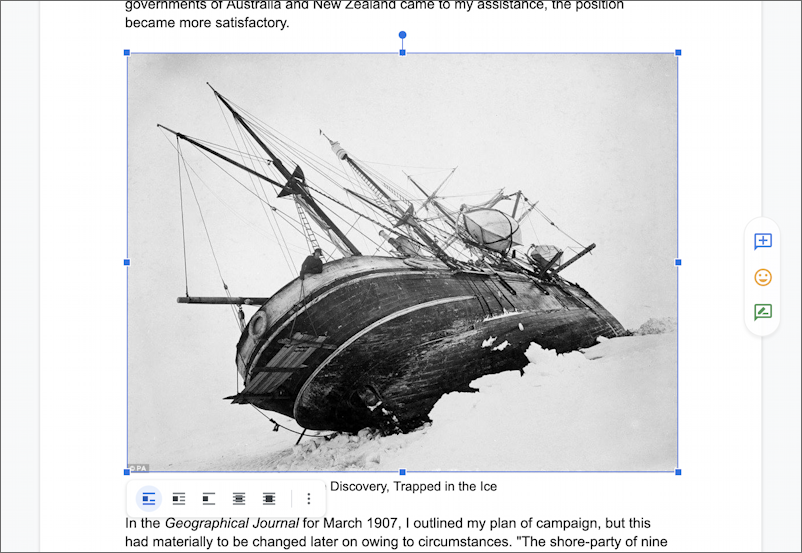
This time I’m going to choose the second option on the flow toolbar, then click and drag the blue square in the corner to shrink down the photo appropriately:

At this point you can click and drag the image itself if you want it in a different location, and as you move it, the text will flow around to compensate. Want the image on the left and the text on the right? Just click and drag once it’s resized. I like images on the right from a readability perspective so here’s my final format for this particular included image:

All in all, rather easy to add, resize, and format as desired, and the end result is very professional. Now it’s your turn; give it a try, see how it works for you!
Pro Tip: I’ve written quite a bit about Gmail and Google services. Please check out my Gmail and Google Workspace help library for lots more tutorials while you’re visiting!