
Now that I’m running Windows 10 on my computer, I want to use WIndows Mail for my Google Mail (Gmail) messages too. Is that possible? How do I hook up Gmail and Win10 Mail?
The good news is that Microsoft has done a splendid job of making it easy to use Windows Mail (and it’s confusing: In Windows Mobile, it’s known as “Outlook Mail”, but in regular Win10 Outlook is a different program included with Microsoft Office) to work with Google Mail (aka Gmail) (yeah, that’s a lot of aka’s isn’t it? No wonder this stuff’s all so confusing). The trick is that you need to enable remote IMAP access from within the Gmail settings before you can be successful, so that means that there are settings to tweak on both sides of this.
No worries, though, I’ll help you start by tweaking the appropriate setting on the Gmail side, then we’ll jump into Windows Mail and get it all set up with Gmail. As I said, it’s easy, there’s even a default account for that.
To start, though, log in to your Gmail account and go to “Settings” off the Gear menu on the top right. In Settings there are a bunch of different categories of options and preferences. You want to choose “Forwarding and POP/IMAP”. Then look for this:

Lots of choices, but the most important setting is the first: Make sure that you have “IMAP is enabled“, as shown. You might want to track my settings above too, as desired, but the key one is to ensure that you have allowed IMAP access for your account.
Note the very bottom link: Configuration instructions. If you can’t get Windows Mail / Outlook to get everything set up properly with its defaults, go back to this link and you’ll get a very helpful list of specific incoming and outgoing mail servers, ports, channels and much more to make setting up just about any email client a breeze.
IMAP enabled? Great. Now launch “Mail” in Windows 10 and it’ll likely look just like this:

Can you guess what to do? Yup, click on “+ Add account” to proceed. Now you’ll get a list of different email services from which to choose:

As you can see, Google is one of the options (though it should probably just say Gmail to avoid confusion). That’s the one you want, so choose it to proceed.
You’ll need to verify your account through the Windows -> Google handshake system, so you’ll get to enter your email address, password and, if you have it set up, 2-step verification code. Don’t have 2-step verification set up? Yikes. Take a few minutes and set that up: How to Set Up 2-Step Verification for Gmail. Significantly improves your account security!
Okay, back. Now here’s what you’ll be seeing to verify:

Go through the steps and Windows Mail will actually do all the work behind the scenes. Windows will ask for specific permissions because it wants to use Google data to populate your calendar, address book and mail, as shown:
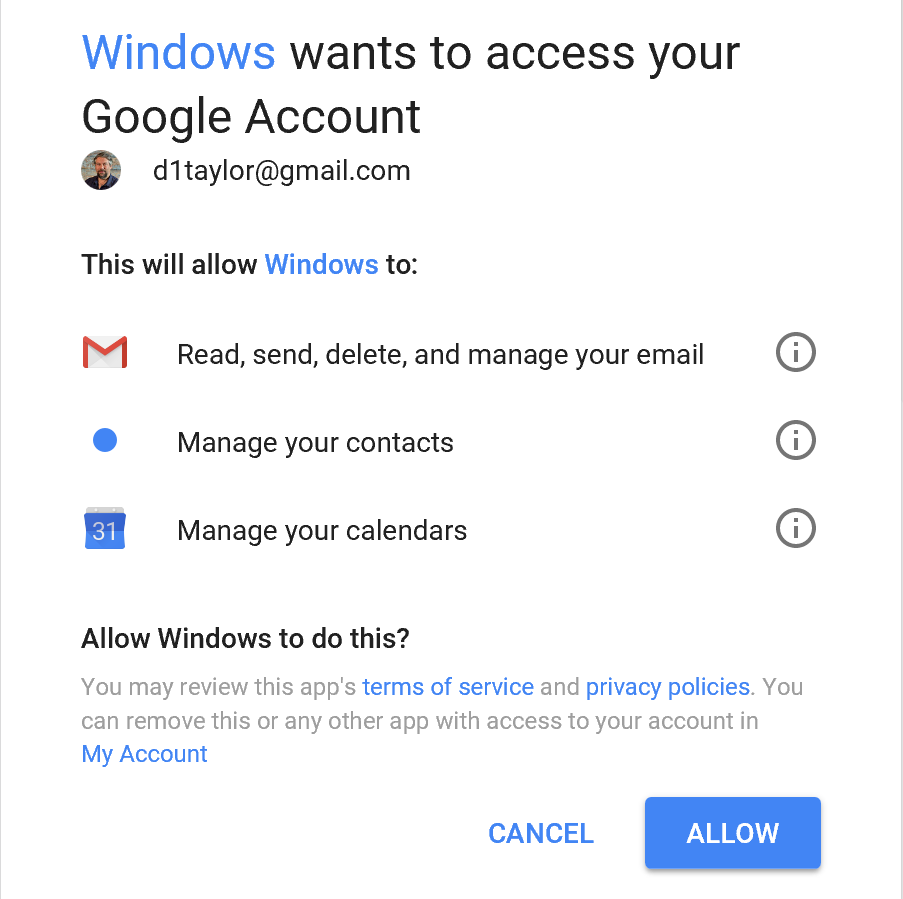
Since this is your Windows computer, go for all three by clicking on “Allow”. Want to disable calendar and contacts? Turns out that’s not so easy, unfortunately…
A click on “Allow” and after some additional behind-the-scenes setup, you’re…

That’s it. Really. Now just launch Mail and you’ll see all your Gmail messages and info show up:
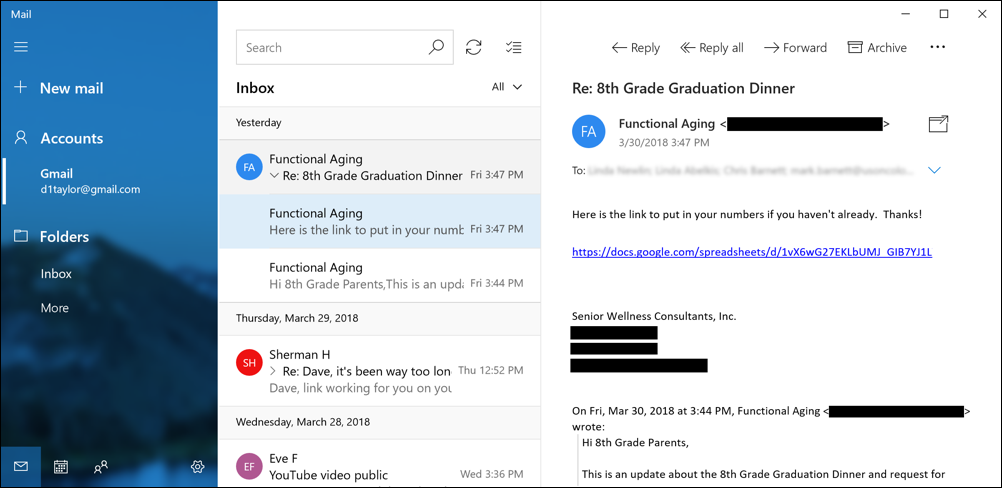
That’s it, I’m ready to go. Really quite easy considering how difficult it is for some email clients to interact properly with Google’s Gmail service. Now go and have fun with Windows Mail for Gmail!
Pro Tip: While you’re here, please check out our extensive Windows 10 help article library too!
Even after going through this IMAP, the Windows-Google login is not recognizing my Gmail password. Same problem as before I did your IMAP switch.
I think this article is a little confusing. The Windows 10 email app named Mail (as shown in this article) is a different product to the Outlook email client that is part of the Office 2016 suite.
Good clarification, Mike. I’ll tweak things a bit…