
My grandchildren are coming to visit me and I want to set up an account on my computer for them rather than worry about them deleting my files. How can I easily do that in Windows?
You’re a darn savvy grandparent for thinking about this potential nightmare before your grandkids show up, not afterwards when you realize they’ve messed everything up, delete your critical files and left you all sorts of “funny” changes to your system. Whether they’re 9 or 19, kids have a very different perspective on digital than other generations and it’s alarmingly common for them to experiment and explore, with disastrous consequences!
You could ask them to bring their own computer along – lots of kids now seem to have tablets or laptops of their own – but if you are going to allow them access to your main PC computer because that’s all you have or perhaps because it’s in the middle of the kitchen or similar, well, yes, you need to anticipate problems. A straightforward way to alleviate almost all of your risk is to create an account for them on your computer. Then they will also be learning some good computer etiquette too: use your own account, don’t share.
Windows makes it really easy to set up accounts too, so let’s jump in and do it. To start, go to the Windows 10 search box and type in “add account”:

The first choice shown, “Add, edit or remove other people” is the choice you want, so click on it.
Now you’ll get to a big, complicated window where you have options on what kind of account you set up:

You can add someone as part of the family or make it even easier – and faster – by adding the new kids account as “Other people”. I’ll do the latter, so a click on the “+” adjacent to “Add someone else to this PC” (at the bottom) gets me to this window:
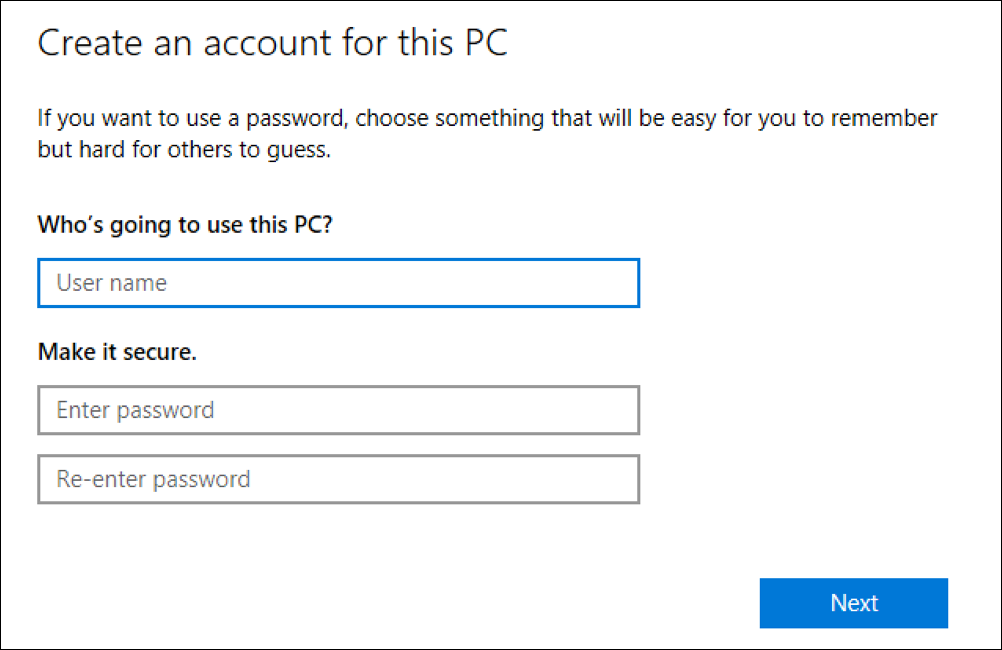
As you can see, there are really only two things you really need to create: an account name and a password. Since it’s for your kids and it’s temporary, something easy is a winner. Perhaps they’re fans of Tintin, as I am. Okay, so user name “tintin” and a password like “snowy” is easy enough.
Note: Normally I encourage the use of very complicated passwords for security reasons, but in this instance a simple password is just fine, particularly if you remember to delete the account once they’ve left from their visit.
Once you’ve entered the account name and password twice, a click on “Next” gets you to the next phase:

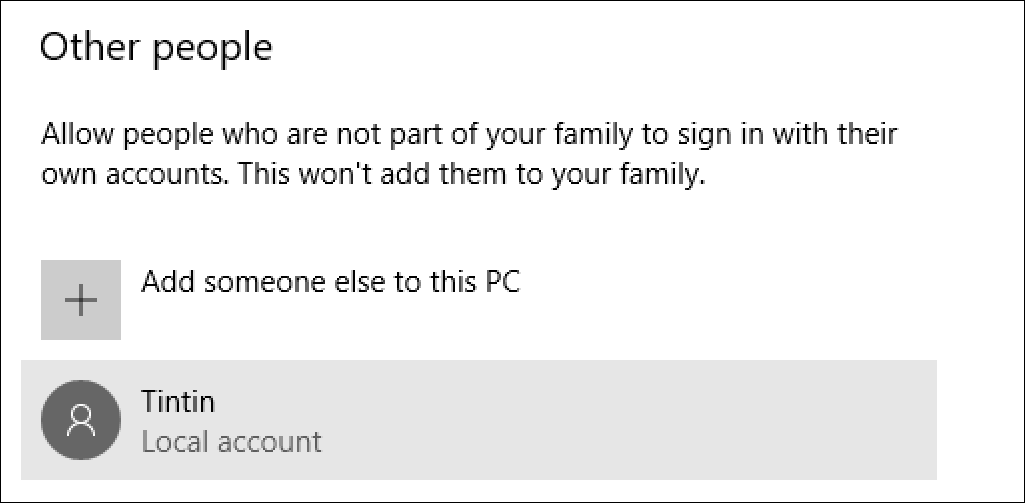
Windows won’t let you set up an account without setting the security questions, so enter whatever you want; odds are very good the password won’t be forgotten along the way. There are three questions, not two, that are required, however, but eventually you’ll have them all set and the account will be set up. Without much fanfare you’re just dropped back to the main account window, but this time there’s a new entry near the bottom:
That’s it. Done. Now just remember to log out when you’re done with the PC (look for your profile pic on the left edge of the start menu to get to the log out feature!), then you can switch between accounts at login by looking on the lower left side of the screen:
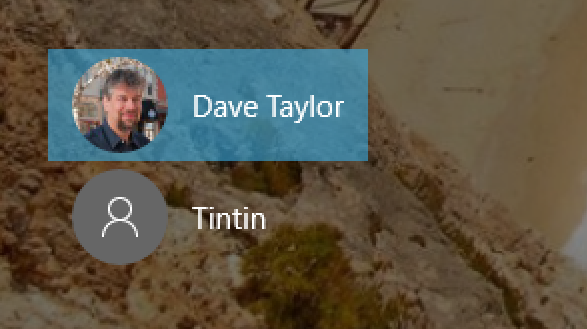
A click on the new account name – Tintin – and it’s ready for the password…

The first time the system will set up the account, which is a tedious 2-3 minute process where you get to see exciting things like:

Eventually it finishes up, though, and the new account is logged in and ready to use:

(I already have some files and folders I’ve dropped into the new account. Your new account Desktop will be blank)
And that’s it. All you need to remember is to log out every time you’re done with your computer work. Good luck!
Pro Tip: We have a lot of Windows 10 help on the site, please take the time to explore!