
My boss just shared a folder with me in DropBox and I need to grab a copy of it for my computer. I already have DropBox on my MacBook Air, but how do I get the specific file I need, not the entire folder?
I’m a big fan of Dropbox so am happy to help you out with this question. And once properly installed, Dropbox integrates into the Mac experience quite remarkably well, even showing up as just another folder on your system as it everything’s local, not on a server somewhere in “the cloud”.
But before we go any further, I want to strongly encourage you to set up 2-step verification for your Dropbox account. If you have a phone that can accept text messages, it’s a smart and simple way to significantly improve the security of your account. And it’s easy to set up: How to set up 2-step Dropbox account verification. Done? Good.
Now, since you have Dropbox running on your Mac system, you should have its icon show up on your menu bar along the top. A click and you’ll see a list of the most recently added files and a few key links:

The folder icon and globe to the right of “Dropbox” on the top are what we want to examine here. The first opens up your Dropbox folder in the Finder, and the second opens up your default Web browser with your Dropbox home as the page. A click on the globe on my Mac and…
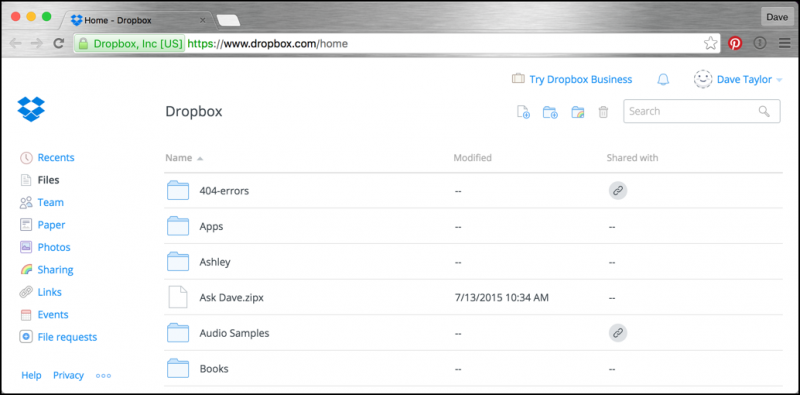
A fairly sparse interface, but sometimes it’s the best and easiest to work with.
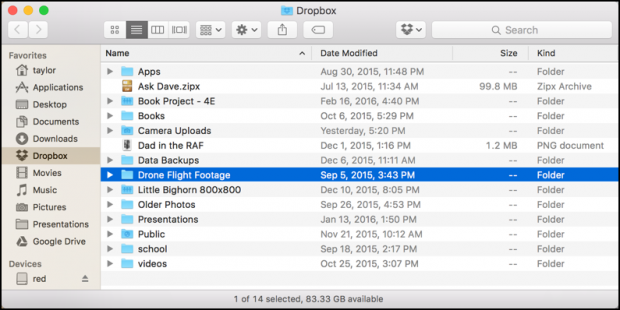
Let’s back up and click on the folder icon instead, though, because for what you want to do, the Finder is your best friend.
Everything looks just like any other Finder folder, but right-click (oops, sorry, Control-click) on an entry and there are some additional options in the pop-up context menu, as shown:
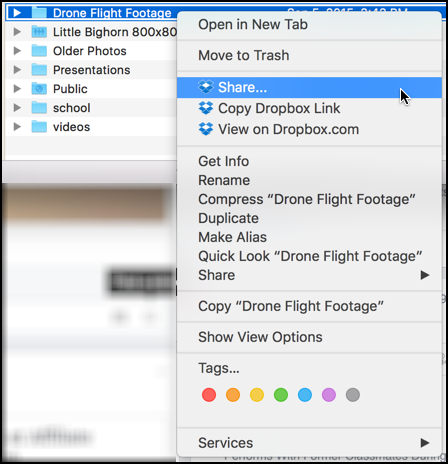
None of these are quite what you want to do, however, so you can click again to get the menu to skedaddle!
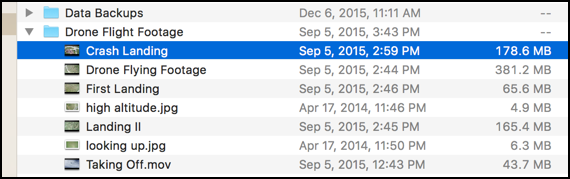
Instead, open up the folder that contains the file or files you seek. It’ll again look just like any other Finder folder:
Now here’s where the magic happens: Hold down the Option key while you click and drag the file onto your Desktop. If you’ve done it right, you’ll see a little “+” show up adjacent to the icon:

The “+” indicates that you’re going to be making a copy of the file and it’s that copy that will end up on your Desktop (e.g., on your Mac system) rather than the original. If you just dragged and dropped, you would take the file out of Dropbox, which probably isn’t what your boss wants. If it is, well, skip the Option key on your drag and drop operation!
Done. That’s it, you’ve just copied the file from a shared Dropbox folder onto your own MacBook Air or other Mac system. In fact, since it’s a video, my demo can now be opened and viewed:

With a name like “Crash Landing” you can probably guess how the video ends. 🙂
Anyway, that’s it. Dropbox on the Mac. Super easy to work with, actually.
And if you haven’t signed up for Dropbox yet, please use my signup link so I get a few extra megabytes of space as a bonus: Sign up for Dropbox. Thanks!